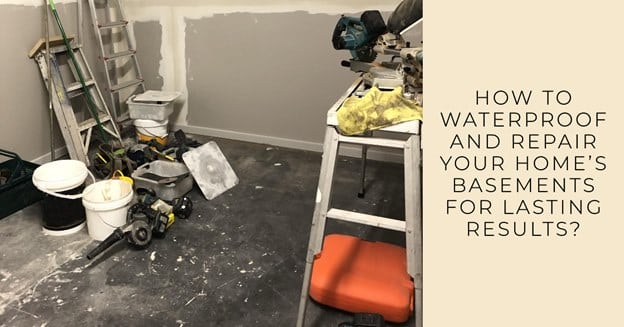
Whether your home’s basement has suffered from water damage due to a recent deluge or prolonged extreme humidity, it’s exciting to know that you can repair the basement and restore your property’s structural integrity. You only need to find a home improvement company specializing in basement repair services.
This post highlights a step-by-step guide to basement improvement after water damage.
Read on as we break down this often-intricate process into simpler phases.
1. Finding a Contractor

Basement waterproofing differs from most home improvement projects in that it targets your property’s foundation. Therefore, it’s best to work with professionals.
For starters, insist on a waterproofing contractor that specializes in basement repair. Avoid jacks of all trades.
It’s okay if the company provides other basement-related services, such as mold remediation and foundation repair. However, avoid contractors who purport to offer a broad spectrum of home improvement services.
Working with a duly licensed and insured basement waterproofing contractor is also prudent. The technician should preferably have general liability insurance.
Other critical considerations include company history and reputation. Insist on contractors who have been around for a long time and who enjoy incredible reviews from their previous customers.
2. Picking the Waterproofing Method
A professional basement waterproofing company will assess your property and immediately recommend the best waterproofing technique. The method will depend primarily on the desired waterproofing material, the property’s age, and your budget.
Below are the most common basement waterproofing methods;
-
Cementitious Waterproofing
Cementitious waterproofing uses old cement to cure your basement and keep moisture out.
This is the most affordable basement waterproofing method, understandably due to cement’s widespread availability and relative ease of application.
-
Bituminous Waterproofing
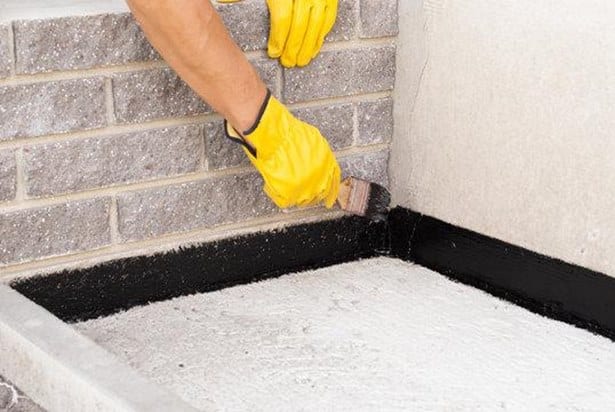
Bituminous waterproofing lasts considerably longer than cementitious waterproofing. However, the method is unideal for waterproofing basement exteriors, as the coating becomes brittle when exposed to sunlight.
Besides, homeowners looking to elevate their property’s aesthetic appeal may be averse to the black color left behind by the active material used in this method – asphalt.
-
Polyurethane Waterproofing
Polyurethane waterproofing provides better protection than cementitious and bituminous waterproofing.
The material is excellent for indoor and outdoor basement waterproofing due to its resistance to water ingress, humidity, and ultraviolet (UV) rays.
-
Epoxy Waterproofing
Consider epoxy if you’re looking for a truly versatile basement waterproofing material. Waterproofing your basement floor with epoxy protects against moisture ingress, seepage, and leaks.
Epoxy is also harder than polyurethane, making waterproofed surfaces incredibly impact-resistant. Moreover, due to the material’s hydrophobic nature, epoxied floors are easier to clean.

3. Removing Standing Water
Working on a wet floor can both be risky and messy. Besides, a wet surface can conceal water leaks from underneath your basement.
So, after assembling the required waterproofing materials, your basement repair contractor will need to remove all standing water. Depending on the situation, the technician may use a variety of methods.
Assume the entire room is knee-length flooded. In that case, the contractor could start by driving the water out using squeezers before resorting to a wet/dry vacuum.
Once the room is no longer flooded but still wet, the basement technician may use a large fan to accelerate the drying.
4. Cleaning and Preparing the Work Site
Flood water carries a lot of debris, from mud and leaves to sand and pebbles. After drying out your basement, the next step is to clean and prepare the work site.
Below is a cleaning checklist to go by;
-
Cleaning Efflorescence
Efflorescence refers to white crystallized mineral residues from evaporated water.
Your basement contractor will remove such residues by scraping or scrubbing them off the floor using a paint scraper or wire brush.
For stubborn stains, solvents like muriatic acid may come in handy.
-
Removing Mold and Mildew
A basement with a history of moisture damage will develop mold and mildew over time.
The contractor will clean mold or mildew using diluted bleach and an antifungal cleaner.
If you must be present during this procedure, be sure to wear the requisite protective gear: gloves, a respiratory mask, and safety glasses.
-
Removing Grease, Paint, and Other Coatings
It’s probably been a while since your basement was last waterproofed.
Therefore, the contractor may need to remove old grease and paint before applying the waterproofing material.
Most basement technicians will require a sandpaper or wire brush for this step. However, a chemical stripper may be necessary for stubborn grease and paint.
5. Identifying the Moisture Source
Your contractor can pinpoint the water source with the basement now spotless and clean.
Puddles rising from underneath the floor surface indicate underground water damage, while damp streaks from wall cracks suggest problems in the basement wall.
Sometimes, the water source may not be obvious. That’s especially true when trying to get your basement waterproofed for reasons other than flooding, such as excess humidity.
6. Plugging Holes and Cracks
Your basement waterproofing and repair contractor will inspect the room for cracks and holes and then plug them.
The contractor would first clean the cracks using a wire brush to dislodge loose debris. They’ll then apply the right amount of sealant to seal them off.
Two types of sealants are typically used here – silicone caulk and hydraulic cement.
Silicone caulk is ideal for smaller cracks of ¼ inch or less. On the other hand, hydraulic cement is more reliable for larger cracks due to its ability to expand and contract with the adjacent concrete.
Your basement waterproofing contractor may also inspect basement doors and windows to determine if they need resealing.
7. Applying the Waterproofing Material
The final step is to apply the basement waterproofing material.
The actual procedure will depend on the material in question.
In the case of cementitious waterproofing, for instance, the technician may use a trowel to apply the cement up to 8 mm thick. This process requires gentler strokes to ensure the cement layer retains its thickness.
Once the cement dries up, the contractor will repaint the basement and do a few more touch-ups to restore its aesthetic appeal.
The Bottom Line
Basement repair after water damage is one of the many home improvement projects that’s best left to the experts. Working with a professional basement renovation company guarantees long-lasting results.
Basement Waterproofing Scientists is the one-stop shop for all your basement repair needs. The company boasts over 30 years of experience, during which it has established an impeccable reputation for its insistence on excellence.
With a presence in multiple cities across the United States, Basement Waterproofing Scientists handles varied basement repair projects. It can handle waterproofing, foundation repair, mold remediation, and everything in between.
Feel free to call the company today to join their ever-growing list of happy clients.


