Your home’s foundation is one of the most important components of your property. It provides support for your entire home, and any damage to the foundation can lead to structural issues that can compromise the safety of your property. If you’ve noticed signs of foundation damage, such as cracks in the walls or uneven floors, it’s important to address the issue as soon as possible.Your content goes here. Edit or remove this text inline or in the module Content settings. You can also style every aspect of this content in the module Design settings and even apply custom CSS to this text in the module Advanced settings.
Click Here for a Free Estimate
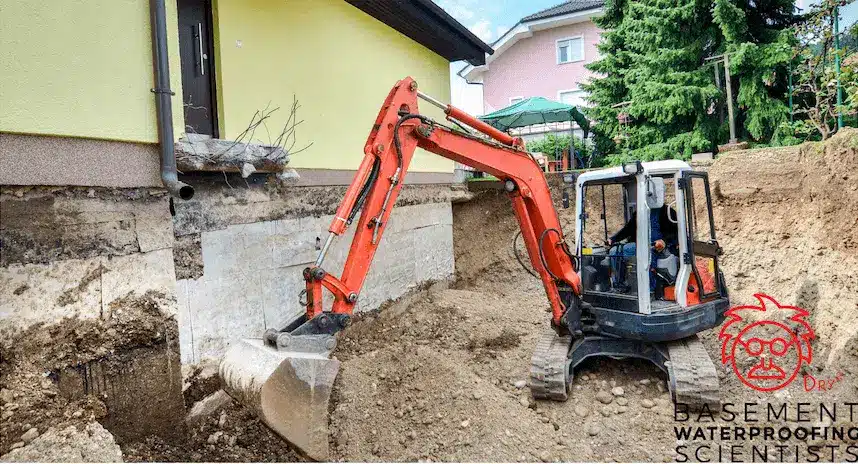
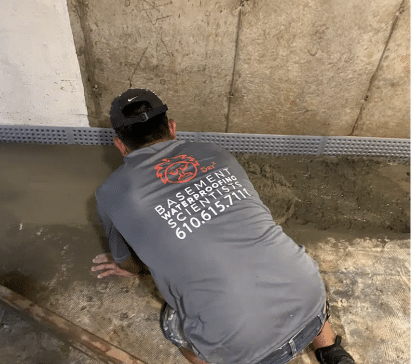
Basement Waterproofing Scientists are Basement Waterproofing Specialists in PA, NJ, and DE and offer free in-depth inspections to homeowners in the Philadelphia suburbs and surrounding areas. Contact Us During these inspections, the inspectors evaluate the basement using the latest scanning technology. This helps the inspector identify the source of the basement leaks. With this information, we can identify the best method for permanently waterproofing the basement and directing water away from the home.
Signs of Foundation Damage
There are several signs of foundation damage that homeowners should look out for in Philadelphia, PA. These signs include:
- Cracks in the walls or floors
- Uneven floors
- Doors and windows that stick
- Gaps between walls and the ceiling
- Bulging or leaning walls
- Water intrusion in the basement or crawl space
There are several factors that can contribute to foundation damage. Some of the most common causes of foundation damage include:
- Soil Movement: The soil around your foundation can shift or settle over time, causing the foundation to shift or settle as well.
- Water Damage: Water can seep into the soil around your foundation, causing it to expand and contract, leading to foundation damage.
- Poor Drainage: If your home doesn’t have proper drainage, water can collect around the foundation, leading to water damage and foundation damage.
- Poor Construction: If your home’s foundation wasn’t constructed properly, it can be more susceptible to damage over time.
Foundation Repair Options If you’ve noticed signs of foundation damage, it’s important to address the issue as soon as possible. Ignoring foundation damage can lead to more serious structural issues and even compromise the safety of your home. There are several foundation repair options available, including:
- Underpinning: Underpinning involves adding additional support to the foundation by extending it deeper into the soil. This is often done using steel piers or helical piers.
- Foundation Crack Repair: If there are cracks in the foundation, they can be repaired using epoxy or polyurethane injections to seal the cracks and prevent further damage.
- Waterproofing: If water damage is the cause of the foundation damage, waterproofing the foundation can help prevent future damage. This can include installing a drainage system or applying a waterproof coating to the foundation.
- Slabjacking: Slabjacking involves injecting a mixture of sand, cement, and other materials under the foundation to lift it back into place if it has settled.
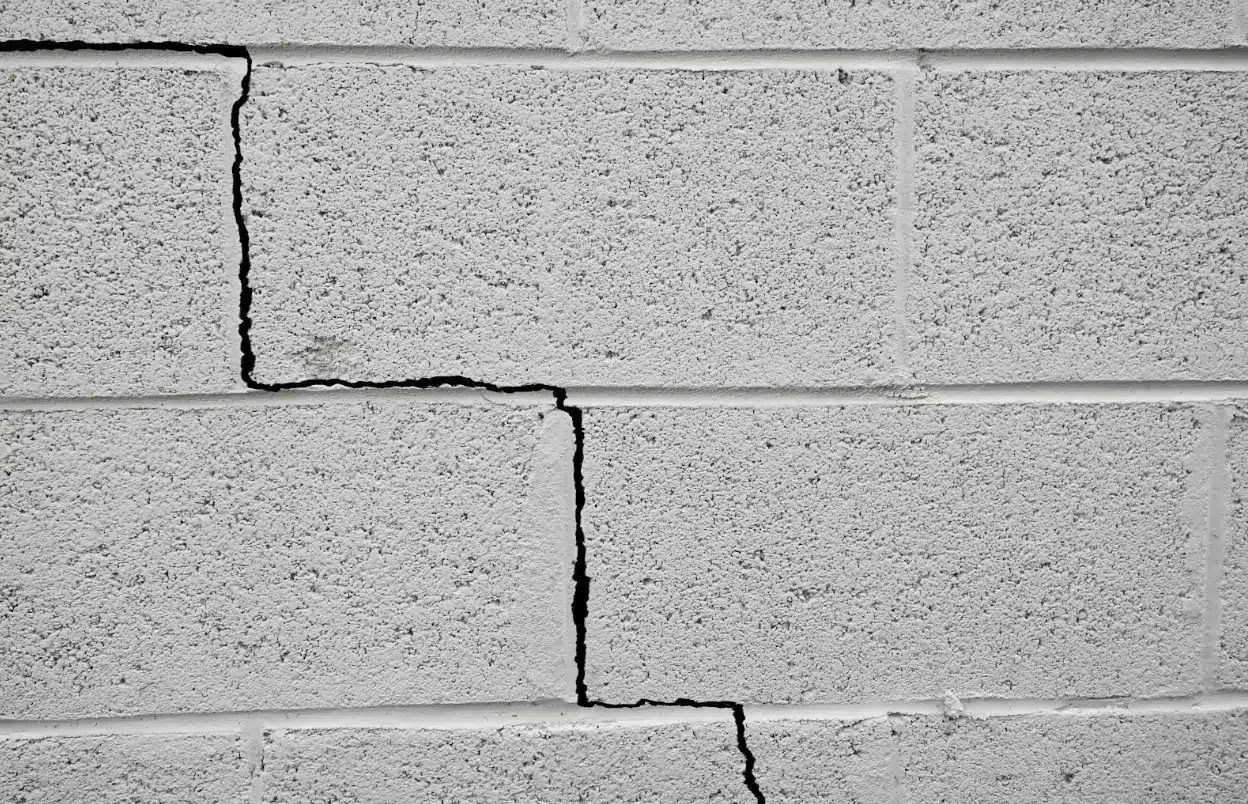
Bowing block foundation walls are a common issue faced by many homeowners. This problem occurs when the lateral pressure exerted by the soil surrounding the foundation surpasses the wall’s ability to resist it. Over time, this can lead to the wall bowing inward, resulting in structural damage and possible water infiltration. It is essential to address this issue as soon as possible to prevent further damage and maintain the structural integrity of your home. In this article, we will discuss the causes of bowing block foundation walls, the various repair methods available, and the steps involved in fixing the problem.
Causes of Bowing Block Foundation Walls
Several factors can contribute to bowing block foundation walls, including:
- Soil pressure: Expansive clay soils, high groundwater levels, or poor drainage can cause increased pressure on the foundation walls, leading to bowing.
- Freeze-thaw cycles: In colder climates, the freeze-thaw cycle can cause soil to expand and contract, increasing pressure on the walls.
- Age and construction quality: Over time, foundation walls may weaken due to age, poor construction, or the use of substandard materials.
Repair Methods for Bowing Block Foundation Walls
There are several methods to repair bowing block foundation walls, each with its own advantages and disadvantages. Some of the most common methods include:
Wall anchors
Wall anchors are a popular method for repairing bowing block foundation walls. These anchors consist of metal plates installed on the interior and exterior sides of the wall, connected by steel rods. The anchors are tightened gradually to pull the wall back into its original position.
Carbon Fiber Straps
Carbon fiber straps: Carbon fiber straps are another option for reinforcing bowing block foundation walls. These straps are strong, lightweight, and can be easily installed on the interior surface of the wall. They help distribute the pressure evenly across the wall, reducing the risk of further bowing.
Helical Tie Backs
Helical tiebacks: Helical tiebacks are a type of anchor system that is installed horizontally into the soil adjacent to the foundation wall. These tiebacks help provide lateral support to the wall, preventing further bowing.
I-beam Supports
I-beam supports: I-beam supports are vertical steel beams installed on the interior side of the foundation wall. These beams help provide additional support to the wall, preventing further bowing and potentially pushing the wall back into place.
Foundation Repair on Block Walls
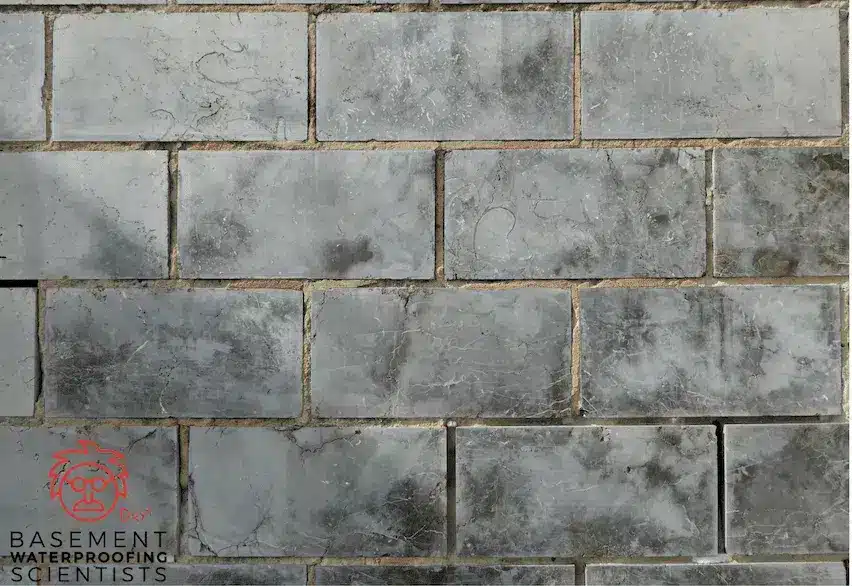
- Assess the damage: The first step in repairing a bowing block foundation wall is to thoroughly assess the extent of the damage. This will help determine the best repair method and the materials required for the job.
- Choose the appropriate repair method: Based on the assessment, select the most suitable repair method for your situation. Consult with a professional if you are unsure which method is best for your specific case.
- Gather materials and tools: Once the repair method has been chosen, gather the necessary materials and tools required for the job. This may include wall anchors, carbon fiber straps, helical tiebacks, or I-beam supports, as well as tools such as a drill, hammer, wrench, and level.
- Install the repair system: Carefully follow the manufacturer’s instructions or consult with a professional to properly install the chosen repair system. This may involve installing wall anchors, applying carbon fiber straps, inserting helical tiebacks, or positioning I-beam supports.
- Monitor progress: Regularly monitor the repair progress and make any necessary adjustments to the system as needed. This may involve tightening wall anchors, adjusting I-beam supports, or monitoring the effectiveness of carbon fiber straps or helical tiebacks.
- Seal any cracks: Once the wall has been stabilized, seal any cracks or gaps that may be present.
- Determine if basement waterproofing is also needed
Choosing the right foundation repair specialist is important to ensure that the repairs are done properly and effectively. When choosing a foundation repair specialist, consider the following factors:
- Experience: Look for a foundation repair specialist with years of experience and a track record of successful repairs.
- Reputation: Check online reviews to ensure that the specialist has a good reputation.
- Licensing and Insurance: Make sure that the specialist is licensed and insured to protect yourself and your property.
- Warranty: Look for a specialist that offers a warranty on their work to ensure that you’re protected in case anything goes wrong.
Repairing Cracks in Poured Concrete Foundations
Cracks in poured concrete walls are a common foundation issue faced by many homeowners. Water can enter these cracks and cause basement flooding. These cracks can occur due to various factors such as the natural curing process of concrete, shrinkage, thermal expansion, and contraction, or ground settlement.
Step-by-Step Guide to Repairing Cracks in Poured Concrete Walls
- Identify the crack: Before starting the repair process, it’s essential to determine the type and severity of the crack. This will help you decide on the appropriate repair method and materials required.
- Clean the crack: Use a hammer and chisel to remove any loose debris from the crack. Follow up with a wire brush to clean the crack’s surface thoroughly. Finally, use a shop vacuum or an air compressor to remove any remaining dust and debris.
- Apply the epoxy or polyurethane: Select a suitable concrete crack repair epoxy or polyurethane injection kit based on the crack’s size and location. Follow the manufacturer’s instructions for mixing and preparing the repair material.
- Install injection ports: Along the crack, insert the injection ports at regular intervals, typically 8-12 inches apart. Secure the ports in place using the epoxy or polyurethane adhesive.
- Seal the crack: Using a putty knife, apply a thin layer of the epoxy or polyurethane adhesive over the crack, covering the injection ports. Ensure the adhesive is applied evenly and smoothly to prevent any leaks during the injection process. Allow the adhesive to cure for the time specified by the manufacturer.
- Inject the repair material: Once the adhesive has cured, inject the epoxy or polyurethane into the crack through the injection ports. Start at the lowest port and work your way up, injecting the repair material until it begins to flow out of the next port. Cap the first port and continue the process until all ports have been injected.
- Remove the injection ports: After the epoxy or polyurethane has cured, remove the injection ports by chiseling them off the wall.
- Finish the surface: Use a trowel to smooth out the surface of the repaired crack, blending it with the surrounding concrete.
- Monitor the repaired crack: Keep an eye on the repaired area to ensure the crack does not reappear or worsen. If the problem persists, consult a professional for further assessment and repair.
Bowing block foundation walls are a common issue faced by many homeowners. This problem occurs when the lateral pressure exerted by the soil surrounding the foundation surpasses the wall’s ability to resist it. Over time, this can lead to the wall bowing inward, resulting in structural damage and possible water infiltration. It is essential to address this issue as soon as possible to prevent further damage and maintain the structural integrity of your home. In this article, we will discuss the causes of bowing block foundation walls, the various repair methods available, and the steps involved in fixing the problem.
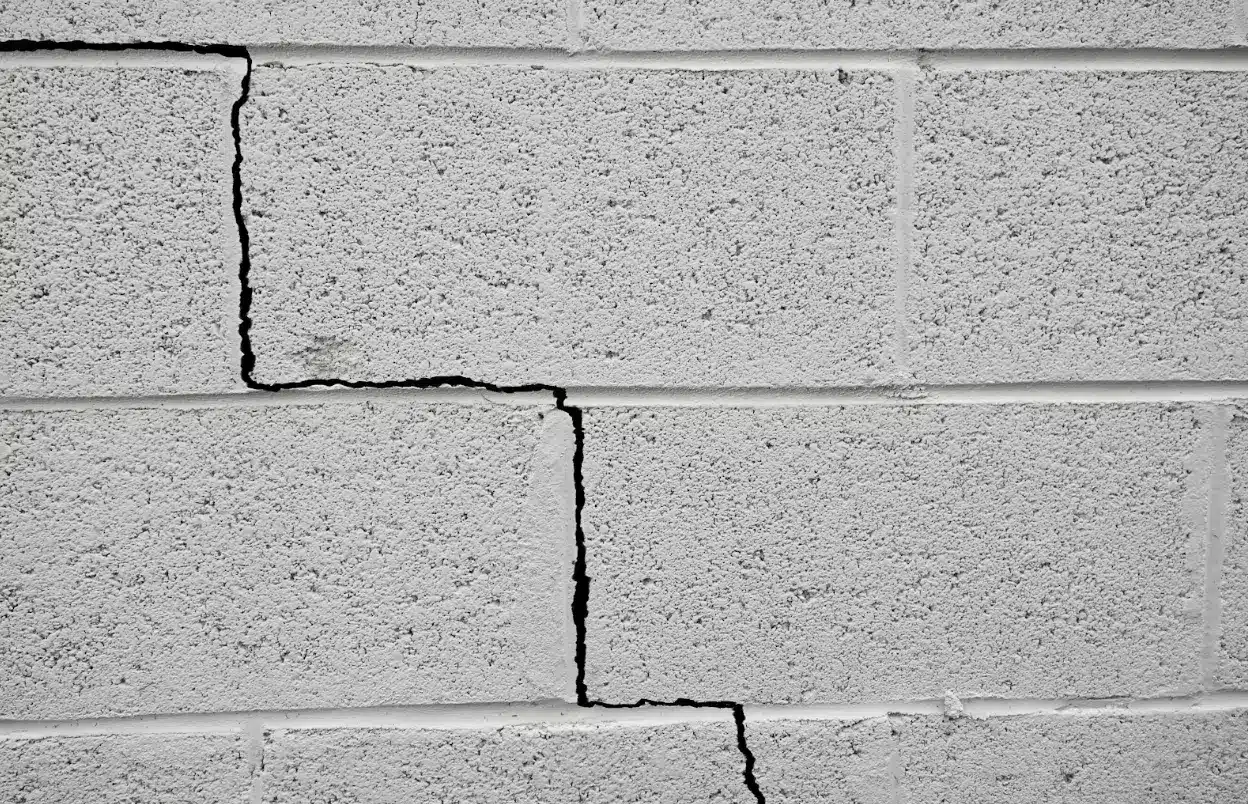
Causes of Bowing Block Foundation Walls
Several factors can contribute to bowing block foundation walls, including:
- Soil pressure: Expansive clay soils, high groundwater levels, or poor drainage can cause increased pressure on the foundation walls, leading to bowing.
- Freeze-thaw cycles: In colder climates, the freeze-thaw cycle can cause soil to expand and contract, increasing pressure on the walls.
- Age and construction quality: Over time, foundation walls may weaken due to age, poor construction, or the use of substandard materials.
Repair Methods for Bowing Block Foundation Walls
There are several methods to repair bowing block foundation walls, each with its own advantages and disadvantages. Some of the most common methods include:
Wall anchors
Wall anchors are a popular method for repairing bowing block foundation walls. These anchors consist of metal plates installed on the interior and exterior sides of the wall, connected by steel rods. The anchors are tightened gradually to pull the wall back into its original position.
Carbon Fiber Straps
Carbon fiber straps: Carbon fiber straps are another option for reinforcing bowing block foundation walls. These straps are strong, lightweight, and can be easily installed on the interior surface of the wall. They help distribute the pressure evenly across the wall, reducing the risk of further bowing.
I-beam Supports
I-beam supports: I-beam supports are vertical steel beams installed on the interior side of the foundation wall. These beams help provide additional support to the wall, preventing further bowing and potentially pushing the wall back into place.?
Foundation Repair on Block Walls

- Assess the damage: The first step in repairing a bowing block foundation wall is to thoroughly assess the extent of the damage. This will help determine the best repair method and the materials required for the job.
- Choose the appropriate repair method: Based on the assessment, select the most suitable repair method for your situation. Consult with a professional if you are unsure which method is best for your specific case.
- Gather materials and tools: Once the repair method has been chosen, gather the necessary materials and tools required for the job. This may include wall anchors, carbon fiber straps, helical tiebacks, or I-beam supports, as well as tools such as a drill, hammer, wrench, and level.
- Install the repair system: Carefully follow the manufacturer’s instructions or consult with a professional to properly install the chosen repair system. This may involve installing wall anchors, applying carbon fiber straps, inserting helical tiebacks, or positioning I-beam supports.
- Monitor progress: Regularly monitor the repair progress and make any necessary adjustments to the system as needed. This may involve tightening wall anchors, adjusting I-beam supports, or monitoring the effectiveness of carbon fiber straps or helical tiebacks.
- Seal any cracks: Once the wall has been stabilized, seal any cracks or gaps that may be present.
- Determine if basement waterproofing is also needed
Choosing the right foundation repair specialist is important to ensure that the repairs are done properly and effectively. When choosing a foundation repair specialist, consider the following factors:
- Experience: Look for a foundation repair specialist with years of experience and a track record of successful repairs.
- Reputation: Check online reviews to ensure that the specialist has a good reputation.
- Licensing and Insurance: Make sure that the specialist is licensed and insured to protect yourself and your property.
- Warranty: Look for a specialist that offers a warranty on their work to ensure that you’re protected in case anything goes wrong.
Repairing Cracks in Poured Concrete Foundations
Cracks in poured concrete walls are a common foundation issue faced by many homeowners. Water can enter these cracks and cause basement flooding. These cracks can occur due to various factors such as the natural curing process of concrete, shrinkage, thermal expansion, and contraction, or ground settlement.
Bowing Block Foundation Walls
Repairing these cracks is essential to maintain the structural integrity of your home and prevent water infiltration, which can lead to further damage. Repairing these cracks are not as invasive as other foundation repairs. Homes with cracks in the poured concrete walls may also need basement waterproofing.
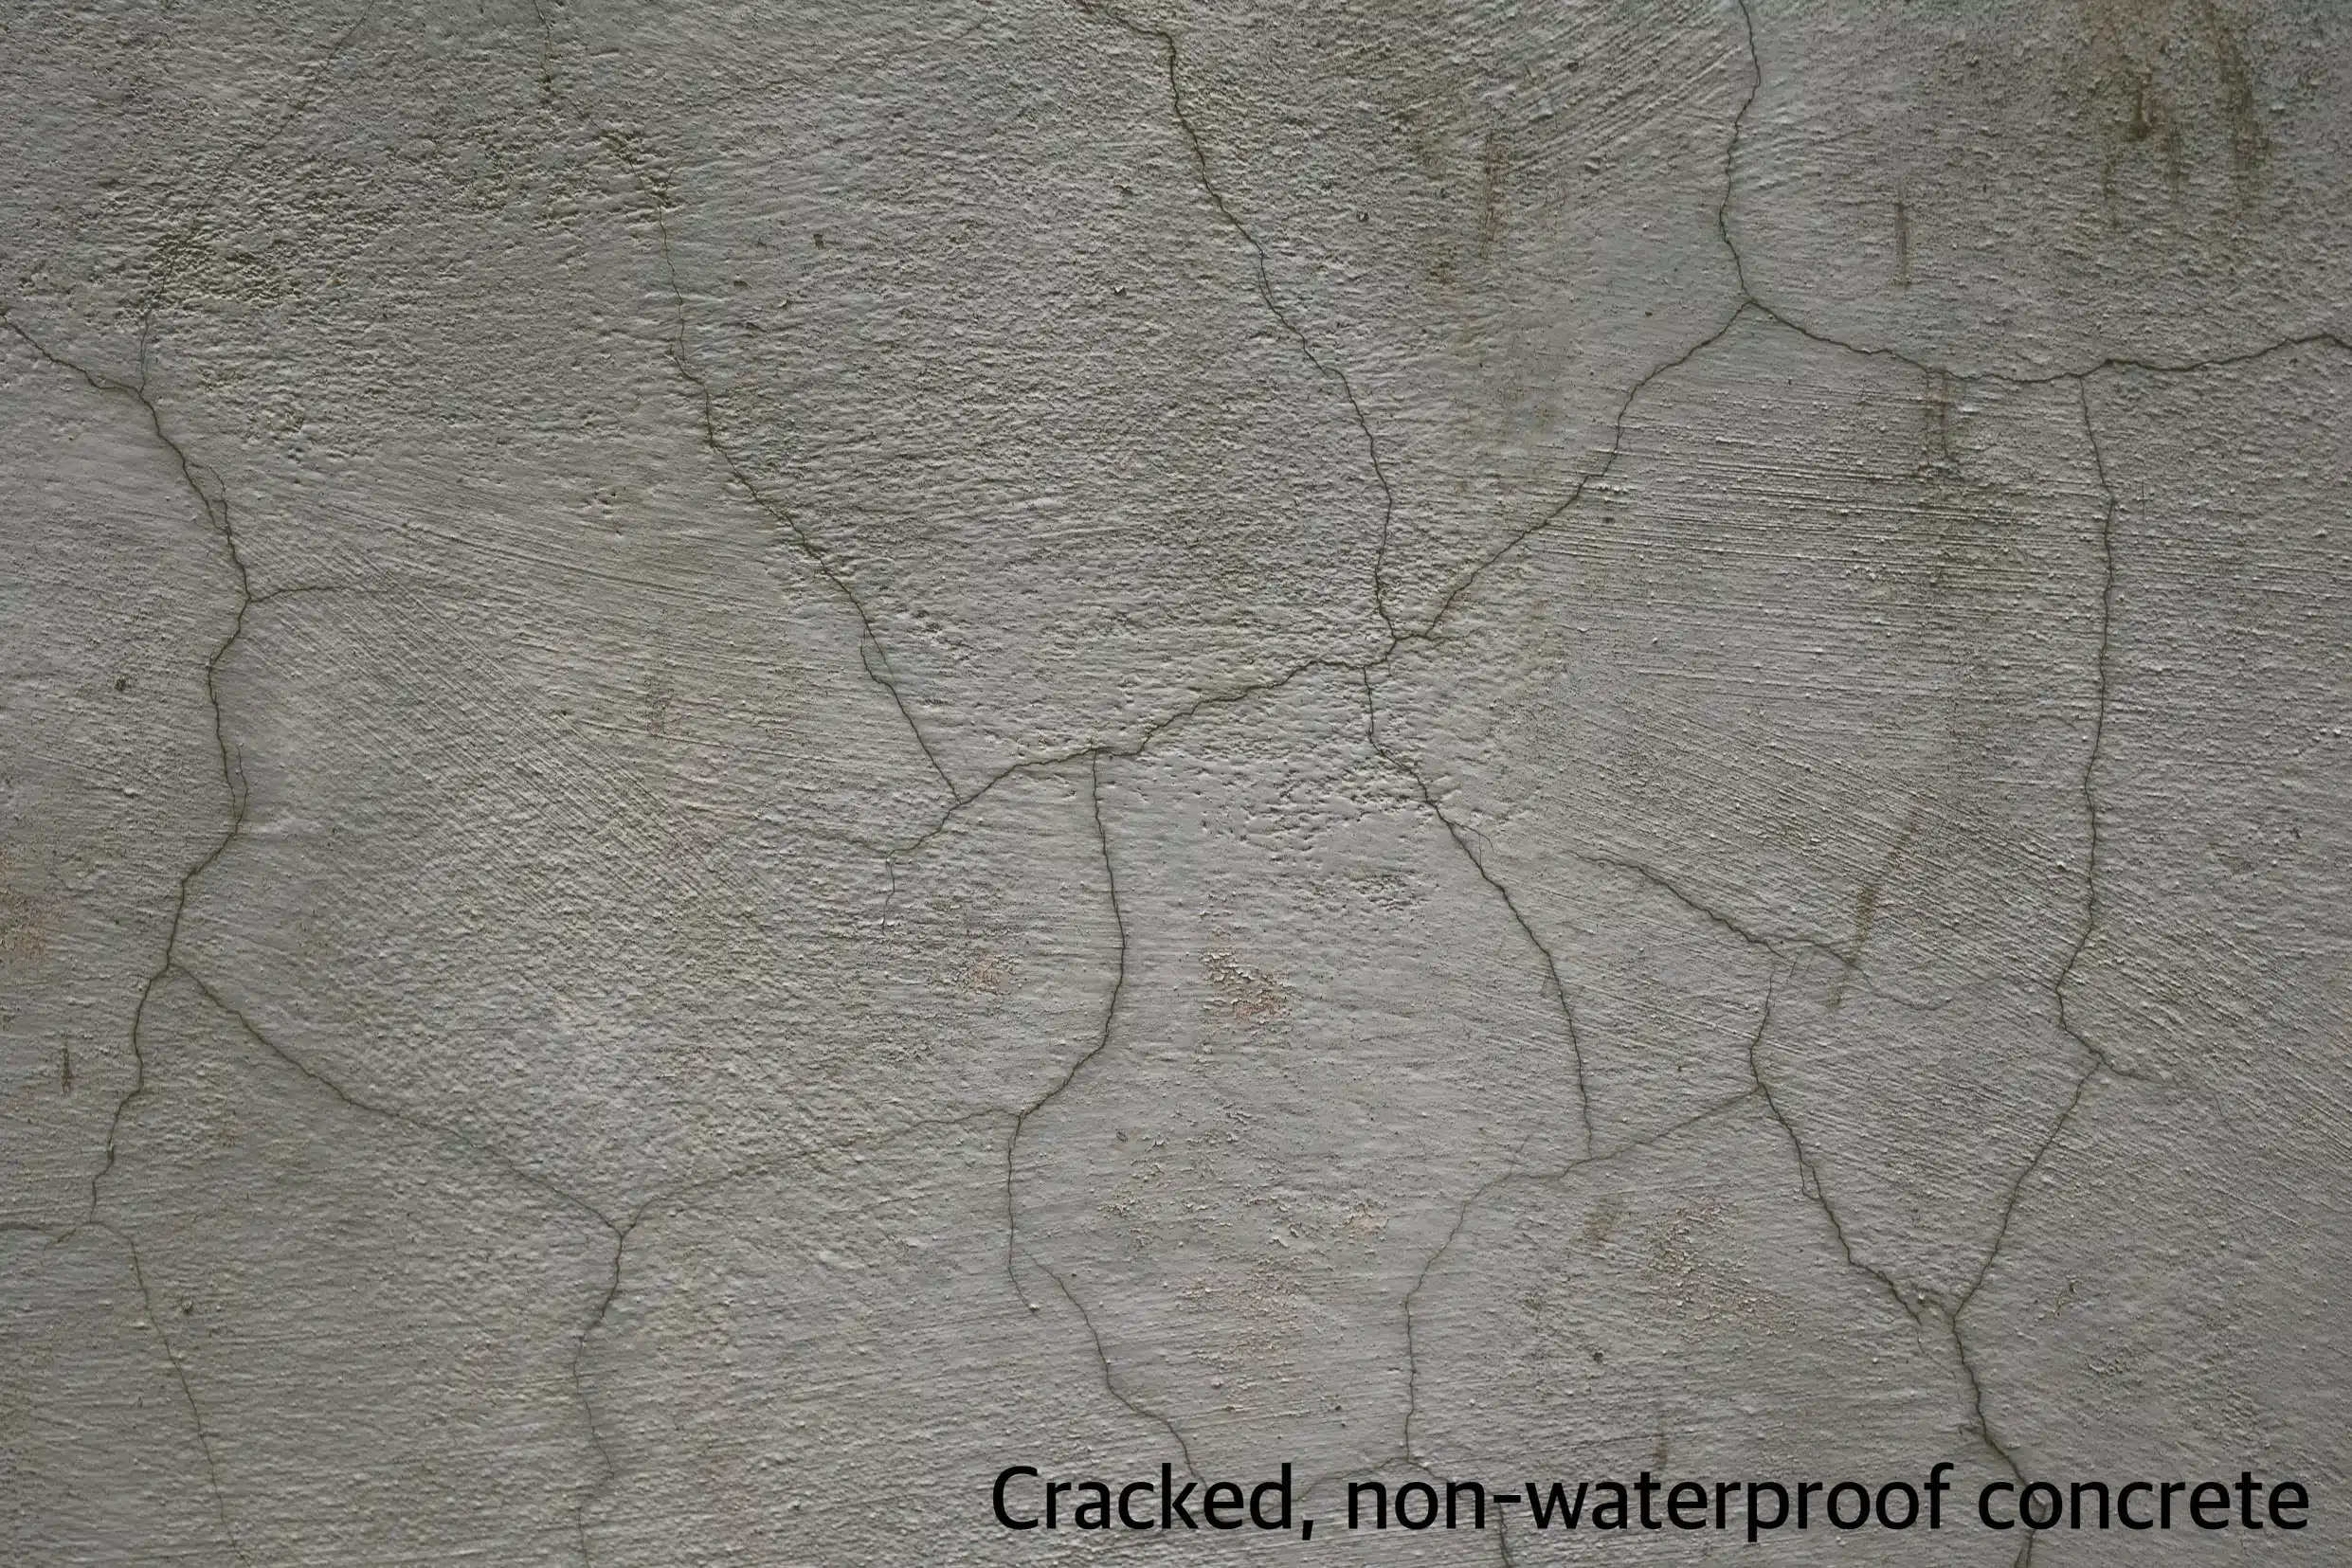
Bowing Block Foundation Walls
- Concrete shrinkage: As concrete cures, it naturally shrinks, which can lead to the formation of small cracks.
- Thermal expansion and contraction: Changes in temperature can cause concrete to expand and contract, leading to the development of cracks.
- Ground settlement: Uneven or poorly compacted soil beneath the foundation can cause settling foundation, resulting in cracks in the basement walls.
- Hydrostatic pressure: High levels of groundwater or poor drainage can cause hydrostatic pressure to build up against the foundation walls, leading to cracks.
- Hammer and chisel
- Wire brush
- Shop vacuum or air compressor
- Concrete crack repair epoxy or polyurethane injection kit
- Injection ports
- Putty knife
- Trowel
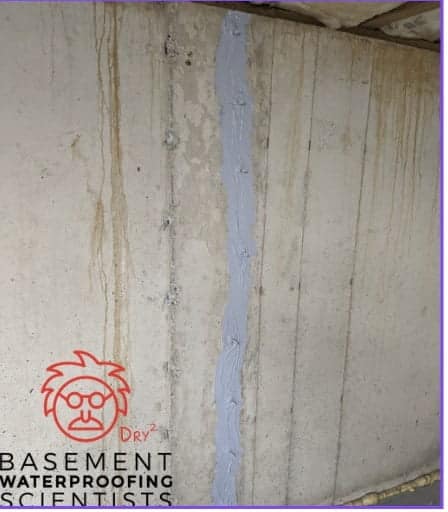
Step-by-Step Guide to Repairing Cracks in Poured Concrete Walls
- Identify the crack: Before starting the repair process, it’s essential to determine the type and severity of the crack. This will help you decide on the appropriate repair method and materials required.
- Clean the crack: Use a hammer and chisel to remove any loose debris from the crack. Follow up with a wire brush to clean the crack’s surface thoroughly. Finally, use a shop vacuum or an air compressor to remove any remaining dust and debris.
- Apply the epoxy or polyurethane: Select a suitable concrete crack repair epoxy or polyurethane injection kit based on the crack’s size and location. Follow the manufacturer’s instructions for mixing and preparing the repair material.
- Install injection ports: Along the crack, insert the injection ports at regular intervals, typically 8-12 inches apart. Secure the ports in place using the epoxy or polyurethane adhesive.
- Seal the crack: Using a putty knife, apply a thin layer of the epoxy or polyurethane adhesive over the crack, covering the injection ports. Ensure the adhesive is applied evenly and smoothly to prevent any leaks during the injection process. Allow the adhesive to cure for the time specified by the manufacturer.
- Inject the repair material: Once the adhesive has cured, inject the epoxy or polyurethane into the crack through the injection ports. Start at the lowest port and work your way up, injecting the repair material until it begins to flow out of the next port. Cap the first port and continue the process until all ports have been injected.
- Remove the injection ports: After the epoxy or polyurethane has cured, remove the injection ports by chiseling them off the wall.
- Finish the surface: Use a trowel to smooth out the surface of the repaired crack, blending it with the surrounding concrete.
- Monitor the repaired crack: Keep an eye on the repaired area to ensure the crack does not reappear or worsen. If the problem persists, consult a professional for further assessment and repair.
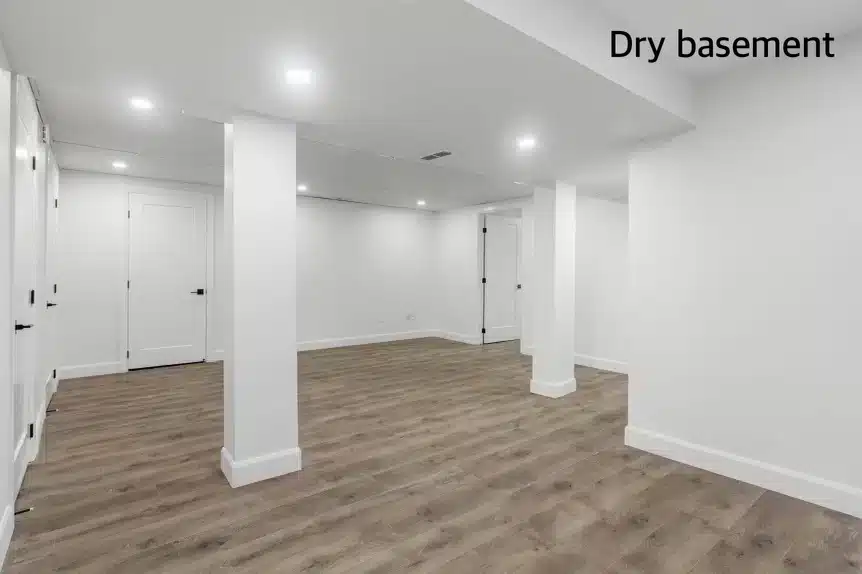 When should you call a waterproofing specialist?
When walls become out of plumb or leak for any reason you should call us as moisture intrusion can lead to mold growth. Basement Waterproofing Scientists are your top local service providers for basement waterproofing and foundation repair. We are a family owned contractor and provide services to Philadelphia homeowners who need interior waterproofing, stabilization reinforces bowing walls, cracking foundation, and basement floor leaking. Whether you have hairline cracks, or particularly large repairs needed give us a call. We offer work at a reasonable price. We are a reputable company, and can offer outdoor waterproofing, indoor waterproofing, and crawl space encapsulation with a permanent solution.
Basement Waterproofing Scientists is your local foundation repair company
When you need a foundation repair professional in the Philadelphia, PA area give us a call. We provide interior and exterior waterproofing, we’ll work with you on any foundation repair job whether large or small. We are foundation repair experts. Many customers want to know what the cost is to repair crumbling or cracking foundation or foundation cracks. All foundation issues can be repaired. When looking at foundation contractors, you want a company familiar with basement and crawlspace waterproofing science.
Basement Waterproofing Scientists is here for Philadelphia Homeowners
When you call us, contact you’ll get a free inspection and free estimate for the work we propose. We are your best local service providers for long foundation repairs, french drain, mold remediation, and exterior waterproofing. When shopping for price on a foundation repair contractor, our customers report that our pricing is very competitive. While some foundation repair companies try to use scare tactics, we offer a very straight forward pricing process for structural repair and leak repair.
Give us a call today, we offer free estimates, proven solutions for permanently solving basement leaks and foundation repairs.

Get a Free Estimate !
Frequently Asked Questions
Why Are My Basement Walls Bowing?
Your content goes here. Edit or remove this text inline or in the module Content settings. You can also style every aspect of this content in the module Design settings and even apply custom CSS to this text in the module Advanced settings.
Is Mold Dangerous in a Basement or Crawl Space?
Your content goes here. Edit or remove this text inline or in the module Content settings. You can also style every aspect of this content in the module Design settings and even apply custom CSS to this text in the module Advanced settings.
Why is my Basement Damp?
Your content goes here. Edit or remove this text inline or in the module Content settings. You can also style every aspect of this content in the module Design settings and even apply custom CSS to this text in the module Advanced settings.
Who is the expert basement waterproofing services provider in Pennsylvania?
We are Basement Waterproofing Scientists in Pennsylvania offering professional basement waterproofing services. With over 30 years of combined experience, our team specializes in diagnosing water intrusion issues and crafting tailored solutions that address the root causes. We provide free inspections, lifetime warranties, and transparent pricing so you can protect your home with confidence and trust.
Where can I book online basement waterproofing services in Pennsylvania?
You can easily book a free inspection and estimate online at our website. Simply visit the basement waterproofing section of basementwaterproofingscientists.com and complete the contact form. Our responsive team will promptly reach out to schedule your consultation at a time that fits your schedule, making the process convenient and efficient.
What are common signs that I need basement waterproofing services?
Typical indicators that your basement may need waterproofing include a musty smell, visible mold growth, water stains, peeling paint, increased humidity, or seepage during heavy rain. If you notice any of these signs, it is essential to act quickly. Our experts will assess your space during the inspection and recommend the most effective solution to keep your basement dry and safe.
How much does basement waterproofing cost in Pennsylvania?
Our cost of waterproofing basements varies depending on your home’s unique characteristics: the size and shape of your basement, soil conditions, groundwater pressure, and any local permit requirements. Custom layouts or high water tables may increase the price. We tailor each estimate to your exact needs and include all necessary permits and materials. Reach out for a free, personalized estimate based on your property’s specific details.
How do I hire the right contractor for basement waterproofing in Pennsylvania?
We are expert basement waterproofing contractors in Pennsylvania providing targeted solutions based on our extensive experience. Look for proper licensing, clear pricing and dependable warranties when choosing a contractor. At Basement Waterproofing Scientists we offer free inspections, lifetime guarantees, and detailed written estimates. Our work is guided by precision, transparency and a focus on your long-term satisfaction.
How long does basement waterproofing typically take?
The time required depends on the complexity of the project. Simple interior methods like sealants can take one to three days. Larger or more comprehensive systems may require one to two weeks to complete. We always provide a clear timeline based on your home’s specific needs.
What methods are used in basement waterproofing?
We use a variety of methods including interior drainage systems, sump pump installation, crack sealing, concrete coatings and waterproof membranes. Interior solutions are generally more affordable, while exterior methods address water intrusion comprehensively. Every plan is customized to your basement’s situation for long-lasting protection.
Is basement waterproofing covered by homeowners insurance?
In most cases, insurance does not cover the cost of installing a waterproofing system. Some policies may cover damage resulting from sudden events such as burst pipes or flooding. It’s always best to review your own policy. Regardless, investing in preventative waterproofing can save you from expensive repairs down the road.
Can basement waterproofing increase my home’s value?
Definitely. Waterproofing enhances your basement’s livability while protecting against mold and structural issues. This increases usable space, improves comfort and boosts resale value. Many homebuyers prioritize a dry and healthy basement, making this a smart investment for both current use and future sale.
Are financing options available for basement waterproofing?
Yes we offer financing options to help make this important improvement more affordable. During your consultation we can discuss flexible payment plans that fit your budget. Our goal is to ensure homeowners in Pennsylvania can secure a dry, protected basement without financial strain.

