Basements tend to be the most vulnerable part of the house when it comes to water intrusion, with basement walls often being the first areas to show signs of water seepage. This can cause wet basements, resulting in mold growth, rotted wood, and a myriad of other problems. The solution to these problems lies in basement waterproofing: a necessary measure to keep your basement dry and prevent water damage.
First Step of Waterproofing Basement Walls
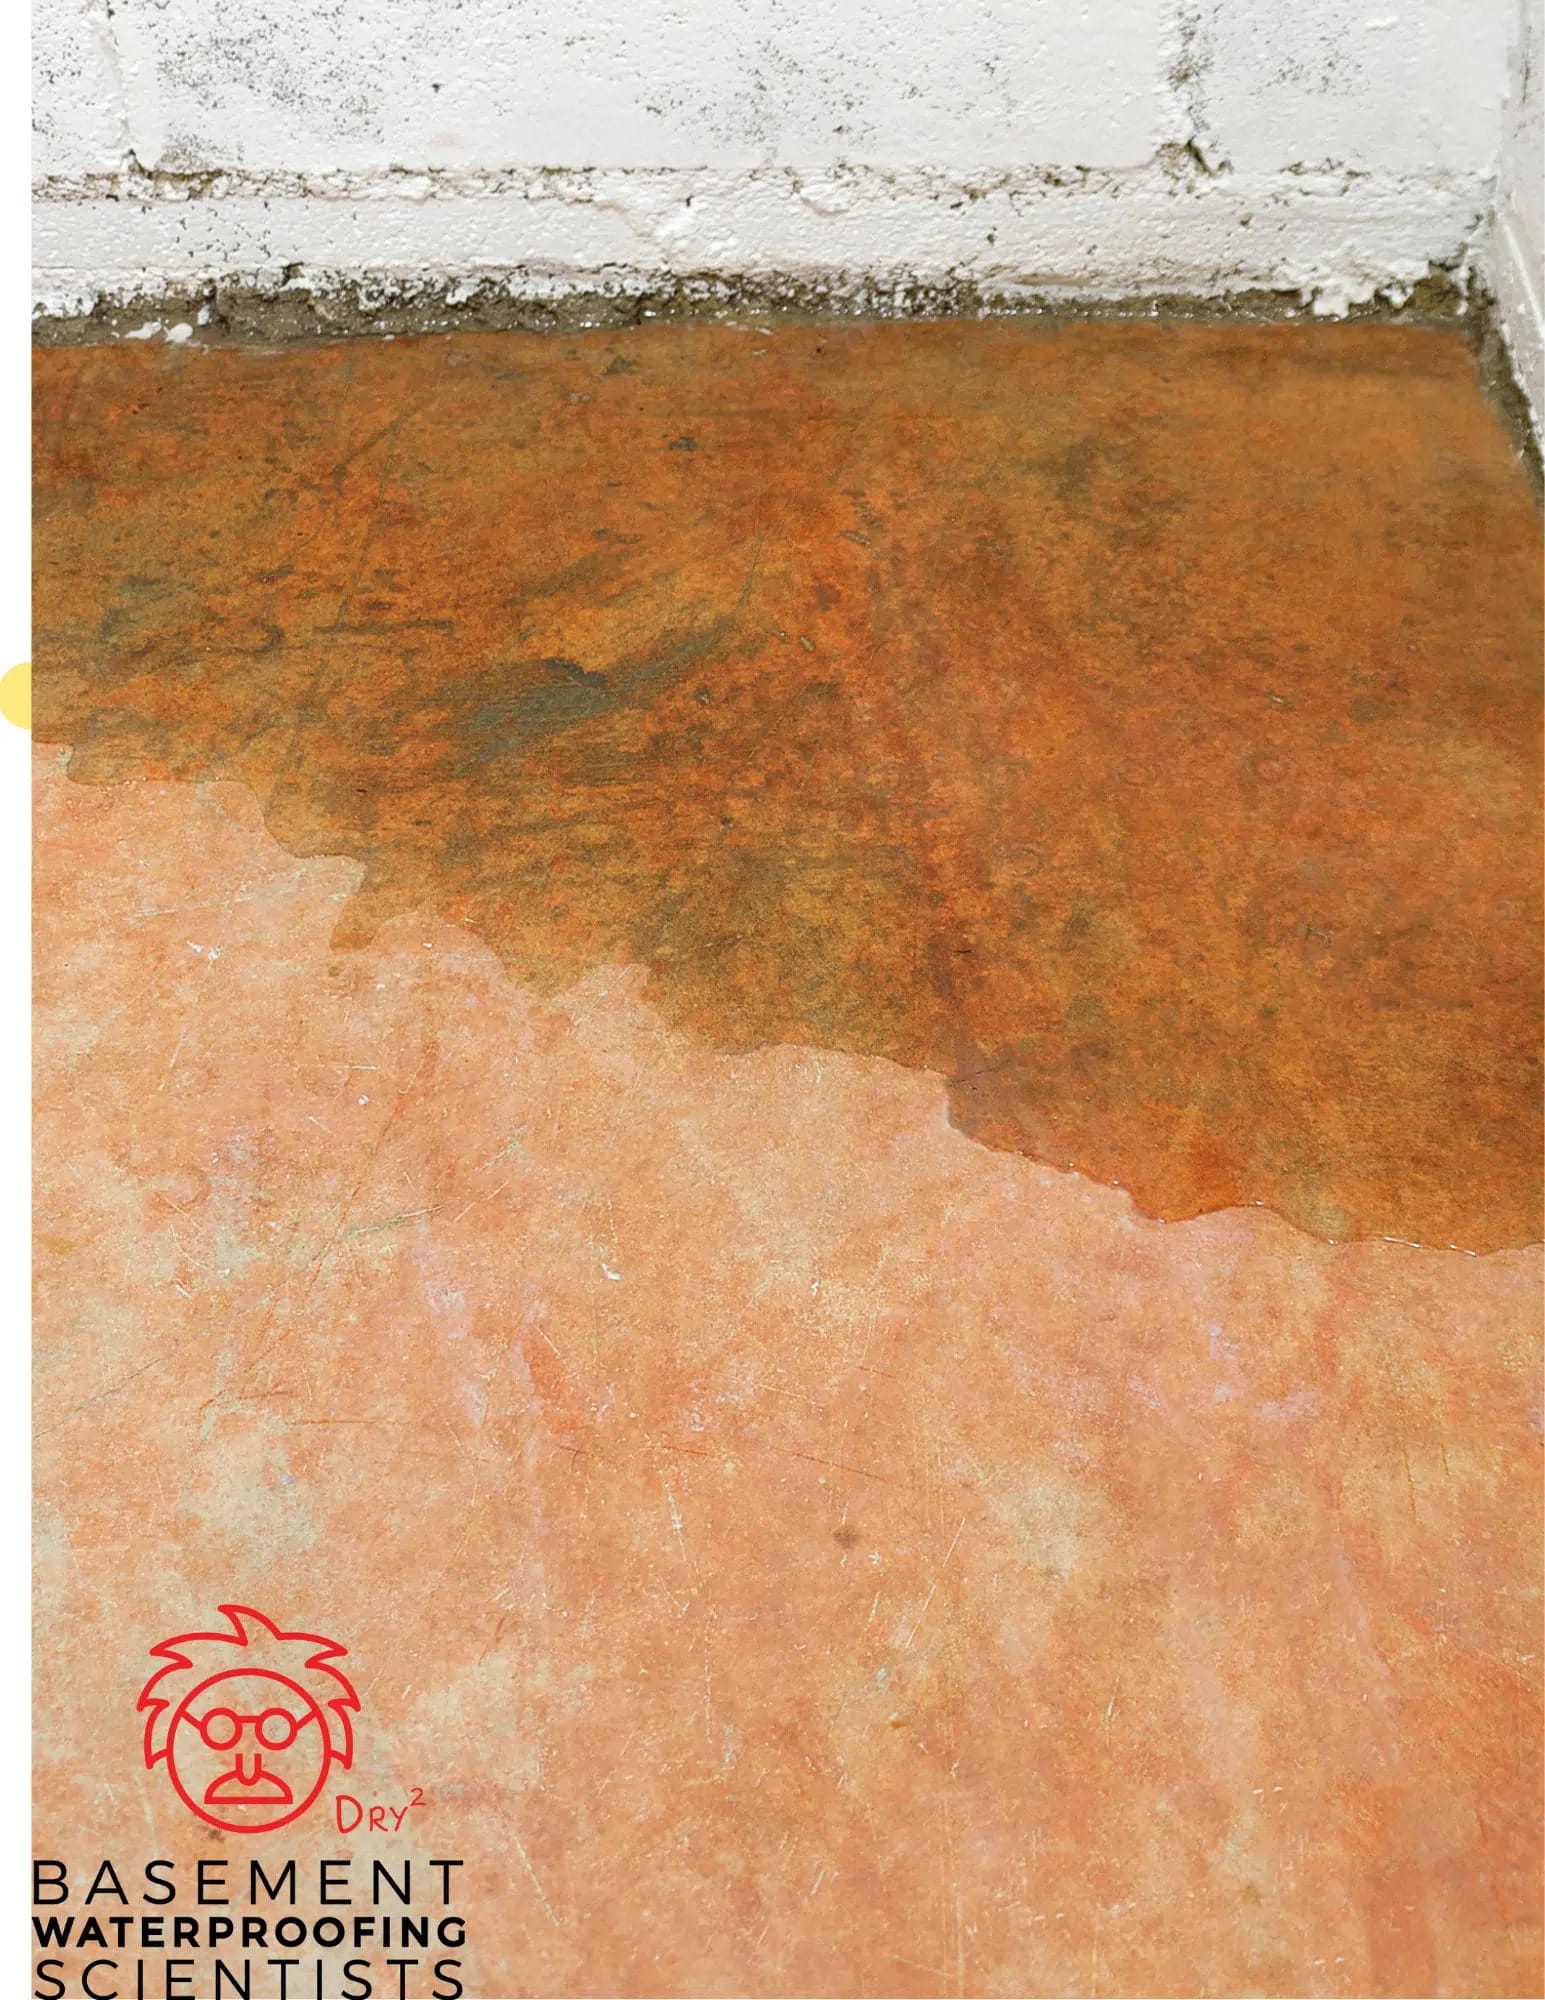
Waterproofing basement walls starts with a thorough inspection of your basement for any signs of water. These signs can be excess water pooling on your basement floor, a small puddle forming in the corner, or even a tiny trickle seeping through cracks in the walls. If you spot any signs of water, you should act swiftly to waterproof your basement and prevent further water damage.
Concrete or Masonry Walls
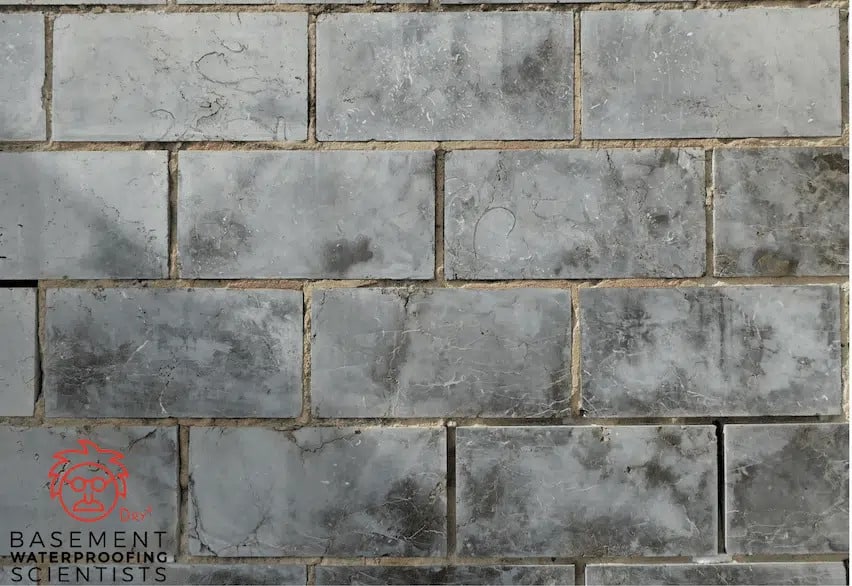
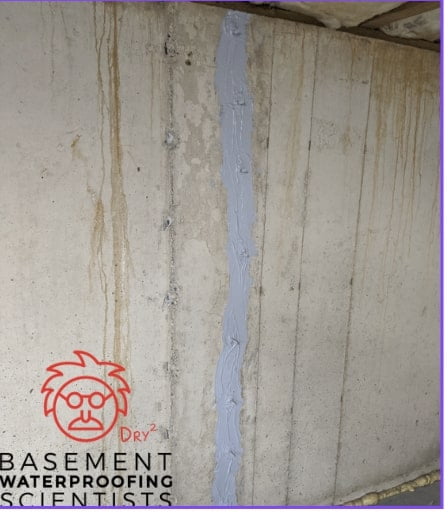
If your basement walls are concrete or masonry walls, start the waterproofing process by cleaning them thoroughly. Remove any old paint and existing paint using a wire brush and, if necessary, muriatic acid to remove efflorescence. Then, use hydraulic cement to fill cracks and plug holes, ensuring you form a watertight bond. It’s also essential to repair any rotted wood around window wells, exterior walls, and egress basement doors before proceeding.

Once you’ve prepared the surface, it’s time to apply a waterproof coating to your walls. Waterproofing products vary, but an effective option is a masonry waterproofing product which adheres well to concrete and masonry surfaces. Follow the manufacturer’s instructions closely, applying the coating evenly and allowing it to dry completely. In some cases, a second coat might be necessary to completely waterproof your basement walls.
New Walls
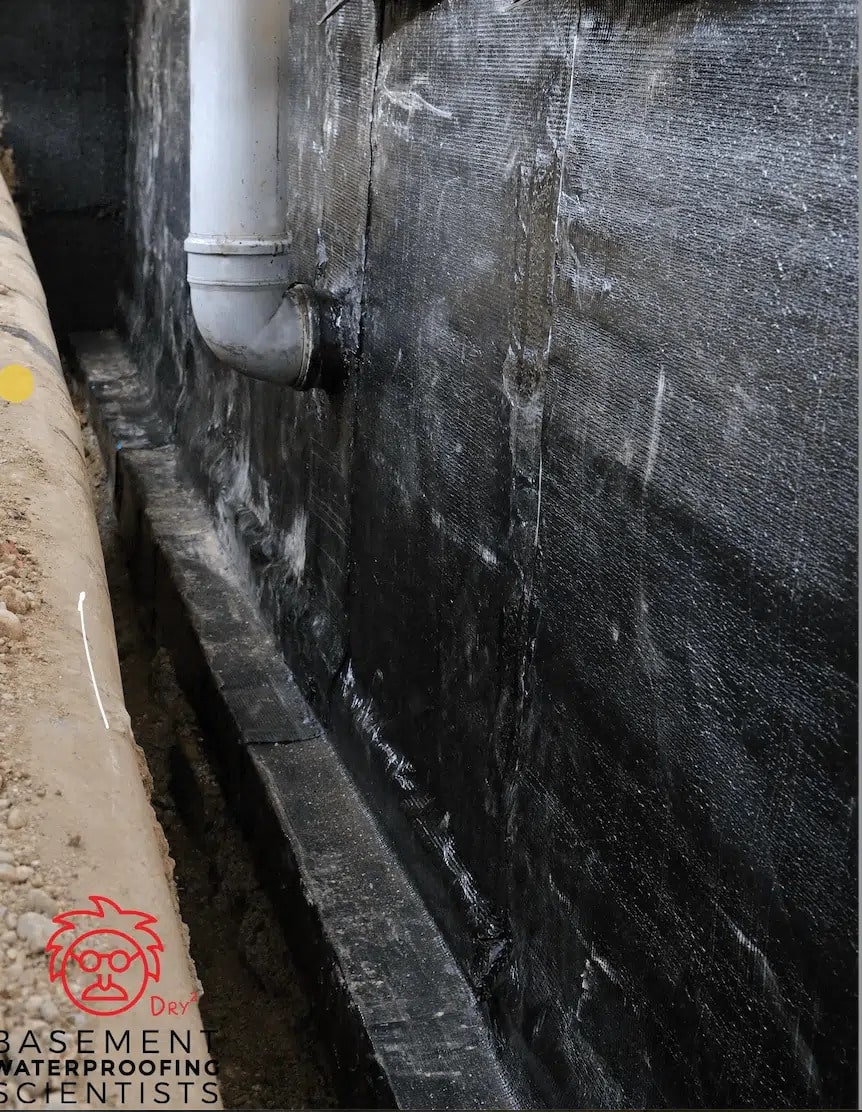
For new walls, applying a waterproof membrane on the exterior walls can be an effective exterior foundation waterproofing method. This membrane forms a sealant that prevents moisture from entering the walls. You should also consider installing an interior drainage system in your basement, such as a french drain, which helps to direct water away from your basement.
A Wet Basement is Often the Result of Drainage Problems
Improperly installed or clogged gutters can direct rainwater towards your foundation, leading to a wet basement. Keep your gutters clean and make sure they’re directing water away from the foundation. You may also need to install a sump pump and sump basin to handle any water that accumulates.

Waterproofing Plan
A good waterproofing plan involves both interior waterproofing and exterior waterproofing measures. From applying a waterproof coating to basement walls, installing an effective drainage system, and using products like concrete sealer and waterproof paint, every step helps prevent water seepage and keeps your basement dry.
Bear in mind that basements vary greatly in square feet, so plan accordingly. The foil test, where a piece of aluminum foil is taped to the wall and checked after a few days for any moisture, can be a helpful tool to determine if there’s high humidity or any water seeping through the concrete walls or concrete floor.
Lastly, always remember to keep an eye out for any signs of water intrusion, especially during heavy rainstorms. Waterproofing your basement is an ongoing process, and even after you’ve done everything right, you may still need to make minor adjustments and repairs over time. However, most homeowners find that the effort is well worth it, as a dry basement contributes significantly to the overall health and value of the house.
Steps to Waterproof Your Basement
When it comes to maintaining your house, one of the most crucial tasks is basement waterproofing. A dry basement not only adds to your home’s livability but also prevents potential health hazards, such as mold and mildew, which thrive in wet basements. Waterproofing basement walls can be a daunting task but is a necessary measure to ensure the longevity and safety of your home. Here are some steps to completely waterproof your basement:
1. Inspect Your Basement:
Start by thoroughly inspecting your basement walls and basement floor. Look for signs of water damage such as discoloration, efflorescence (a white, powdery substance that can form on damp surfaces), and standing water. If water accumulates in your basement after a rainstorm, you’ve got a clear sign that waterproofing your basement should be a priority.
2. Determine the Source of the Moisture:
The next step in basement waterproofing is to figure out where the moisture is coming from. Moisture can seep in from outside, due to hydrostatic pressure on the exterior walls, or it can be a result of high humidity levels inside the house.

3. Prepare Your Basement Walls:
Before you can waterproof basement walls, they must be prepped. This involves removing any existing paint or coatings, using a wire brush if necessary. Then, use hydraulic cement to fill any cracks or holes in the walls, creating a smooth surface on which to apply the waterproof coating.
4. Apply Waterproof Coating:
Now, it’s time to apply a waterproof coating. There are several different types of coatings available, so choose one that’s appropriate for your basement’s specific needs. Be sure to follow the manufacturer’s instructions for the best results.

5. Implement Drainage Systems:
Proper drainage systems are essential in the battle against a wet basement. This can involve the installation of a sump pump to remove any water that collects in the basement, as well as improvements to your home’s gutter system to direct water away from the foundation of your house.
6. Consider Exterior Waterproofing:
In some cases, interior waterproofing may not be enough, especially if your home is prone to heavy rainfall or flooding. Exterior waterproofing involves installing a waterproof membrane on the outside of your basement walls, which can help prevent moisture from making its way into your basement in the first place.
7. Keep Your Basement Dry:
Once you’ve waterproofed your basement, it’s crucial to keep it dry. This can involve running a dehumidifier to control humidity levels, checking regularly for signs of moisture, and making any necessary repairs or improvements to keep water out.
8. Install An Egress Door:
Finally, consider installing an egress door in your basement. This not only provides a safe exit in case of emergency but also adds value to your home and can help to reduce humidity levels.
Remember that every house is different, and what works for one might not work for another. The size of your basement (in square feet), the climate in your area, and the specific conditions of your home can all impact what kind of waterproofing methods you should use. But by taking a proactive approach and following these steps, you can help to ensure a dry, safe, and comfortable basement for years to come.

