Protect Your Foundation from Water Damage
Installing drain tile for gutters is a proven method to redirect rainwater away from your home’s foundation, preventing costly basement flooding and structural damage. This underground drainage system captures water from your downspouts and channels it to a safe outlet.
Quick Installation Overview:
- Plan the route – Map a path from downspout to outlet with a 1% minimum slope.
- Dig the trench – Dig 6-8 inches deep, maintaining a consistent downward grade.
- Connect the system – Use solid PVC or corrugated pipe with proper fittings.
- Install the outlet – Choose a pop-up emitter, dry well, or daylight discharge.
- Test and backfill – Run water through the system before covering the trench.
Gutters and downspouts are a good first step, but if water isn’t carried far enough away, it will collect against the foundation and seep into your basement or crawl space. Extending your drainage system underground is the solution.
Installing drain tile creates a permanent, sloped pathway for water. A 1% grade (a 4.8-inch drop over 40 feet) is enough to keep water flowing. The farther the pipe extends, the more slope you achieve, ensuring the system empties completely to prevent freezing or mosquito breeding.
I’m Darin Garvey, and with 30 years in basement waterproofing, I’ve seen how proper installing drain tile for gutters prevents foundation damage that averages $4K to $8K in repairs. This guide will walk you through creating a reliable drainage system to protect your home.

Why You Need to Channel Gutter Water Away from Your Home
When gutter water dumps near your foundation, it creates a recipe for disaster. Installing drain tile for gutters solves the “pipe to nowhere” problem, where short extensions create a concentrated flood zone right next to your house.
Oversaturated soil from roof runoff creates hydrostatic pressure against basement walls. This pressure forces water through cracks and porous spots in your concrete, leading to leaks. In our Wet Basement Repair work, this is one of the most common issues we see.
The problems extend beyond wet basements. Uncontrolled runoff causes soil erosion, undermining your foundation’s stability. It can also ruin landscaping, create muddy puddles that breed mosquitoes, and make your yard unusable.
Foundation damage is expensive, with repairs often costing between $4K and $8K. Preventing these issues is always cheaper than fixing them. A proper underground drainage system channels water far away, keeping your soil stable, basement dry, and foundation protected.
If you notice musty odors, wall stains, or dampness, your home may already have poor drainage. See if you recognize these 8 Signs Your Basement Needs Waterproofing.
The good news is that installing an underground downspout system is a manageable DIY project that provides long-term protection for your home’s foundation.
Planning Your Project: Tools, Materials, and Layout
Proper planning is the key to a successful drainage system. Installing drain tile for gutters is straightforward, but a good plan ensures your system lasts for decades.
First, map out your route. Walk your property to find natural low spots, as your goal is to work with gravity. The farther you can channel water from your house, the better. Before digging, check local regulations about water discharge. Most importantly, call 811 or visit the 811 website to have underground utilities marked. This free service prevents dangerous and expensive accidents.

Essential Tools and Materials
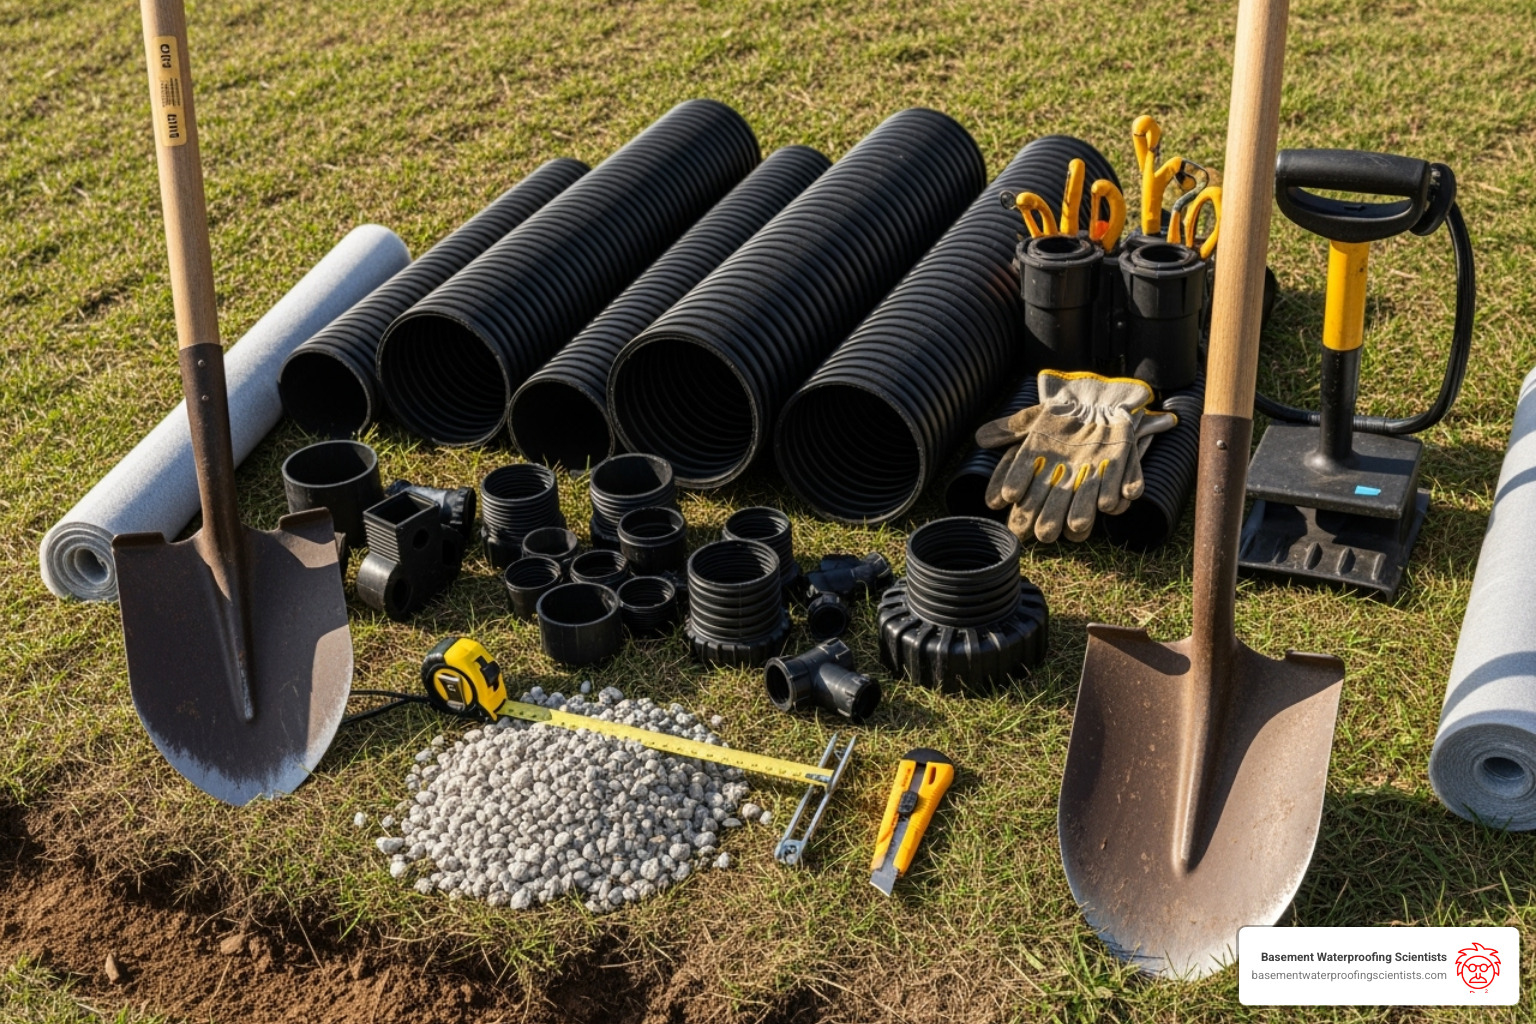
Gather your supplies before you start.
- Tools: Shovel or trenching tool, tape measure, level, string line, stakes, safety glasses, gloves, and a garden hose for testing.
- Materials: Drainage pipe, downspout adapters, fittings (elbows, couplers), PVC cement and primer (for PVC pipe), gutter sealant, screws, an outlet (pop-up emitter, dry well, or drain cover), gravel or pea stone, and landscape fabric.
Choosing the Right Pipe for Your Project
Your pipe choice affects the system’s longevity.
- Solid PVC Pipe: This is the best option for installing drain tile for gutters. It’s durable, crush-resistant, and has a smooth interior that prevents clogs. While it costs more and requires precise installation, its reliability is worth the investment.
- Corrugated Pipe: This flexible, budget-friendly option is easier to install around obstacles. However, its ridges trap debris like shingle grit, leading to clogs over time.
We recommend 4-inch solid PVC pipe for most projects. If you use corrugated pipe, choose a non-perforated version and be prepared for more frequent maintenance.
Mapping the Best Path for Your Drain Tile
Find the ideal path to move water far from your house, using your property’s natural slope.
- Find the Outlet: Locate the lowest point on your property (a street, ditch, or low area) where water can discharge without affecting neighbors or other structures.
- Distance is Key: Aim for at least 10-15 feet from the foundation, but farther is better. A longer run allows for more slope, ensuring the pipe drains completely and prevents standing water.
- Plan for Slope: A minimum 1% slope is required. This equals a 1-foot drop for every 100 feet of pipe. For a 40-foot run, this is just under a 5-inch drop.
- Steer Obstacles: You may need to dig deeper to go under sidewalks or patios while maintaining the slope.
- Combine Downspouts Correctly: If merging lines from multiple downspouts, always use WYE fittings, not T-fittings. WYE fittings maintain smooth flow and prevent turbulence that causes clogs.
The Step-by-Step Guide to Installing Drain Tile for Gutters
With the planning complete, you’re ready for the installation. Installing drain tile for gutters is a manageable weekend project when broken down into these four phases. A methodical approach is key to a long-lasting system.
Step 1: Digging the Trench with the Correct Slope

This is the most physically demanding step, but getting it right is crucial.
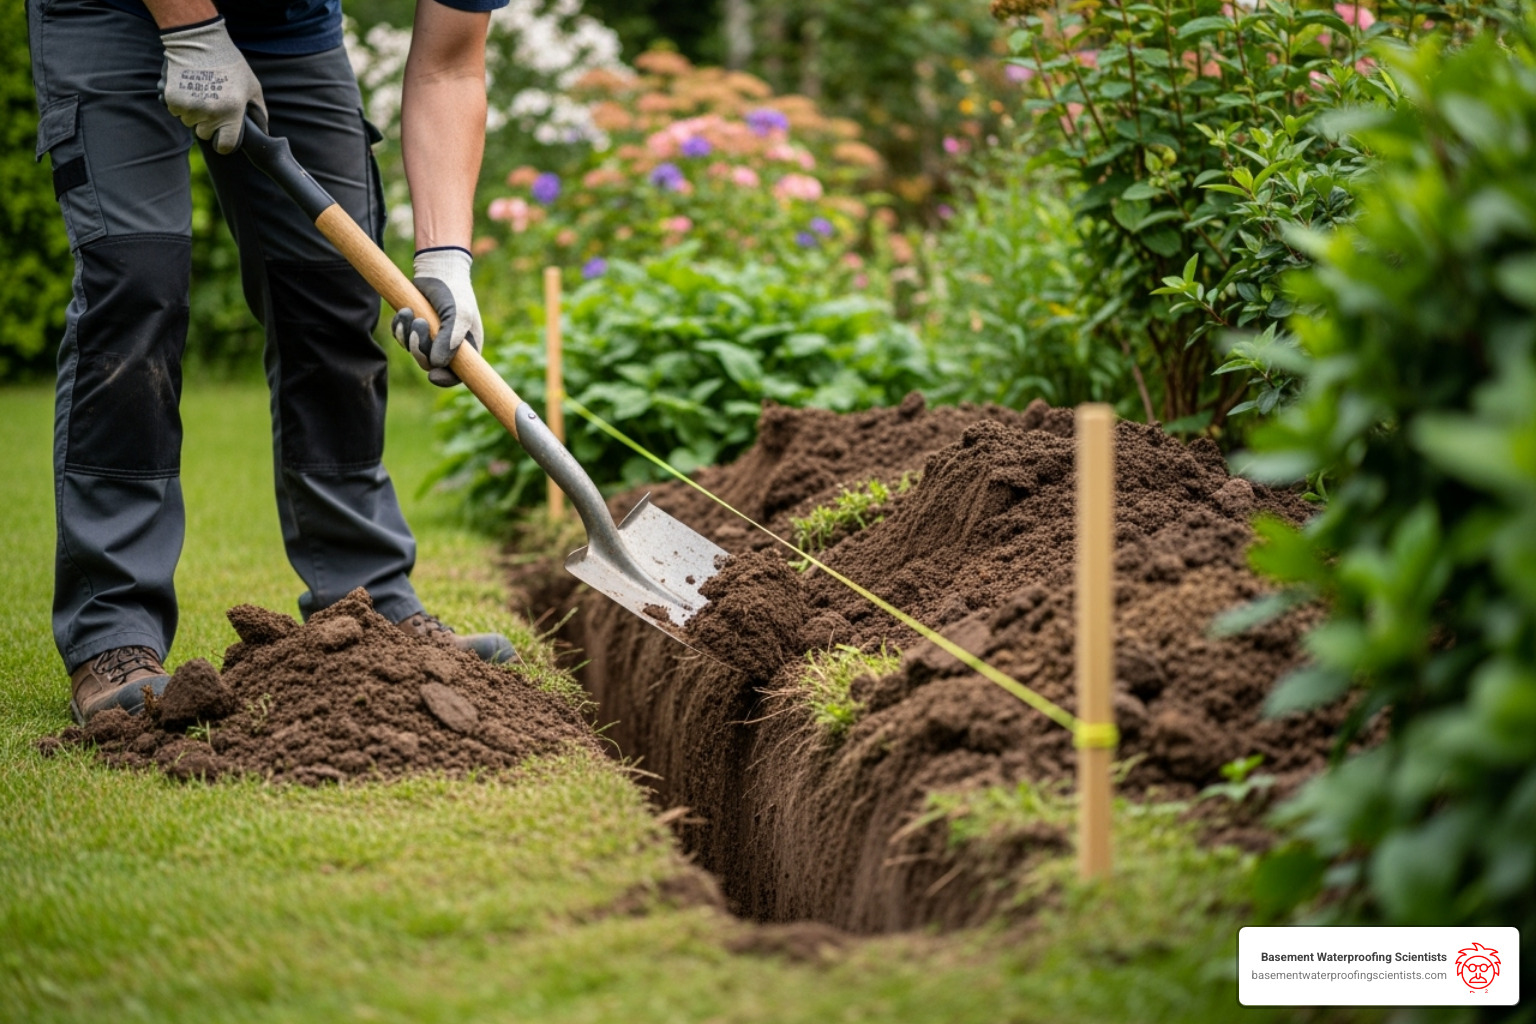
- Mark your path with stakes and a string line to keep the trench straight and act as a slope guide.
- Dig the trench about 6-8 inches wide for a 4-inch pipe. Start at a depth of 6-8 inches near the downspout.
- Ensure a 1% minimum slope, which is a 1-foot drop over 100 feet. Use your string line to measure the depth as you dig, ensuring a consistent downward grade.
- Avoid “bellies” or low spots in the trench. These areas trap debris and will cause clogs. A consistently sloped trench is the hallmark of a professional installation. For hard soil, consider renting a trencher.
Step 2: Connecting the Downspout and Laying the Pipe
Now it’s time to assemble the system.
- Connect the downspout adapter by applying gutter sealant inside the adapter, sliding it over the downspout, and securing it with screws. Add more sealant around the rim for a watertight seal.
- Manage debris by installing an inline catch basin or cleanout near the downspout. This traps shingle granules and makes maintenance easier.
- Lay the pipe starting from the downspout. Ensure it rests evenly on the sloped trench bottom. For PVC, use primer and cement on every joint for a permanent, watertight bond.
- Ensure all connections are watertight to prevent leaks that would undermine the system.
For more technical details, see our Drainage Tiles Complete Guide.
Step 3: Choosing and Installing the System Outlet
The outlet is where water safely exits the system.

- Pop-up emitters are a great choice. They sit flush with the lawn, open under water pressure, and close when the flow stops. Install them with a “soak-away” base of gravel lined with landscape fabric to prevent standing water and freezing.
- Dry wells are underground chambers that allow large volumes of water to percolate into the soil. They work well in areas with good soil drainage.
- Daylighting the pipe involves running the pipe to a natural slope on your property. Ensure the discharge point won’t cause erosion or affect neighbors.
- Grated drain outlets are a permanent, visible option that is less likely to be damaged by lawn equipment.
A proper outlet is especially critical for homes with crawl spaces, integrating with a complete Crawl Space Drainage System.
Step 4: Testing and Backfilling
Don’t skip this final check.
- Test the system by running a garden hose into the downspout. Watch the entire line for leaks and ensure water flows steadily to the outlet. Check that your pop-up emitter opens correctly or that your dry well accepts water without backing up.
- Backfill the trench once you’ve confirmed there are no leaks. If you used gravel, cover it with landscape fabric first. Add soil back in layers, tamping lightly to remove air pockets.
- Finish the job by creating a slight mound of soil over the trench to account for settling. Restore the area with seed or sod.
This careful approach to installing drain tile for gutters ensures your system will provide peace of mind for years.
Keeping Your System Flowing: Maintenance and Troubleshooting
After installing drain tile for gutters, routine maintenance is necessary to keep it flowing freely. Proactive care prevents clogs and ensures your system protects your home for decades.
Preventing Clogs
The main causes of clogs are shingle grit, leaf debris, and sediment.
- Shingle Grit: Granules from asphalt shingles settle in pipes. Inline catch basins or debris filters near the downspout help trap this material.
- Leaf Debris: Gutter guards are the best defense against leaves and organic matter entering the system.
- Sediment: Fine soil can accumulate, especially in corrugated pipe. Using smooth PVC pipe with a proper slope minimizes this issue.
Annual Maintenance Checks
Perform a check-up twice a year, in late fall and early spring.
- Inspect Gutters and Downspouts: Ensure they are clean and clear of blockages.
- Clean Catch Basins: Open any catch basins or cleanouts and remove accumulated debris.
- Check the Outlet: Clear any dirt or leaves from pop-up emitters or grated outlets.
- Flush the System: Run a garden hose into each downspout for several minutes to flush out minor sediment and confirm good flow.
Common Problems and How to Avoid Them
- Frozen Outlets: Standing water can freeze and cause blockages. Proper slope and a gravel soak-away pit at the outlet prevent this.
- Slow Drainage: This usually indicates a partial clog. Flushing the system can help, but persistent slowness needs investigation.
- Root Intrusion: Tree roots seek water from leaky joints or standing water in the line. Watertight connections are essential.
- Sagging Pipe (“Bellies”): Low spots in the line trap debris and cause clogs. This is caused by an improperly sloped trench and often requires re-digging the affected section.
Regular maintenance ensures your drainage system remains reliable. For more complex issues, our guide to Basement Drains offers further insights.
Frequently Asked Questions about Gutter Drain Tile
Here are answers to the most common questions we get about installing drain tile for gutters.
Can I connect my gutter drains to a French drain?
It is not a good idea to connect these two systems. They serve different purposes.
- A French drain uses perforated pipe to collect low volumes of groundwater from the soil.
- A gutter drain uses solid pipe to transport high volumes of roof water away from the house.
Connecting them will overwhelm the French drain. The high volume of water from the gutters will be forced out of the French drain’s perforations, saturating the soil near your foundation. It also introduces roof debris into a system designed for groundwater. Keep the systems separate. Our Sump Pump French Drain guide explains how these systems can work together properly.
How far should drain tile extend from the house?
The pipe should extend at least 10 feet, but farther is always better. A longer pipe allows you to create more slope, which ensures the line drains completely after a storm. A 40-foot run with a 1% grade provides nearly 5 inches of drop, which is enough to prevent standing water.
Standing water can freeze in winter or attract mosquitoes and tree roots in summer. Ensure the discharge location is in a safe area, like a low spot in the yard or a drainage ditch, where it won’t cause problems for neighbors.
Do I need a permit to install an underground drainage system?
Rules vary by city and county. Some locations require permits for residential drainage, especially if you discharge water to the curb or a municipal storm system.
Always call your local building department before you dig. A quick phone call can save you from having to redo the entire project if it doesn’t meet local codes. The permit process ensures your system complies with standards for pipe size, slope, and discharge location.
A Permanent Solution for a Dry and Stable Home
Installing drain tile for gutters is a smart investment in your home’s future. A properly installed and maintained system creates a permanent barrier against water damage, protecting your foundation for decades. You’ll no longer worry about water pooling near your foundation or face repair estimates that average $4K to $8K.
The long-term benefits include a stable foundation, a dry and usable basement, and protected home value. It’s preventive maintenance that pays dividends for years.
When to Call a Professional
While this is a manageable DIY project, some situations require expert help:
- Complex Layouts: Tricky terrain, multiple downspouts, or extensive hardscaping can complicate the job.
- Heavy Clay Soil: Digging through dense clay is difficult without specialized equipment.
- Persistent Water Issues: If DIY solutions haven’t solved your basement water problems, it’s time for an expert to find the root cause.
At Basement Waterproofing Scientists, we have 30 years of experience helping homeowners in Pennsylvania, New Jersey, and Delaware. Our specialized equipment allows us to pinpoint leak sources and provide permanent, guaranteed solutions, often for less than you’d expect.
For a comprehensive evaluation of your property’s drainage needs, explore our Basement Drain Systems. Sometimes, the best DIY decision is knowing when to call a professional.

