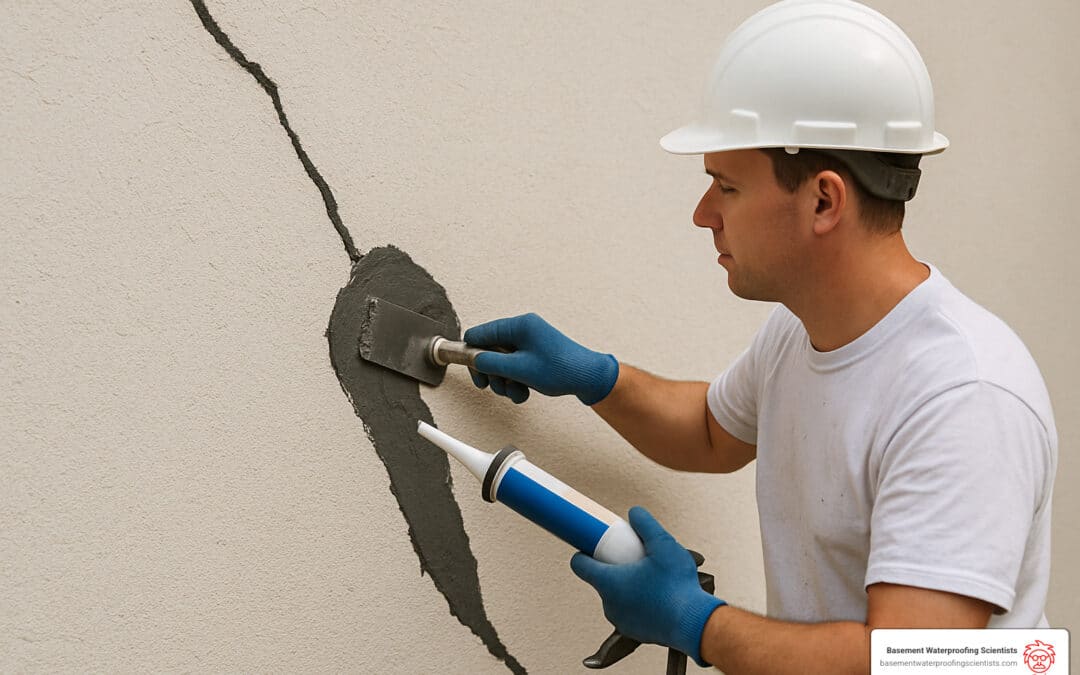
Why Exterior Wall Crack Repair Waterproofing Can’t Wait
Exterior wall crack repair waterproofing is a critical process that involves sealing foundation cracks from the outside, applying waterproof membranes, and installing drainage systems to prevent water infiltration into your basement. Here’s what you need to know:
Quick Answer for Exterior Wall Crack Repair Waterproofing:
- Excavate around the foundation to expose cracks
- Clean and prepare crack surfaces with wire brushing
- Apply polyurethane or epoxy resin into cracks
- Install rubberized membrane over sealed areas
- Add drainage board and French drain system
- Backfill with proper soil compaction
- Cost range: $1,500-$6,000 per crack (3x more than interior methods)
If you’ve ever seen water “literally squirting” through your basement walls during heavy rain—as many of our clients describe—you know that exterior wall cracks aren’t just cosmetic issues. They’re direct pathways for water, soil pressure, and structural problems that can slash your home’s value by up to 10%.
The research shows that foundation cracks almost always lead to wet basements if left untreated. Unlike interior repairs that only address symptoms, exterior crack repair tackles the root cause by stopping water before it reaches your foundation walls.
When Exterior Repair Is Your Only Option:
- Finished basement walls block interior access
- Cinder block or fieldstone foundations
- Severe structural movement requiring excavation
- Multiple failed interior repair attempts
I’m Darin Garvey, and with over 30 years of experience in basement waterproofing, I’ve seen how proper exterior wall crack repair waterproofing transforms flood-prone basements into dry, usable spaces. At Basement Waterproofing Scientists, we specialize in targeted exterior solutions that come with lifetime warranties—because when you’re dealing with your home’s foundation, there’s no room for temporary fixes.
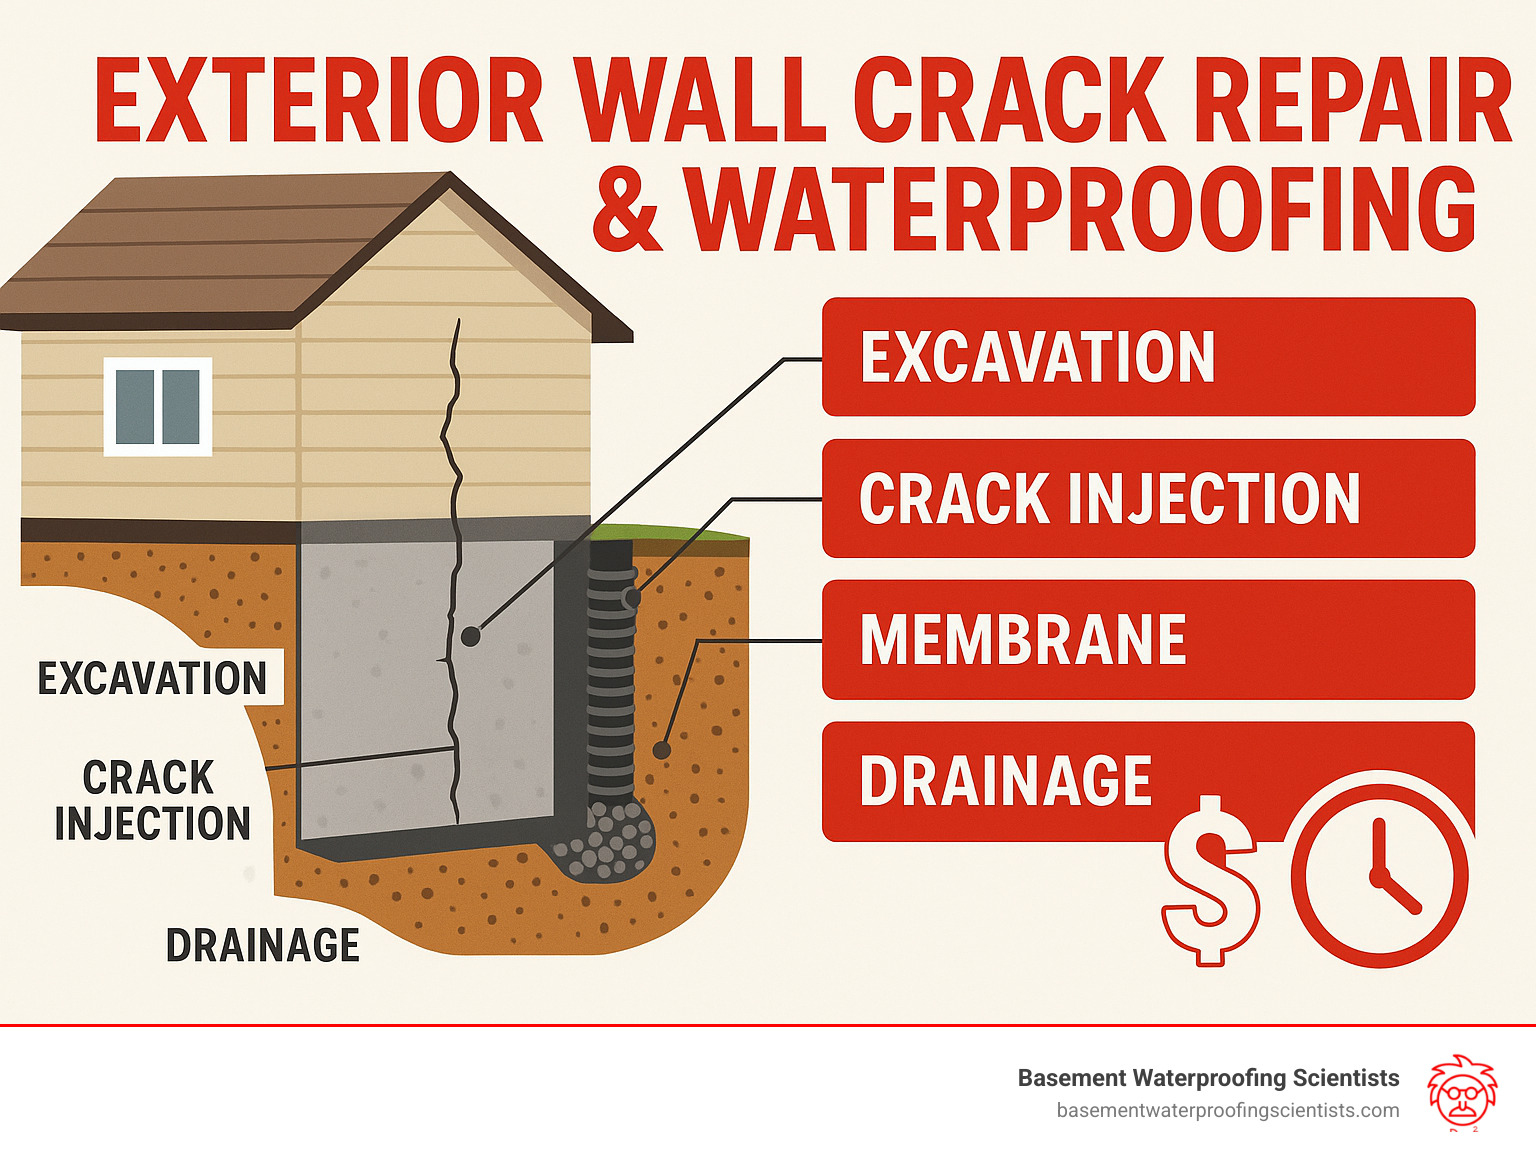
Key terms for exterior wall crack repair waterproofing:
Why Exterior Walls Crack & Why It Matters
Your foundation is constantly under attack. Soil shifts, hydrostatic pressure builds, and seasonal temperature swings make concrete expand and contract. When the stress becomes too great, cracks form—and water follows.
These fissures are not cosmetic. They give water, mold spores, and insects a direct path into your basement and can shave thousands off resale value.
Most Common Causes of Exterior Wall & Foundation Cracks
Foundation settling creates vertical cracks that widen as the house moves.
Expansive clay soils swell when wet and shrink when dry, pushing and pulling on your walls until horizontal cracks appear.
Freeze–thaw cycles turn harmless hairline cracks into major leak points after a few winters.
How Cracks Turn into Leaks
Water is sneaky. Through capillary action it can move through cracks thinner than a human hair, gradually enlarging them by erosion and freeze–thaw pressure until you see water actually “squirting” into the basement.
Early Warning Signs You Need Exterior Wall Crack Repair & Waterproofing
- Damp spots or water stains on walls
- Efflorescence—white, chalky deposits on masonry
- Musty odors from trapped humidity
- Bowed walls or widening joints
- Puddles after rain, even small ones
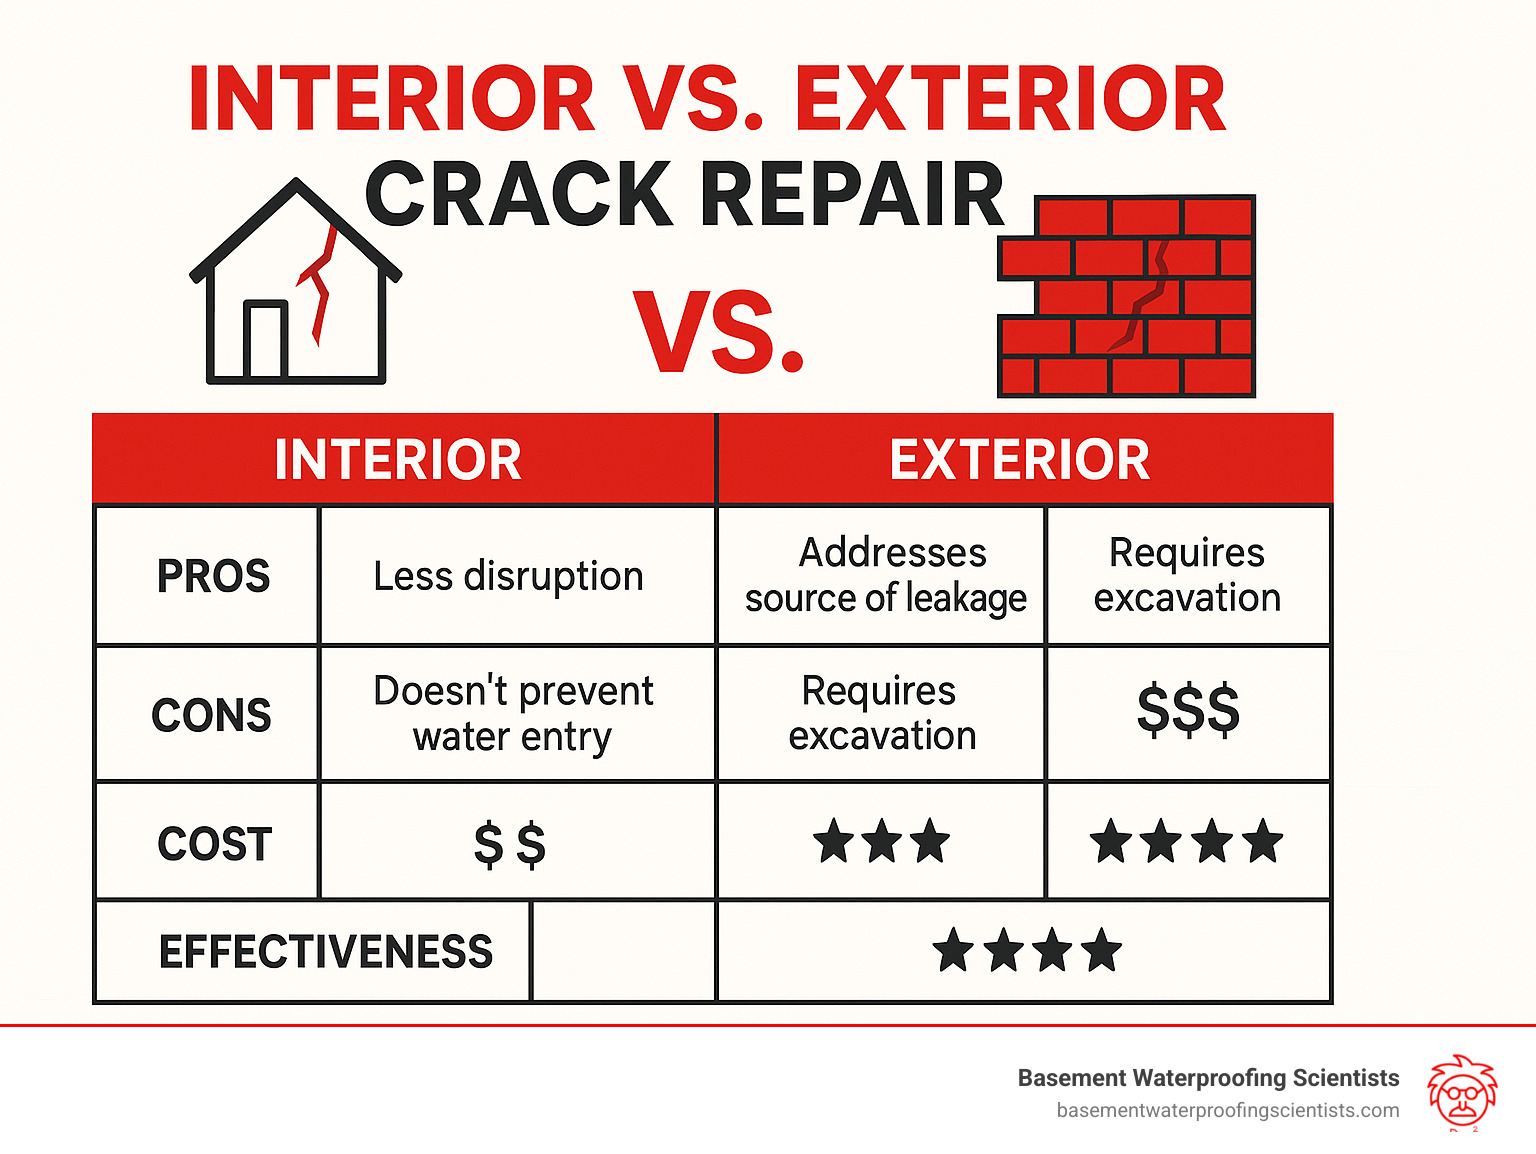
Exterior Wall Crack Repair Waterproofing: Interior vs. Exterior Battle
The choice between interior and exterior crack repair isn’t always straightforward. Each approach has distinct advantages and limitations that depend on your specific situation.
Repair Location Considerations: Interior repairs work from inside your basement, while exterior repairs require excavation around your foundation. The location affects everything from cost to disruption level.
Accessibility Issues: If your basement has finished walls, interior access may be blocked or require demolition. Conversely, exterior access might be complicated by landscaping, utilities, or neighboring structures.
Foundation Type Matters: Block foundations often require exterior repair because interior injection can’t effectively seal the hollow cores. Poured concrete walls typically work well with either approach.
Budget and Disruption: Interior repairs typically cost one-third of exterior methods and cause minimal disruption. Exterior repairs involve excavation, landscaping restoration, and higher labor costs but address root causes more comprehensively.
| Aspect | Interior Repair | Exterior Repair |
|---|---|---|
| Cost | $500-$1,500 per crack | $1,500-$6,000 per crack |
| Disruption | Minimal | Significant excavation |
| Weather Dependency | None | Weather-dependent |
| Effectiveness | 95% success rate | Addresses root causes |
| Foundation Access | Requires interior access | Requires exterior excavation |
| Warranty | 10+ years typical | Lifetime warranties common |
When Exterior Repair Is the Only Smart Choice
Blocked Interior Access: Finished basements with drywall, paneling, or built-in storage often make interior repair impractical or impossible without significant demolition costs.
Cinder Block or Fieldstone Foundations: These foundation types have hollow cores or irregular surfaces that interior injection can’t effectively seal. Exterior repair provides complete coverage of these complex foundation systems.
Severe Structural Cracks: Large horizontal cracks, step-pattern cracks in block walls, or cracks showing active movement often require exterior excavation to properly assess and repair the underlying structural issues.
Landscaping and Drainage Priorities: When your property has drainage problems contributing to foundation stress, exterior repair allows you to address both crack sealing and improved drainage in one comprehensive project.
Long-Term Drainage Solutions: Exterior repair lets you install French drains, improve soil grading, and create comprehensive moisture management systems that prevent future problems.
For more detailed information about when exterior sealing is necessary, visit our Exterior Foundation Sealing guide.
Step-by-Step Exterior Wall Crack Repair & Waterproofing
Exterior wall crack repair waterproofing is like performing surgery on your home’s foundation—it requires precision, the right tools, and a systematic approach that addresses both the symptoms and the root cause. After three decades of keeping Pennsylvania basements dry, we’ve refined our process into a proven system that tackles everything from hairline cracks to major structural issues.
The beauty of exterior repair lies in its comprehensiveness. Unlike interior band-aid solutions, we’re working from the outside where water actually starts its journey toward your basement. Think of it as building a fortress around your foundation rather than just patching holes after the enemy has already breached the walls.
Our exterior wall crack repair waterproofing process involves excavation to expose the foundation, thorough crack cleaning and preparation, application of flexible sealants or injection materials, installation of waterproof membranes, addition of drainage systems, and proper backfill with soil compaction. Each step builds on the previous one to create a comprehensive waterproofing system backed by our lifetime warranty.
What sets professional exterior crack repair apart from weekend DIY projects? We use specialized equipment to identify all leak sources—including hidden ones you can’t see. Our systematic approach addresses not just the visible cracks but the underlying soil conditions, drainage patterns, and structural factors that caused them in the first place.
The process typically takes 3-5 days depending on the extent of excavation required and weather conditions. Yes, it’s more involved than interior repairs, but when you’re dealing with foundation integrity and long-term home value, doing it right the first time makes all the difference.
For detailed techniques on sealing exterior foundation cracks, check our comprehensive guide: How to Seal Exterior Foundation Cracks.
1. Safe Excavation & Site Prep
Getting your exterior wall crack repair waterproofing project started safely requires careful planning before the first shovel hits the ground. After 30 years of digging around foundations, I’ve learned that proper preparation prevents both dangerous accidents and costly surprises.
Call Before You Dig—It’s the Law
The first call we make isn’t to our equipment rental company—it’s to Pennsylvania’s 811 service. This free utility marking service identifies gas lines, electrical cables, and water mains that could turn a simple crack repair into a neighborhood emergency.
Smart Soil Management Makes Restoration Easier
Where we put the excavated dirt matters more than most homeowners realize. We carefully separate your precious topsoil from the deeper clay subsoil, stockpiling them in different areas. This separation is crucial for proper landscape restoration.
Weather Windows Determine Success
Exterior wall crack repair waterproofing materials are surprisingly picky about weather conditions. Polyurethane sealants won’t cure properly in freezing temperatures, and membrane adhesives fail if applied to wet surfaces. We monitor weather forecasts like meteorologists, planning our work sequence around dry periods.
Safety Equipment That Actually Works
Our excavation safety goes far beyond hard hats and safety vests. For excavations deeper than four feet, we use trench boxes—steel frameworks that prevent cave-ins. Soil can weigh 3,000 pounds per cubic yard, and even small cave-ins can be fatal.
2. Crack Cleaning, V-Grooving & Base Sealing
Once we’ve safely excavated around your foundation, the real exterior wall crack repair waterproofing work begins. This phase is where attention to detail makes the difference between a repair that lasts decades and one that fails within a few years.
Getting Down to Clean Concrete
We start by attacking every crack with wire brushes to scrape away loose concrete, built-up dirt, those white chalky deposits (efflorescence), and any remnants of previous repair attempts. After the mechanical scrubbing, we bring out the pressure washer to blast away fine debris and dust that brushes can’t reach.
Creating the Perfect Crack Profile
For wider cracks—anything over about a quarter-inch—we create what’s called a V-groove. Using specialized grinding equipment, we cut a V-shaped channel that’s at least a quarter-inch wide and half-inch deep along the entire crack length.
This V-groove gives us significantly more surface area for our repair materials to grab onto, and it creates a reservoir that ensures our injection materials penetrate the full depth of the crack.
Building a Solid Foundation for the Repair
Next comes the quick-set cement application. We use hydraulic cement that hardens in about 90 to 120 minutes, applying it as backing material while carefully leaving injection ports open. Before applying any repair materials, we brush on bonding agents specifically designed to create maximum adhesion between the old concrete and our new repair materials.
3. Flexible Crack Injection & Membrane Application
Polyurethane Grout Selection: We use hydrophobic polyurethane grouts that react with small amounts of water to form flexible foam seals. These materials exhibit zero shrinkage and 25% elongation, allowing them to accommodate future wall movement without losing their seal.
Injection Port Installation: We install injection ports at 100-150mm intervals starting from the bottom of each crack. Proper port spacing ensures complete crack filling without air pockets or voids.
Controlled Injection Process: Using specialized injection equipment, we inject grout from the lowest port upward, plugging each port as it begins returning grout. This bottom-up approach ensures complete crack penetration and eliminates air entrapment.
Rubberized Asphalt Membrane: Over the sealed cracks, we apply rubberized asphalt coatings that create a continuous waterproof barrier. This membrane bridges any minor surface irregularities and provides redundant protection.
Geo-textile Reinforcement: We embed geo-textile fabric in the membrane system to provide additional strength and prevent membrane cracking from minor foundation movement.
Recent research from Waterproof Magazine confirms that crack injection techniques using flexible polyurethane materials provide superior long-term performance compared to rigid epoxy systems.
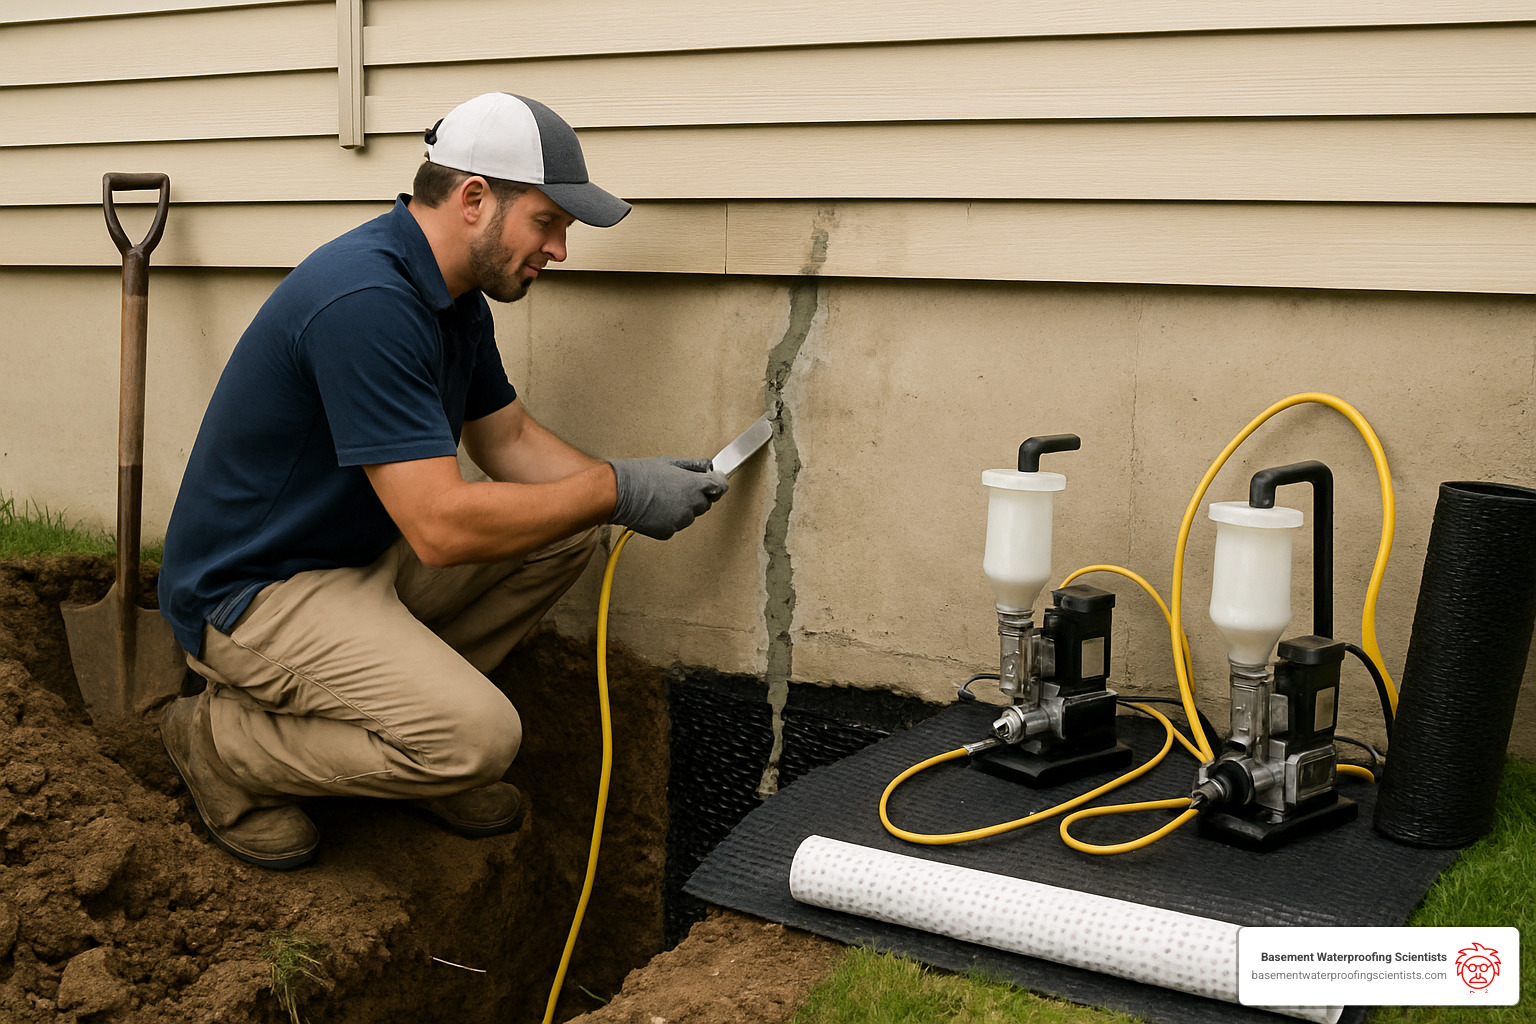
4. Add Exterior Drainage & Protective Board
Once we’ve sealed your foundation cracks, the next crucial step is creating a comprehensive drainage system that prevents future water problems. Think of this as building a “moat” around your foundation—but instead of keeping enemies out, we’re keeping water away from your walls.
French drain installation forms the backbone of our exterior drainage system. We carefully position perforated drain pipes at your foundation’s footing level, creating a collection point for groundwater before it can build up pressure against your walls.
Dimple board protection might look like oversized bubble wrap, but it’s actually a sophisticated drainage system. We install these textured boards directly against your foundation wall, right over our waterproof membrane. The dimples create thousands of tiny air gaps that allow any moisture to drain down to our French drain system.
Our gravel layer system follows engineering principles that prevent long-term drainage problems. We start with larger stones (about 2-3 inches) directly around the drain pipes, then transition to smaller gravel as we move toward the surface.
Proper soil slope management completes our drainage strategy. We ensure the final grade slopes away from your foundation at a minimum 6-inch drop over 10 feet. This prevents surface water from pooling against your foundation and reduces the hydrostatic pressure that can reopen sealed cracks.
5. Backfill, Landscape Restoration & Warranty Paperwork
The final phase of exterior wall crack repair waterproofing requires just as much attention to detail as the initial excavation. We don’t just dump soil back into the hole and call it a day. Instead, we carefully backfill in 12-inch lifts, compacting each layer with proper equipment to achieve optimal soil density.
Soil Grading and Topsoil Restoration comes next. We carefully replace your original topsoil, ensuring that the final grade maintains that crucial slope away from your foundation. We need at least a 6-inch drop over 10 feet to keep surface water flowing away from your house.
Hardscape Reset involves putting back any walkways, patios, decorative stones, or other features that we had to disturb during excavation. We ensure that all surfaces maintain proper slopes and don’t create areas where water can collect against your foundation.
Comprehensive Warranty Documentation is where our commitment to your peace of mind really shows. We provide detailed paperwork covering both materials and workmanship with our lifetime guarantee. Our warranties are transferable to new homeowners, which actually adds measurable value to your property.
Costs, Risks & Payback of Exterior Solutions
Quality exterior wall crack repair waterproofing typically runs $1,500–$6,000 per crack—about three times the price of interior injections. The difference is excavation: equipment, skilled operators, membrane materials, drainage pipe, gravel, and full landscape restoration all add up.
Interior repairs cost less up front but often need touch-ups and do nothing for outside drainage. Exterior work fixes the source, adds curb appeal, and can boost resale value, making it the better long-term investment.
Budget Breakdown vs. Interior Crack Repair
- Materials: waterproof membranes, drainage board, geotextile fabric, and injection grouts cost more than interior epoxies.
- Excavation: represents the largest single expense, covering machinery, soil handling, and restoration.
- Interior savings: lower labour, no landscape work, but possible future re-repairs.
For detailed pricing on sealants, see our Concrete Wall Crack Sealer guide.
Site Challenges & How Pros Mitigate Them
Root systems, buried utilities, and weather delays are common. Professional crews use 811 utility marking, trench shoring, and flexible scheduling to keep your project safe and on time.
Pros & Cons Snapshot
- Pros: addresses root cause, integrates drainage, backed by lifetime warranty.
- Cons: higher initial cost, excavation disruption, weather-dependent season.
Most homeowners recover the investment through higher property value and fewer future repairs.
Preventing Future Cracks & Leaks
Think of prevention as insurance for your foundation—it’s always cheaper than the cure. After spending thousands on exterior wall crack repair waterproofing, the last thing you want is to watch new cracks appear next season.
Gutter extensions are your foundation’s best friend. Water needs to discharge at least 6 feet away from your foundation—not 2 feet. Proper grading around your foundation isn’t just about curb appeal—it’s about physics. That 6-inch drop over 10 feet isn’t just a suggestion; it’s the difference between a dry basement and a wet one.
Sump pump maintenance is like changing your car’s oil—boring but essential. Test your system twice a year, especially the battery backup. Annual professional inspections catch problems when they’re still small and inexpensive to fix. A $200 inspection can prevent a $5,000 repair.
DIY vs. Professional—Know Your Limits
DIY epoxy kits work great for hairline cracks in your garage floor, but they’re not designed for structural foundation repairs. These rigid materials can’t handle the natural movement that happens in foundations, so they often crack again within a year or two.
Safety isn’t negotiable when you’re talking about excavation work. Cave-ins happen faster than you can react, and hitting a gas line or electrical cable can be deadly. Professional contractors carry specialized insurance and have the training to work safely.
Building codes exist for good reasons, and DIY foundation work often doesn’t meet these standards. This can affect your insurance coverage and create problems when you try to sell your home.
Warranty protection is where the real value shows up. When we complete an exterior wall crack repair waterproofing project, it comes with a lifetime warranty that transfers to new owners. DIY repairs void manufacturer warranties.
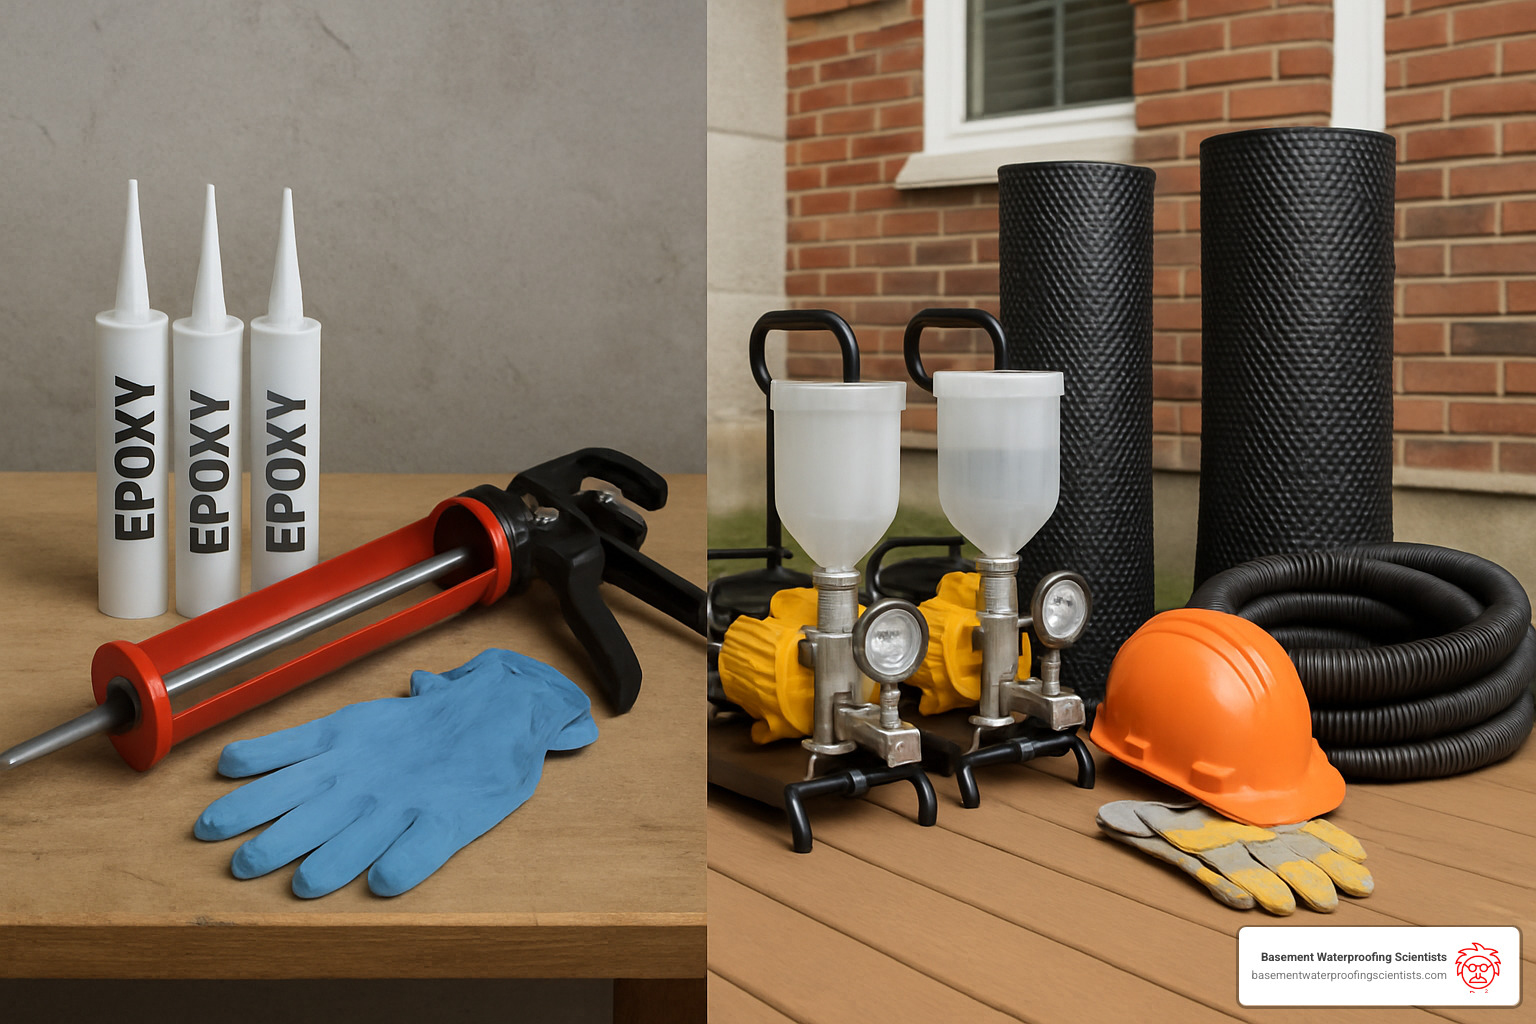
Call professionals when you see cracks wider than a quarter-inch, any horizontal cracks, active water coming through walls, multiple cracks in the same area, or cracks that seem to be growing.
For homeowners who want to try professional-grade materials, products like the SikaFix® Kit offer better performance than hardware store options, though professional installation still gives the best results.
Long-Term Maintenance & Monitoring Tips
Seasonal foundation walks should become routine. Spring and fall are perfect times to walk around your foundation with a flashlight, looking for new cracks or changes in existing ones. Basement humidity control tells you more than you might think. Humidity levels consistently above 50% often indicate water infiltration even when you can’t see obvious leaks.
Document everything related to your foundation—repairs, inspections, maintenance activities, even photos of problem areas. This documentation proves invaluable for warranty claims and adds credibility when you’re selling your home.
For comprehensive guidance on maintaining a dry basement year-round, check out our detailed Waterproofing Your Basement homeowner’s guide.
Frequently Asked Questions about Exterior Wall Crack Repair Waterproofing
What materials last the longest for exterior crack sealing?
When homeowners ask me about the best materials for exterior wall crack repair waterproofing, I always recommend polyurethane-based sealants as the gold standard. After 30 years in this business, I’ve seen these materials consistently outperform everything else on the market.
Polyurethane offers 25% elongation capacity, which means it can stretch and move with your foundation without breaking the seal. Unlike rigid epoxy systems, polyurethane has zero shrinkage and creates excellent adhesion to both wet and dry concrete surfaces.
For membrane systems, rubberized asphalt with geo-textile reinforcement provides exceptional longevity. These systems regularly last 20+ years when properly installed.
How much landscaping needs to be removed for a typical repair?
Most exterior wall crack repair waterproofing projects require excavation 2-3 feet from the foundation wall and down to the footing level. For a typical single crack repair, this affects approximately 50-100 square feet of landscaping.
The good news: we carefully preserve and relocate valuable plants whenever possible, and we always stockpile your topsoil separately so we can restore it properly. Most landscaping can be fully restored within 2-3 weeks after we complete the repair.
Can I waterproof exterior block walls without excavation?
While some surface treatments can be applied without excavation, effective waterproofing of block walls typically requires access to the foundation footing level. Block walls have hollow cores that can fill with water. When water gets into those cores, surface treatments alone simply can’t address the issue.
For serious water problems in a block foundation, the most reliable approach involves excavation, thorough sealing of the entire block surface, and installation of comprehensive drainage systems that prevent water from reaching the wall in the first place.
Conclusion
Exterior wall crack repair waterproofing isn’t just about fixing what’s broken—it’s about protecting one of your biggest investments for decades to come. While the upfront cost runs about three times more than interior patches, you’re getting a solution that tackles the problem at its source instead of just covering up the symptoms.
After 30 years of crawling around Pennsylvania basements (and getting pretty good at it, if I do say so myself), I’ve learned that homeowners who choose exterior repairs rarely regret the investment. They’re the ones calling us five years later to brag about their bone-dry basements during the worst storms, not to schedule another repair.
The truth is, your foundation deserves better than a band-aid. When you’re dealing with finished basement walls that block interior access, stubborn block foundations that laugh at interior injection, or drainage problems that keep feeding your crack issues, exterior repair becomes the only smart choice.
Our systematic approach goes way beyond just filling cracks. We excavate safely, clean thoroughly, inject flexible materials that move with your foundation, install protective membranes, and create drainage systems that prevent future problems. Every step builds on the last one to create a waterproofing system that actually works long-term.
Here’s what makes us different: Our specialized equipment lets us find every leak source and fix them all for less than you’d expect. While average basement waterproofing runs between $4,000 and $8,000, our targeted exterior crack repairs often solve comprehensive water problems at a fraction of that cost.
The peace of mind alone is worth it. No more racing to the basement during storms. No more explaining to guests why that corner smells musty. No more wondering if today’s the day that hairline crack becomes a major flood.
Ready to stop worrying about your foundation? Contact Basement Waterproofing Scientists today for a professional evaluation. Our expert inspections come with competitive pricing and our signature lifetime guarantee—because when we fix something, it stays fixed.
For complete details about our exterior foundation waterproofing services, visit: Services – Exterior Foundation Waterproofing.
Remember: your foundation is literally holding up everything else. It deserves a permanent solution, not a temporary patch. Choose the repair that protects your investment for life.


