Why Finding the Best Foundation Sealant Matters for Your Home
The best foundation sealant can be the difference between a dry, usable basement and a soggy mess that damages your home’s value and structure. Here are the top foundation sealant types to consider:
Top Foundation Sealant Types:
- Polyurethane Sealants – Most durable (10-15+ years), best for serious cracks
- Liquid Rubber Sealants – Highly flexible (900% stretch), great for DIY (8-10 years)
- Bentonite Clay Sealants – Longest lasting (20+ years), eco-friendly, new construction
- Elastomeric Sealants – Good flexibility, bridges hairline cracks (7-10 years)
- Acrylic Sealants – Budget-friendly, easy application, shorter lifespan (3-5 years)
Water damage is more common than you might think. The American Society of Home Inspectors reports moisture in 60 percent of U.S. houses, with 38 percent at risk of basement mold. Even worse, untreated leaks can slash your home’s market value by up to 10%.
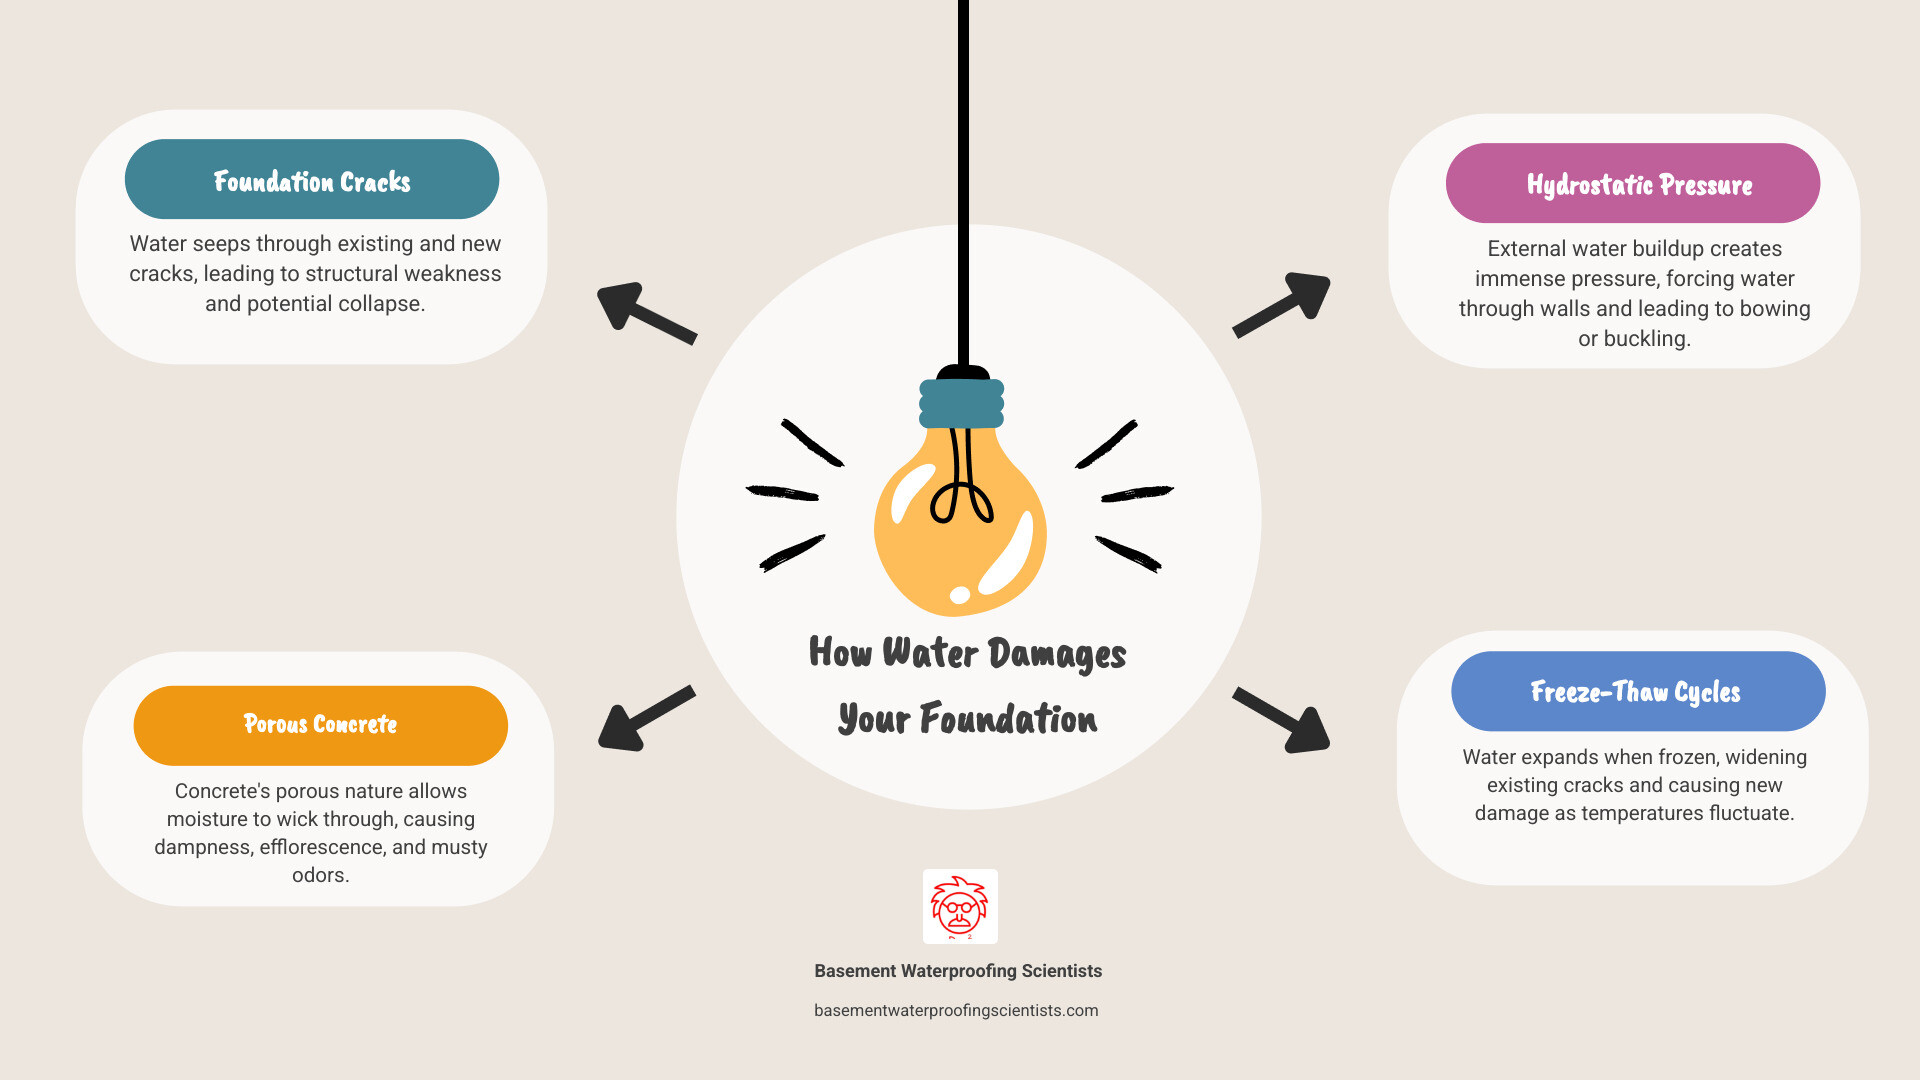
Your foundation faces constant attack from moisture, freeze-thaw cycles, and hydrostatic pressure. Concrete is naturally porous – almost like a sponge – which means water will find its way in unless you create a proper barrier.
The right sealant doesn’t just keep water out. It protects your home’s structural integrity, prevents costly mold problems, and maintains your property value. With average basement waterproofing costing between $4K and $8K, choosing the right sealant upfront can save you thousands later.
I’m Darin Garvey, and with over 30 years of experience in basement waterproofing, I’ve seen every type of foundation water problem imaginable. My expertise in selecting and applying the best foundation sealant has helped countless Philadelphia-area homeowners transform their basements from soggy disasters into dry, usable spaces.

Why Sealing Your Foundation is a Critical Investment
Your foundation is your home’s first line of defense against water. Without proper sealing, moisture can easily enter and cause damage.
The statistics are sobering: Moisture affects 60 percent of U.S. houses, according to industry reports, with 38 percent at serious risk of basement mold. This isn’t just a comfort issue; it’s a health hazard. Mold spores can trigger respiratory problems, allergies, and other health issues.
Untreated water leaks can slash your home’s value by up to 10%. On a $300,000 home, that’s a $30,000 loss. Considering average waterproofing costs are $4K to $8K, investing in the best foundation sealant is a smart financial decision.
Your foundation faces relentless pressure from hydrostatic forces—water in the soil pushing against your walls. Concrete is porous, like a sponge, and without proper waterproofing fundamentals, water will find its way through every crack and pore.
For homeowners ready to take action, our Waterproofing Your Foundation: A Comprehensive Guide walks you through everything you need to know about protecting your investment.
Signs Your Foundation Needs Sealing
Your home will tell you when something is wrong if you know what to look for. Visible cracks are the most obvious red flags, whether they’re hairline fractures or larger gaps that could indicate structural problems.
Water stains on basement walls and floors, especially after heavy rains, are clear signs of a moisture problem. That musty, earthy smell indicates mold and mildew growing in damp spaces.
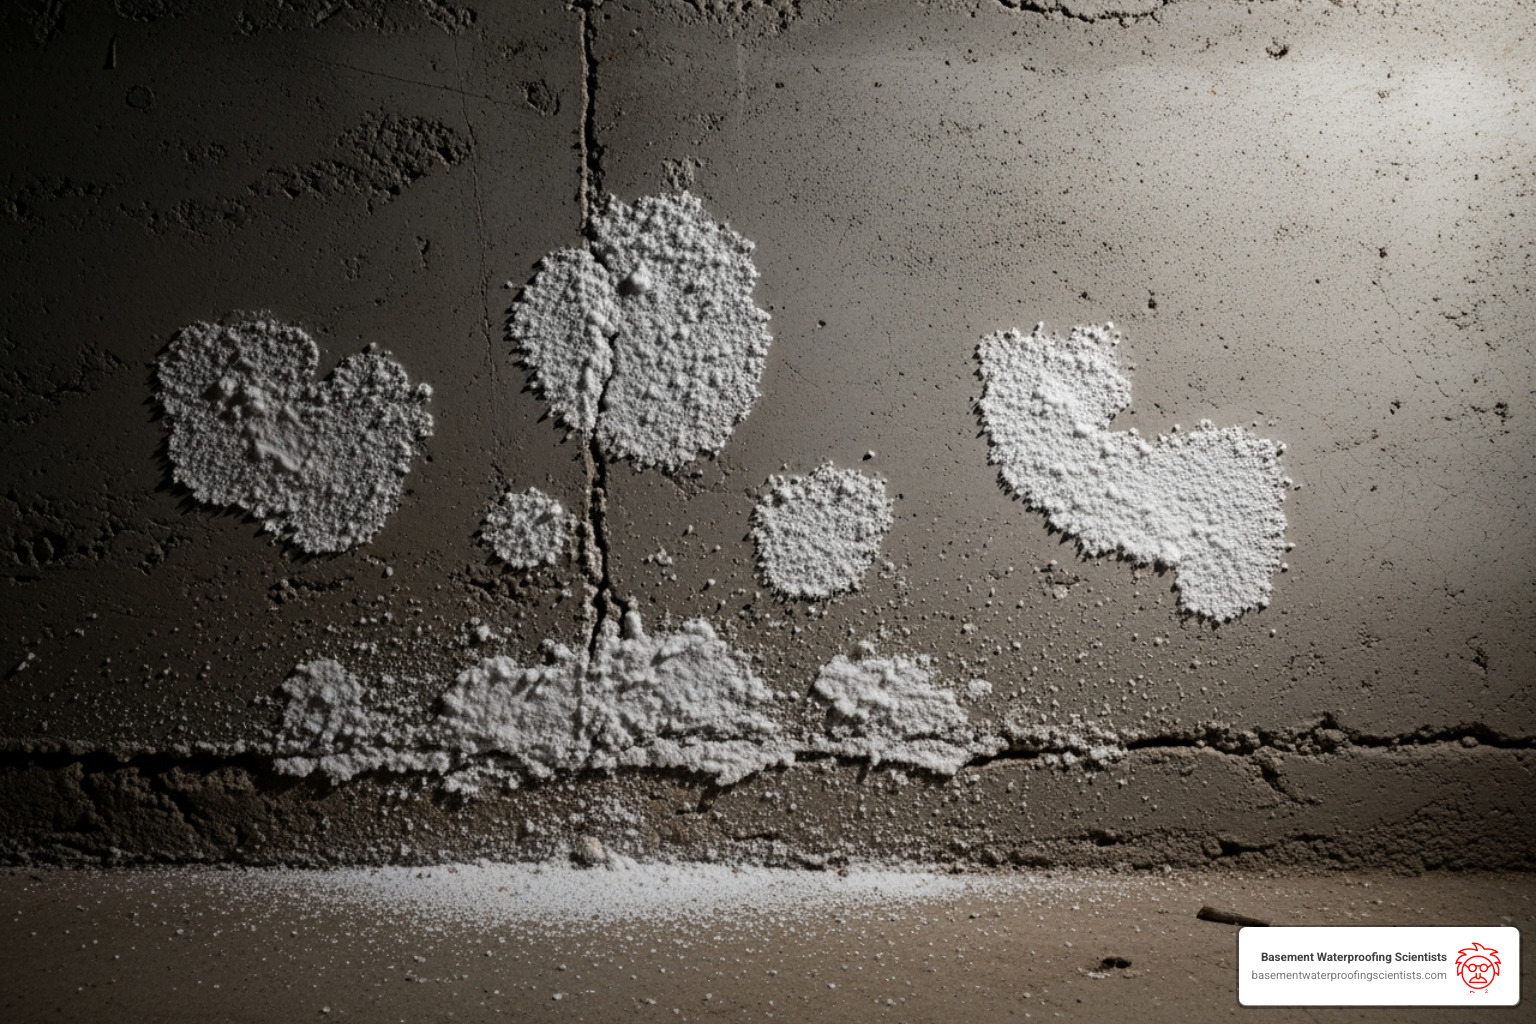
When paint starts peeling or wallpaper begins bubbling off your basement walls, moisture is usually the culprit pushing through from the other side. But one of the most telltale signs is efflorescence – that chalky white powder that appears on concrete walls.

Efflorescence happens when water seeps through concrete and evaporates, leaving mineral salts behind. It’s a sure sign that water is seeping through the concrete. Even if you don’t see standing water, persistent dampness or condensation on pipes and walls indicates high humidity from moisture infiltration.
If you’re noticing cracks specifically, our guide on Exterior Foundation Cracks provides detailed information on assessment and repair options.
How Sealant Protects Your Home
The best foundation sealant creates a waterproof barrier, stopping moisture. This protection goes beyond just keeping your basement dry.
In cold climates, unsealed concrete faces serious freeze-thaw damage. Water gets into tiny pores, freezes and expands, then thaws and contracts. This cycle gradually breaks down the concrete, creating bigger cracks. A quality sealant eliminates this destructive process.
Your foundation also battles soil chemicals and minerals in groundwater that can corrode concrete over time. A good sealant blocks these harmful elements from making direct contact with your concrete.
Supporting structural health might be the most important benefit. When water infiltrates your foundation, it can cause concrete degradation, rust steel reinforcement bars, and even wash away soil around your foundation. All of these problems threaten your home’s stability.
A bonus many homeowners don’t expect is reduced energy costs. Dry walls insulate better than damp ones. Because moisture conducts heat, damp walls make your HVAC system work harder. A sealed foundation creates a stable thermal envelope, leading to noticeable savings on utility bills.
For comprehensive exterior protection strategies, check out our detailed guide: Stone Cold Protection: Waterproofing Your Exterior Foundation Walls.
Comparing the Top Types of Foundation Sealants
Think of choosing the best foundation sealant like picking the right tool for a job. You wouldn’t use a hammer to fix a watch, and you shouldn’t use a budget sealant for serious foundation problems. Each type of sealant has its own personality and strengths.
Here’s what you need to know about the main players in the foundation sealing game:
| Sealant Type | Durability / Lifespan | Flexibility | Cost | Best Use Case |
|---|---|---|---|---|
| Liquid Rubber | 8-10 years | Very High (900% elongation) | Mid-High | Seamless membranes, DIY-friendly, general waterproofing |
| Polyurethane | 10-15+ years | High (expands up to 20x) | High | Crack injection, serious structural issues |
| Elastomeric | 7-10 years | High (up to 50% stretch) | Mid | Bridging hairline cracks, UV exposure |
| Bentonite Clay | 20+ years / Indefinite | Self-sealing | Mid-High | New construction, persistent hydrostatic pressure |
| Acrylic | 3-5 years | Low-Mid | Low | Minor leaks, budget-friendly, temporary fixes |
Don’t just look at the sticker price when making your choice. A cheap sealant that fails after two years will cost you way more than a quality option that lasts a decade. It’s like buying shoes – sometimes spending more upfront saves you money in the long run.
Liquid Rubber-Based Sealants

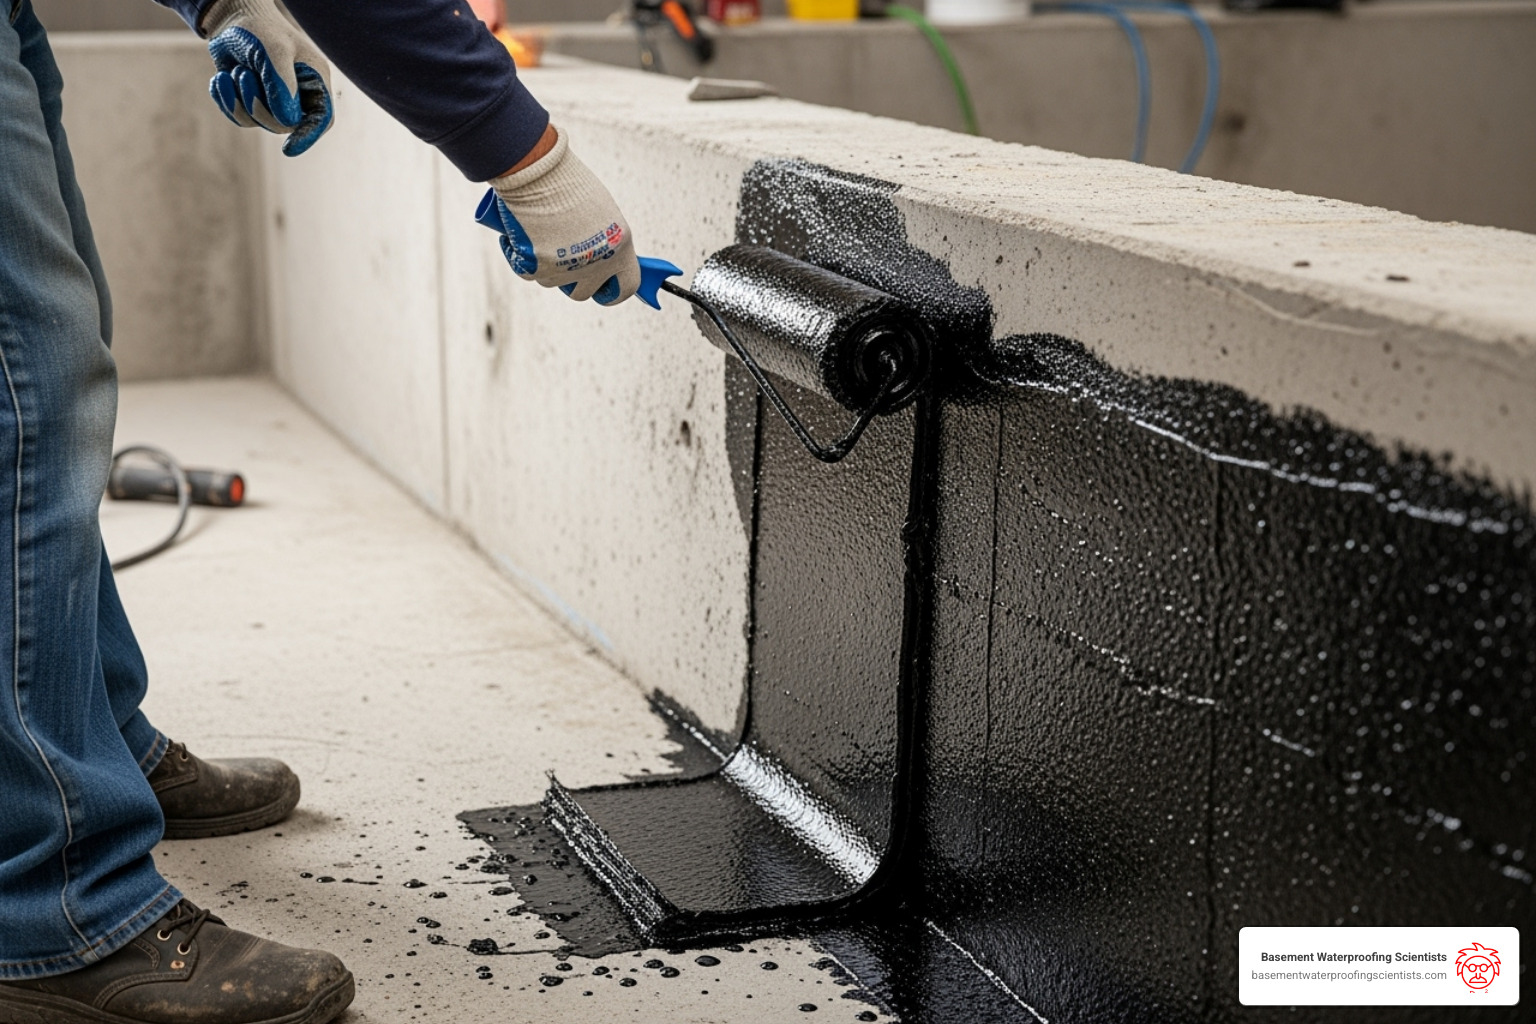
Liquid rubber sealants are the yoga masters of the waterproofing world. They start as a liquid that you can brush, roll, or spray on, then cure into a flexible rubber membrane that moves with your foundation.
The high flexibility is what makes these sealants special – we’re talking about 900% elongation. That means they can stretch nine times their original size without breaking. Your foundation naturally expands and contracts with temperature changes, and liquid rubber moves right along with it.
You get a seamless membrane when you apply liquid rubber properly. No joints, no weak spots – just one continuous barrier that water can’t penetrate. Most homeowners find these DIY-friendly since they’re usually water-based and don’t require special equipment.
With proper application, you can expect 8-10 years of durability. The key is good surface prep – clean off any loose material, make sure the surface is dry, and apply when temperatures are between 50°F and 90°F. Two coats work better than one thick coat, and you’ll need to keep rain off the surface for 24-48 hours while it cures.
Polyurethane Sealants
If liquid rubber is flexible, polyurethane is the tough guy that means business. These sealants offer excellent durability – often lasting 10-15 years or more – and they stick to concrete like they were made for each other.
The magic happens when polyurethane gets injected into cracks. It can expand up to 20 times its original size, filling every tiny void and creating a watertight seal. This expansion power makes it perfect for crack injection work where you need to stop active leaks.
Polyurethane also brings serious chemical resistance to the table. It laughs at the acids and salts that groundwater throws at it, maintaining its seal even in harsh soil conditions.
Here’s the catch – professional application is usually your best bet. The specialized equipment needed for crack injection and the precise mixing ratios mean this isn’t typically a weekend DIY project. We’ve seen too many homeowners struggle with polyurethane systems that require professional expertise to get right.
For serious foundation issues where you need a robust, long-lasting solution, polyurethane often proves to be the best foundation sealant choice. Learn more about how we handle complex foundation issues on our Foundation Repair and Waterproofing page.
Elastomeric Sealants
Think of elastomeric sealants as the gymnasts of waterproofing – they’re all about flexibility. These sealants can stretch up to 50% while keeping their protective seal intact, making them perfect for foundations that experience minor movement.
Their superpower is bridging hairline cracks. Those tiny cracks up to 1/16 inch wide that appear from normal settling? Elastomeric sealants stretch right over them and keep the water out. They’re also champions at UV resistance, so they won’t break down when exposed to sunlight on exterior applications.
Understanding more on UV rays helps you appreciate why this matters – UV radiation can destroy many materials over time, but quality elastomeric sealants are built to handle it.
You can expect 7-10 years of durability from elastomeric sealants, sometimes longer in milder climates with occasional maintenance. They work great for general exterior foundation waterproofing, especially where you expect minor surface movement.
Bentonite Clay Sealants
Bentonite clay sealants are nature’s own waterproofing solution. This natural material has an almost magical property – it swells with water up to 15 times its dry size, creating an impenetrable barrier.
The self-sealing ability is what sets bentonite apart. If your foundation shifts slightly or the clay gets a small puncture, it automatically heals itself when it contacts moisture. It’s like having a waterproofing system that fixes its own problems.
The exceptional lifespan of bentonite systems is hard to beat – we’re talking 20+ years of protection, often much longer. Some bentonite installations from decades ago are still performing perfectly. This longevity makes it incredibly cost-effective despite the higher upfront investment.
Bentonite works best in new construction where you can install it properly during the building process. It typically requires professional installation with specialized equipment and expertise. The eco-friendly nature of this natural clay makes it appealing to environmentally conscious homeowners.
Acrylic Sealants
Acrylic sealants are the friendly, budget-friendly option that gets the job done for smaller problems. They’re easy to apply – most homeowners can handle them with basic tools – and they’re paintable once cured, so you can match your home’s exterior.
Many modern acrylic sealants come in low VOC options, making them safer for both you and the environment. They dry relatively quickly, usually within 24 hours, so you’re not waiting around for days.
The trade-off is lower durability – typically 3-5 years of protection. But for minor leaks or as a temporary fix while you plan a more permanent solution, acrylics can be exactly what you need.
These work well when you need a quick, cost-effective solution for small issues. Just remember that you’ll likely need to reapply them more frequently than other options. For more information about budget-friendly waterproofing approaches, check out our guide on Exterior Concrete Foundation Waterproofing.
How to Choose the Best Foundation Sealant for Your Home
Choosing the best foundation sealant requires understanding your specific situation. After three decades of fixing water problems, I can tell you that the “best” sealant is always the one that matches your foundation’s unique needs. A proper assessment is key.
Think of your foundation assessment like a doctor’s checkup for your home. You wouldn’t take medicine without knowing what’s wrong, and you shouldn’t buy sealant without understanding your foundation’s unique needs. The average cost for basement waterproofing runs between $4K and $8K, but choosing the right sealant upfront can often keep you on the lower end of that range. For detailed cost breakdowns, check out our guide on the Cost of Waterproofing Foundation from Outside.
Factors to Consider Before You Buy
Your foundation isn’t just concrete sitting in dirt – it’s a complex system dealing with water pressure, temperature changes, and soil chemistry every single day. Here’s what really matters when selecting your sealant:
Foundation material plays a huge role in sealant selection. Poured concrete behaves differently than concrete block, which behaves differently than stone or brick. Each material has its own porosity level and surface texture that affects how well sealants bond. We’ve seen homeowners in Lansdale struggle with sealants that simply wouldn’t stick to their particular foundation material.
The severity of your water issues should drive your decision more than anything else. A tiny hairline crack that occasionally weeps doesn’t need the same heavy-duty solution as a basement that floods every spring. Minor dampness might call for an acrylic solution, while persistent leaks demand something like liquid rubber or polyurethane injection.
Climate and soil conditions around your home create the environment your sealant must survive. Areas with freeze-thaw cycles need flexible sealants that can handle expansion and contraction. Clay soils that swell and shrink put constant stress on foundations. High water tables mean constant hydrostatic pressure pushing against your walls.
Environmental factors extend beyond weather. UV exposure can break down some sealants over time. Soil chemistry varies dramatically – some areas have acidic conditions that eat away at certain materials, while others have high mineral content that affects how sealants cure.
Budget considerations matter, but think long-term. A $50 acrylic sealant that needs reapplication every three years costs more over time than a $200 liquid rubber system that lasts a decade. We always tell our clients to consider the cost per year of protection, not just the upfront price.
For comprehensive information about foundation waterproofing approaches, explore our detailed guide on Waterproofing Foundations.
The Best Foundation Sealant for DIY vs. Professional Application
The DIY versus professional decision often comes down to complexity, risk, and your comfort level with getting your hands dirty. Some projects are perfect weekend warrior material, while others require specialized equipment and decades of experience.
DIY-friendly options include acrylic sealants and certain liquid rubber systems. Acrylic sealants are forgiving – they clean up with water, apply easily with basic tools, and don’t require perfect technique to work well. Many liquid rubber products designed for homeowner use can be rolled or brushed on like thick paint. If you can handle painting a room, you can probably manage these applications.
Professional installation becomes necessary when you’re dealing with complex structural issues, high hydrostatic pressure, or specialized systems like bentonite clay or polyurethane crack injection. We’ve seen too many homeowners in Upper Darby Township attempt crack injection themselves, only to call us when the problem got worse.
Structural or widening cracks always require professional assessment. These might indicate foundation movement that needs addressing before any sealant application. Active leaks under high pressure need specialized injection equipment and techniques that most homeowners don’t have access to. Bentonite systems require excavation and precise installation that’s beyond typical DIY scope.
Persistent water problems that keep returning despite multiple DIY attempts signal the need for professional diagnosis. Sometimes the visible problem isn’t the real problem – water might be entering through one area but showing up somewhere completely different.
At Basement Waterproofing Scientists, we use specialized equipment to identify leak sources to fix leaks for less, which often saves homeowners money compared to multiple DIY attempts. Our team serves areas throughout Pennsylvania and New Jersey, bringing three decades of experience to even the trickiest waterproofing challenges.
The key is being honest about your skills and the complexity of your situation. There’s no shame in calling professionals when the job demands it – we’d rather see you get it right the first time than struggle with recurring problems.
A Step-by-Step Guide to Applying Foundation Sealant
Even the best foundation sealant won’t work if it’s not applied correctly. Proper application is as crucial as choosing the right product. I’ve seen many homeowners in our Bucks County service area apply expensive sealant over dirty, unprepared surfaces, only to have it fail. The secret to long-lasting waterproofing lies in the preparation and technique.

Best Practices for Surface Preparation
This is where the magic happens – or where it all goes wrong. Surface preparation is the foundation of your foundation’s protection (pun intended!). I tell clients it’s like trying to put makeup on without washing your face first. It might look okay for a while, but it won’t last.
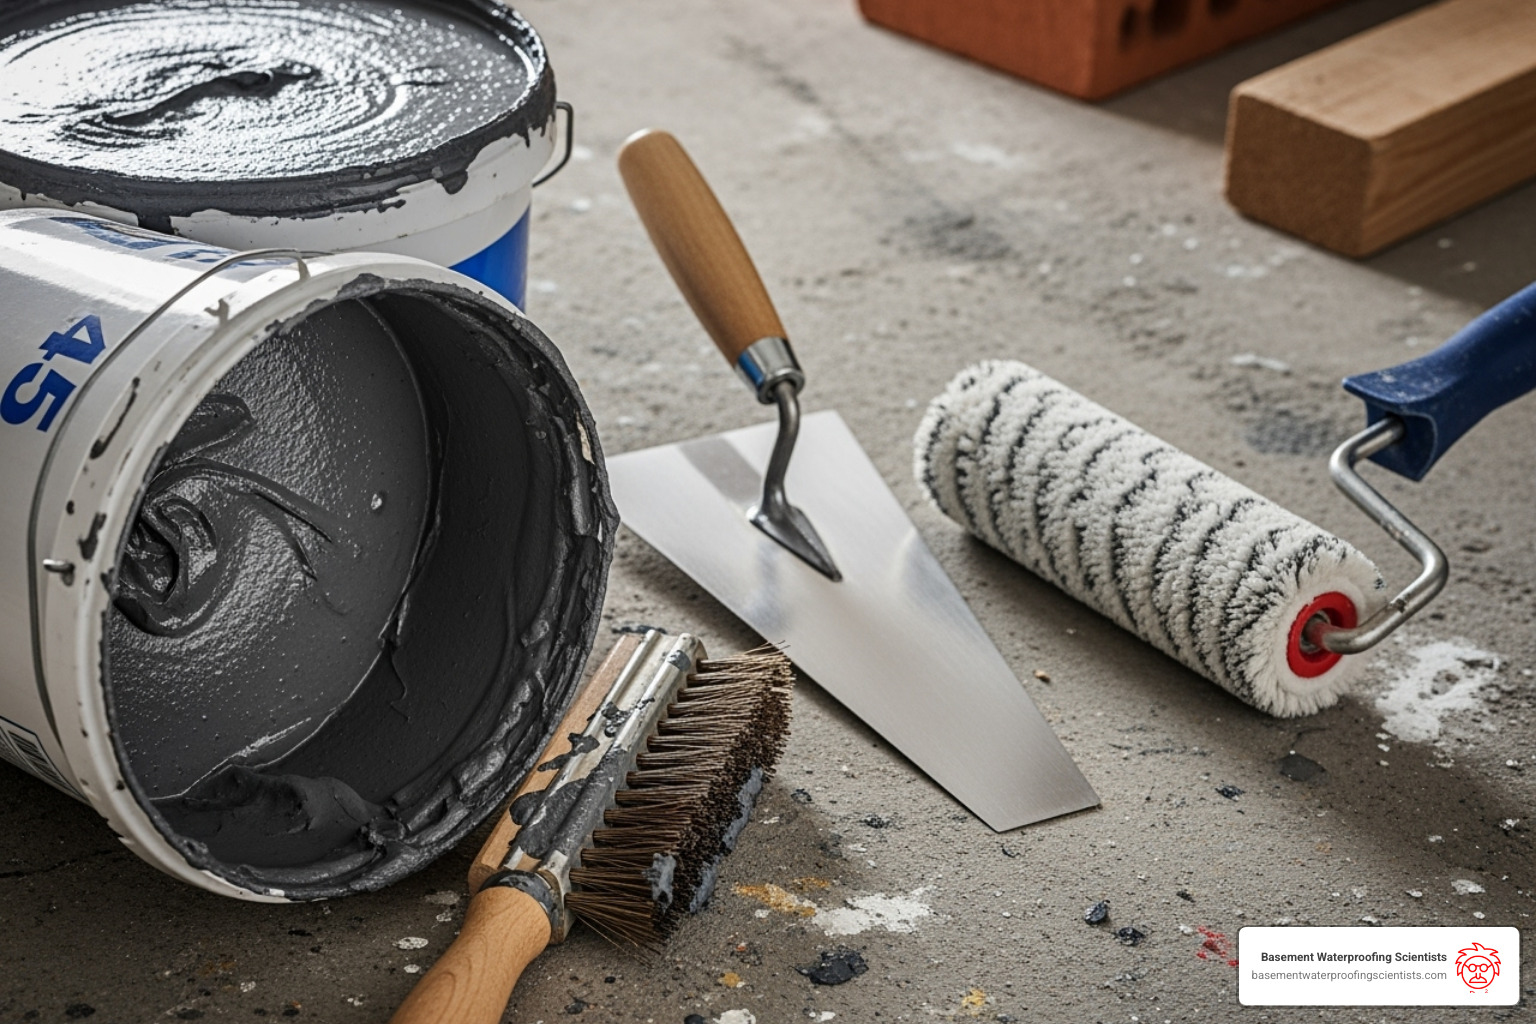
Start by cleaning the surface thoroughly. Remove all dirt, dust, loose paint, efflorescence, oil, grease, and any other contaminants that might interfere with adhesion. A wire brush works wonders for stubborn spots, while a power washer can handle larger areas quickly. Sometimes just a stiff brush and some good old-fashioned elbow grease with detergent will do the trick.
Next, you’ll need to remove any loose material. Scrape off flaking paint, crumbling concrete, or loose mortar. If you can easily peel it off with your fingernail, it needs to go. The sealant will only be as strong as what it’s bonding to, so give it a solid foundation to work with.
Patching cracks and voids is your next critical step. For cracks larger than hairline width, or any holes, fill them with non-shrink grout or quality patching cement. Sealants are designed to create a waterproof barrier, not to bridge large structural gaps. This step ensures you have a smooth, uniform surface that the sealant can properly adhere to. For detailed guidance on this crucial step, check out our article on How to Seal Exterior Foundation Cracks.
Finally, ensure you have a completely dry surface. This might be the most important step of all. Most sealants require bone-dry conditions for optimal adhesion. Allow plenty of time for your foundation to dry after cleaning or after rain. If you’re in a hurry, fans or dehumidifiers can speed up the process. Trust me – applying sealant to a wet surface is like trying to stick a Band-Aid on wet skin. It simply won’t hold.
The Best Foundation Sealant Application Method
Now comes the fun part – actually applying your carefully chosen sealant. The method you use can make or break your waterproofing project, and it largely depends on the type of sealant you’ve selected.
Brush application works beautifully for smaller areas, detailed work around pipes or corners, or when you’re working with thicker, more viscous sealants. The brush allows you to work the sealant into porous surfaces, ensuring good penetration and adhesion. It’s slower than other methods, but sometimes slow and steady wins the race.
Roller application is your go-to method for large, flat foundation walls. It’s faster than brushing and provides wonderfully even coverage when done right. Choose a roller with the right nap for your sealant’s thickness – thicker sealants need rollers with longer naps to pick up and spread the material effectively.
For very large projects, spray application can be a game-changer, though it typically requires professional equipment due to cost and complexity. The coverage is incredibly uniform and fast, but it’s usually beyond what most DIY homeowners want to tackle.
The golden rule throughout all of this? Follow the manufacturer’s instructions religiously. Every sealant has specific requirements for temperature ranges (liquid rubber typically needs 50-90°F), humidity levels, and drying times between coats. I’ve seen perfectly good sealants fail because someone got impatient and applied the second coat too soon.
Multiple thin coats almost always outperform one thick coat. This approach builds up a more robust, uniform waterproof barrier without the risk of runs, sags, or poor curing that can happen with thick applications. Allow each coat to dry to the touch before applying the next – your patience will be rewarded with better performance.
Don’t forget about the curing process. This is when your sealant transforms from a wet coating into a tough, waterproof barrier. During curing time, protect your freshly sealed foundation from rain, foot traffic, or anything else that could disrupt the process. Most sealants need 24-48 hours to cure fully, though some may take longer in cool or humid conditions.
For more insights into selecting and applying the right coating for your specific situation, explore our comprehensive guide on the Best Exterior Foundation Coating.
Conclusion
We’ve covered a lot of ground today, and if you’re feeling a bit overwhelmed by all the sealant options, that’s completely normal! The world of foundation waterproofing can seem complicated, but the core message is simple: investing in the best foundation sealant is one of the smartest moves you can make for your home.
Think about it this way – your foundation works 24/7, 365 days a year, battling moisture, soil pressure, and temperature changes. It deserves the best protection you can give it. Whether that’s the incredible flexibility of liquid rubber, the rock-solid durability of polyurethane, the gymnastic abilities of elastomeric sealants, the self-healing magic of bentonite clay, or the budget-friendly reliability of acrylic, the right choice depends on your specific situation.
Remember those key factors we discussed: your foundation material, the severity of your water issues, your local climate conditions (especially important here in Pennsylvania and New Jersey with our freeze-thaw cycles), and whether you’re comfortable tackling the project yourself or prefer to call in the pros.
Sometimes, despite our best DIY efforts, water finds a way. When you’re dealing with persistent leaks, structural cracks, or water problems that just won’t quit, it’s time to bring in the experts. That’s where we come in.
At Basement Waterproofing Scientists, we’ve spent over 30 years helping homeowners transform their soggy basements into dry, usable spaces. We use specialized equipment to pinpoint exactly where water is entering your home – no guesswork, no wasted effort. This precision approach means we can fix leaks for less, saving you both time and money.
Our customized solutions come with a lifetime guarantee because we stand behind our work. We’ve seen every type of foundation water problem imaginable, from the tricky cases in Bensalem Township to the challenging situations in Middletown Township, and we know how to solve them permanently.
Don’t let a damp basement rob your home of its comfort, safety, or value. The average cost for basement waterproofing ranges between $4K and $8K, but addressing problems early with the right sealant can save you thousands in the long run.
Ready to give your foundation the protection it deserves? For a professional evaluation and a permanent solution custom to your home’s needs, explore our Foundation Sealant services. We’re here to help you achieve what every homeowner wants – a dry, healthy basement you can count on for years to come.

