What is Epoxy Flooring and Why is it Perfect for Basements?
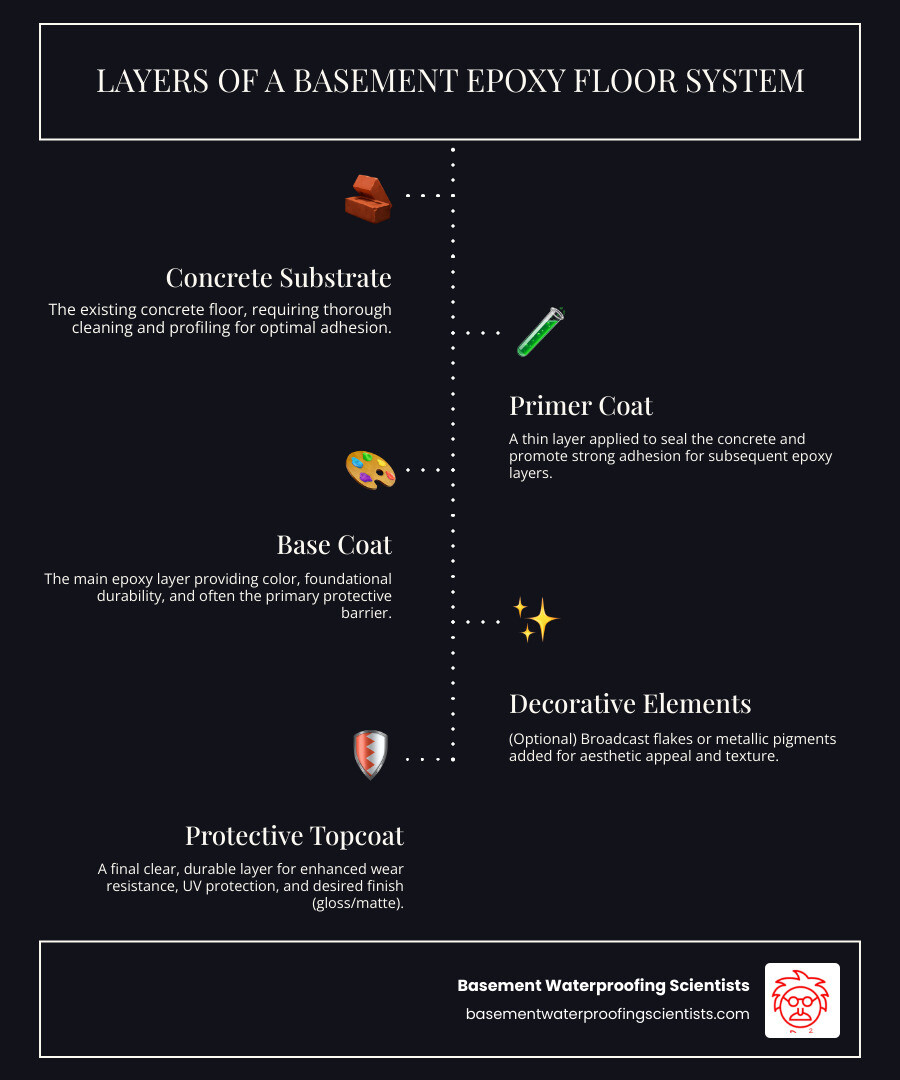
A basement epoxy floor is a durable, waterproof coating that transforms concrete into a beautiful, functional space. It’s a two-part system of resin and hardener that, when mixed, chemically bonds to the concrete, creating a tough, seamless surface.
Unlike carpet or wood, epoxy thrives in below-grade environments. It creates a non-porous, waterproof barrier that prevents moisture from seeping through the concrete and can help block radon gas emissions. This makes it an ideal solution for basements, which are often prone to dampness.
With over 30 years of experience in basement waterproofing, I’m Darin Garvey, and I’ve seen how a quality epoxy floor can transform a damp, unusable space. My expertise ensures you understand both the benefits and the critical requirements for a successful installation.
Key Benefits and Types
- Durability: An epoxy floor can last 5-20 years, resisting impacts, abrasions, and chemicals. It also prevents concrete dusting, leading to a cleaner environment.
- Waterproof: It creates a seamless barrier against moisture, mold, and mildew.
- Easy Maintenance: The non-porous surface is simple to clean with a mop and mild detergent.
- Aesthetics: Available in various styles, including solid colors, decorative flakes for texture and slip resistance, and stunning metallic finishes.
Common types include 100% solids epoxy (the most durable), water-based epoxy (lower odor, good for DIY), and self-leveling epoxy (smooths imperfections). The cost can range from $500+ for DIY kits to $5-$10 per square foot for professional installation. For more details, see our guide to Epoxy Floor Coatings.
Choosing a basement epoxy floor is a smart investment for homeowners looking to create a durable, healthy, and beautiful space. For more specific details, visit our Best Epoxy For Basement Concrete Floor guide.

The Unbeatable Advantages of a Basement Epoxy Floor

When you install a basement epoxy floor, you’re investing in a surface that combines exceptional durability, health benefits, and aesthetic versatility. After three decades of changing basements, I’ve seen how this flooring solution excels where others fail.
Superior Durability and Longevity
A basement epoxy floor is built to last. Its resistance to high traffic and impact is remarkable, easily handling the daily abuse of a playroom, home gym, or workshop. Dropped tools or heavy furniture that would chip paint or crack tile are often shrugged off by the resilient epoxy surface. It also completely prevents concrete dusting—the fine powder that coats everything in an unfinished basement—leading to cleaner air. With a typical lifespan of 5-20 years, a professionally installed epoxy floor offers incredible long-term value.
A Healthier, Cleaner Basement Environment
Epoxy’s greatest advantage in a basement is its waterproof, non-porous surface. This seamless barrier prevents moisture from wicking up through the concrete, which in turn resists the growth of mold, mildew, bacteria, and germs. Spills bead up on the surface for easy cleanup, and the lack of pores means dirt and allergens have nowhere to hide. Maintenance is simple: a quick sweep and occasional mopping are all that’s needed. For the best indoor air quality, choose low-VOC (volatile organic compounds) formulas designed for interior spaces. For total moisture control, explore our Epoxy Basement Floor Waterproofing solutions.
Stunning Finishes and Customization
Epoxy flooring can be as beautiful as it is practical. The customization options allow you to create a space that perfectly matches your home’s style.
- Solid colors offer a clean, modern look that can brighten any basement.
- Decorative flakes add texture, color, and slip resistance for a unique, speckled appearance.
- Metallic pigments create dramatic, three-dimensional swirls that mimic polished stone or marble.
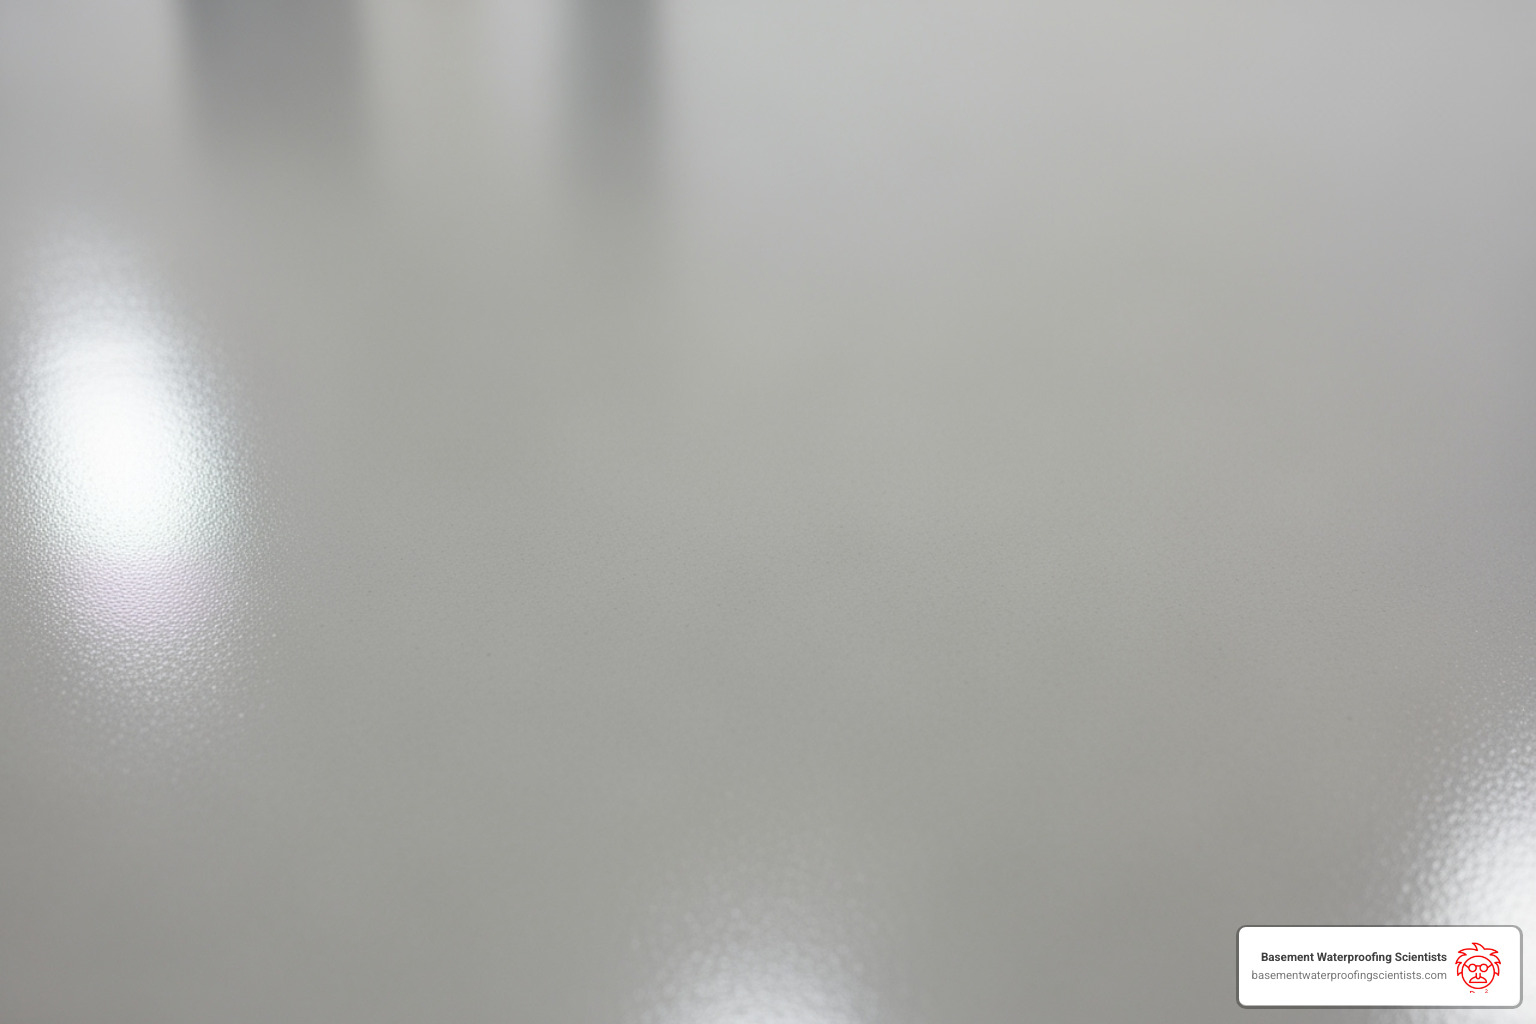
You can also choose between a high-gloss finish that reflects light or a more subtle matte finish. Find inspiration for your project in our Epoxy Floor Paint Colors guide.
Essential Preparation: The Key to a Flawless Finish

Here’s the truth about installing a basement epoxy floor: the final result is only as good as the preparation. In my 30 years of experience, I’ve seen more floors fail from rushed prep than from bad epoxy. The concrete must be clean, dry, and properly profiled for the epoxy to create the strong chemical bond that ensures its durability.
Proper preparation often takes longer than the application itself, but this investment of time is what guarantees a floor that lasts for decades instead of peeling in months.
The Critical Step: Moisture Testing and Mitigation
Moisture is the number one enemy of an epoxy floor. Hydrostatic pressure can force groundwater up through the concrete slab, pushing the coating off from below and causing it to bubble and fail. Before any work begins, you must confirm the slab is dry.
A simple plastic sheet test can indicate a problem: tape a 2×2 ft plastic sheet to the floor for 24-48 hours. If condensation forms underneath, you have a moisture issue that must be addressed by a professional. Applying epoxy to a damp slab is a waste of money. In some cases, a special vapor barrier epoxy can be used for minor residual moisture, but it cannot solve an active water problem. A dry basement is non-negotiable for epoxy success. Our Waterproofing Basement Floor services ensure your foundation is ready.
Cleaning, Repairing, and Profiling the Concrete
Once the slab is confirmed dry, the surface preparation begins. This process creates a porous surface profile for the epoxy to grip.
- Cleaning and Degreasing: The floor must be completely free of dirt, oil, grease, or old sealers that could prevent adhesion.
- Crack Repair: Large cracks and spalled areas should be filled with a durable, two-part resin-based patcher.
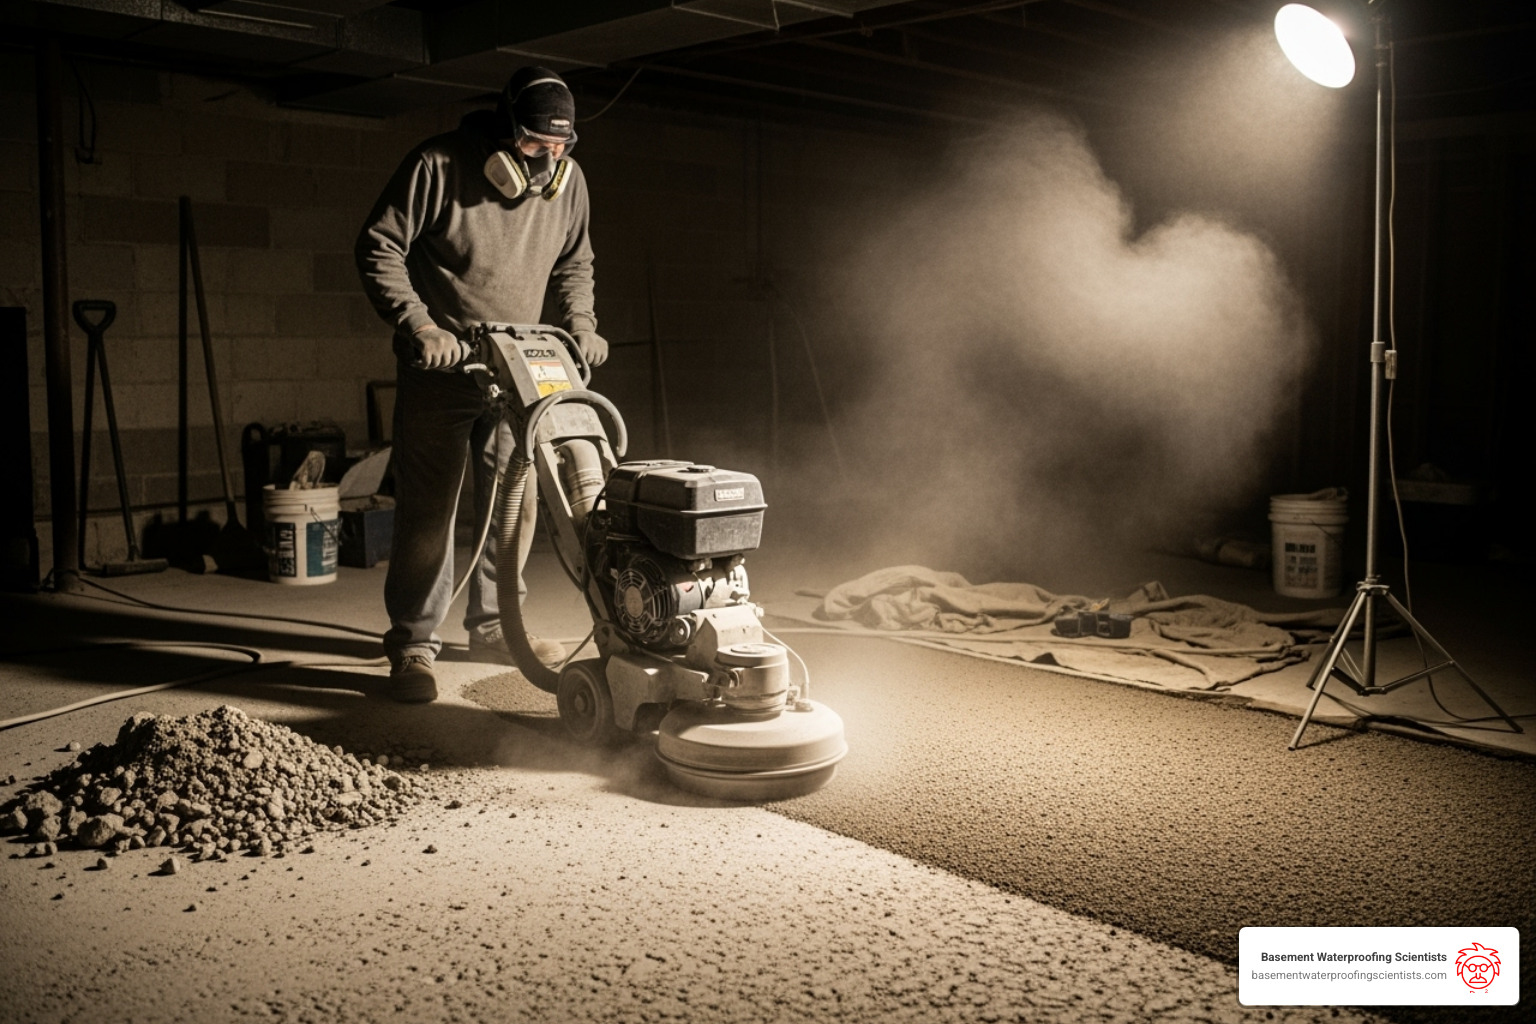
- Surface Profiling: The smooth concrete surface must be roughened. Diamond grinding is the preferred professional method, as it effectively removes contaminants and creates the ideal texture. Other methods include shot blasting for large areas and acid etching for lightly sealed floors. Proper dust control, ideally with a vacuum-attached grinder, is essential.
This meticulous prep work is the foundation of a long-lasting basement epoxy floor. Learn more in our guide on Applying Epoxy Paint To Concrete Floor.
Installation: DIY Project or a Job for the Pros?

After preparing the concrete, it’s time to apply the basement epoxy floor. The main decision at this stage is whether to do it yourself or hire a professional. Being honest about your skills, time, and budget is key to making the right choice.
The DIY Approach
A DIY installation can be a satisfying and cost-effective project for an experienced home improver.
- Cost Savings: DIY kits start around $500, saving you significant labor costs.
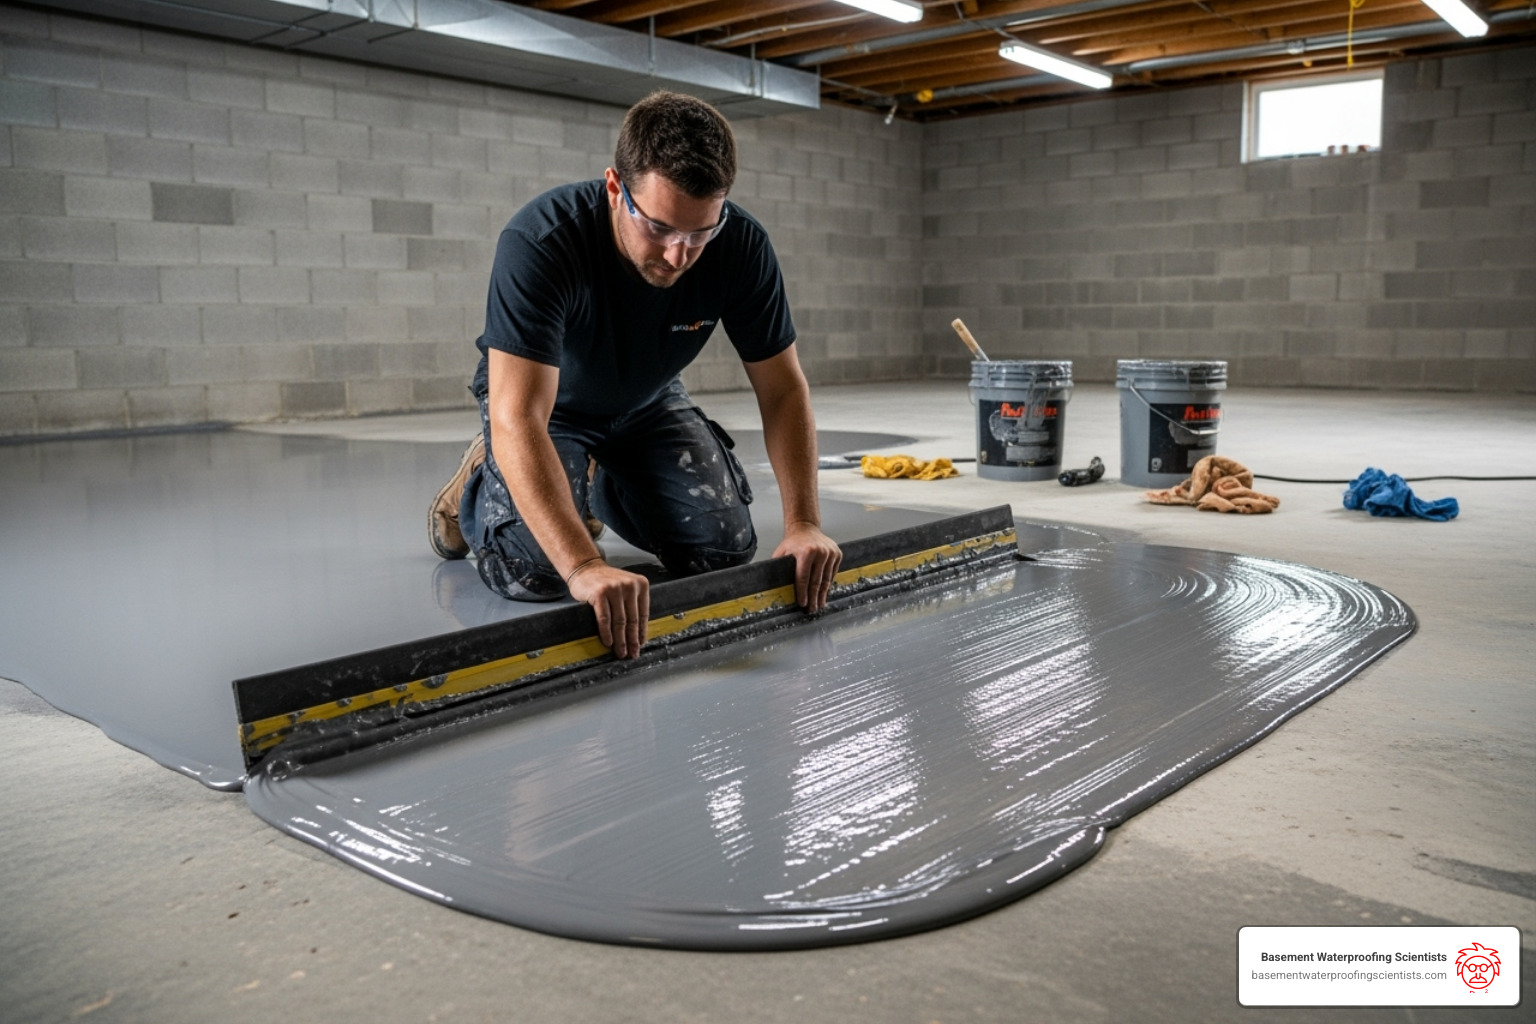
- The Process: The steps involve mixing the two-part system, applying a primer, rolling or squeegeeing the epoxy in thin coats, and adding a topcoat.
- The Challenges: Timing is critical. Once mixed, epoxy has a limited “pot life” (often under 40 minutes) before it begins to harden. Proper ventilation is also essential. Common mistakes include poor surface prep, incorrect mixing ratios, and applying the coating too thickly, which can lead to bubbles or soft spots.
If you choose the DIY route, invest in a high-quality product to avoid a failed application. For step-by-step instructions, see our guide on How To Epoxy A Basement Floor.
Why Professional Installation is Often Recommended
For guaranteed results, hiring a professional is often the wisest investment for a basement epoxy floor.
- Expert Surface Preparation: Professionals use specialized equipment like diamond grinders to create the ideal surface profile for maximum adhesion—the most critical factor for success.
- Industrial-Grade Materials: Pros have access to commercial-grade epoxy systems that are more durable and longer-lasting than most retail kits.
- Proper Tools and Technique: They have the right tools and experience to achieve a smooth, flawless finish, knowing how to apply epoxy with a roller or squeegee efficiently.
- Avoiding Costly Errors: An application mistake can be expensive to fix. A professional’s warranty protects your investment.
- Time Savings: A pro can typically complete the job in 1-2 days, saving you several weekends of work.
Comparing Epoxy to Other Basement Flooring Solutions
When finishing a basement, you have many flooring options, but not all are suited for the unique challenges of a below-grade space. A basement epoxy floor offers distinct advantages over other popular choices, especially concerning moisture and durability.
| Feature | Epoxy Floor | Unfinished Concrete | Vinyl (LVT/LVP) | Carpet | Tile (Ceramic/Porcelain) |
|---|---|---|---|---|---|
| Cost per sq. ft. | Mid-High ($5-$10+) | Low (Minimal) | Mid ($3-$7) | Low-Mid ($2-$5) | Mid-High ($4-$10+) |
| Durability | Excellent (High-traffic, impact, abrasion) | High (But can dust, stain) | Mid-High (Scratch, dent resistant) | Low (Wear, tear, staining) | Excellent (Hard, chip resistant) |
| Water Resistance | Excellent (Waterproof barrier) | Poor (Wicks moisture, prone to efflorescence) | Good (Water-resistant planks, but not waterproof) | Poor (Absorbs water, prone to mold) | Good (Waterproof tile, but grout can be porous) |
| Maintenance | Very Low (Easy to clean, non-porous) | Low (But dusty, requires regular sweeping) | Low (Easy to clean) | High (Vacuuming, professional cleaning) | Mid (Grout cleaning, regular mopping) |
| Lifespan | 10-20+ years (with proper install/care) | Very Long (But degrades aesthetically) | 10-20 years | 5-10 years | 20+ years |
| Comfort | Hard, Cold (Can add rugs for warmth) | Hard, Cold | Softer, Warmer than concrete | Soft, Warm | Hard, Cold |
Epoxy vs. Concrete Paint
Many homeowners confuse epoxy with concrete paint, but they are fundamentally different. Concrete paint is a thin, single-component acrylic or latex product that simply sits on top of the concrete. It’s prone to peeling and chipping, especially in damp basements.
Epoxy, however, is a thick, two-part system that chemically bonds with the concrete, becoming a part of the floor itself. This creates a much more durable, long-lasting surface that won’t peel or flake under pressure or from moisture. For a detailed comparison, see our Basement Floor Epoxy Paint guide.
Why Epoxy is Superior for Basements
In a basement environment, a basement epoxy floor consistently outperforms other materials. Its seamless finish leaves no grout lines or cracks for dirt and mold to hide. Its superior water resistance means spills and leaks won’t cause damage, unlike with carpet or laminate. Furthermore, its impact resistance stands up to heavy use in workshops or home gyms. Finally, epoxy is applied directly to the concrete, eliminating the need for a subfloor, which can trap moisture and promote mold growth. Explore all your options on our Basement Floor Coatings page.
Cost, Maintenance, and Common Problems of a Basement Epoxy Floor
Understanding the costs, care requirements, and potential issues of a basement epoxy floor will help you make an informed decision for your home.
What is the Typical Cost?
The cost of a basement epoxy floor varies based on several factors.
- DIY Kits: These typically start around $500 for materials, but you must also factor in the cost of rental equipment for preparation, such as a concrete grinder.
- Professional Installation: This generally costs between $5 and $10 per square foot. The final price depends on the square footage, the current condition of your concrete, and the type of epoxy system you choose (e.g., solid color, flake, or metallic).
A basement epoxy floor should only be installed after any underlying moisture problems are resolved. A full waterproofing solution is a separate but essential investment to protect your new floor.
Longevity and Simple Maintenance
A properly installed basement epoxy floor is incredibly low-maintenance and can last 10-20 years or more.
- Routine Cleaning: A quick sweep or vacuum, followed by mopping with a mild detergent, is all that’s needed.
- Spill Cleanup: Liquids bead on the surface and can be wiped up easily.
- Protection: Avoid harsh, abrasive cleaners that can dull the finish. Use furniture pads to prevent scratches from heavy items.
Troubleshooting a Basement Epoxy Floor
Most epoxy floor problems stem from improper installation, not the product itself.
- Peeling or Delamination: This is almost always caused by moisture in the concrete or inadequate surface preparation. The epoxy fails to bond and lifts off the floor.
- Bubbles or “Fisheyes”: These small craters can be caused by air escaping porous concrete (outgassing) or surface contaminants like oil or dust.
- Sticky or Soft Spots: This indicates the epoxy did not cure properly, usually due to incorrect mixing ratios or cold temperatures.
- Scratches: While durable, sharp objects can scratch the surface. A quality topcoat can add scratch resistance, and matte finishes hide minor marks better than high-gloss ones.
Proper preparation and application are the keys to preventing these issues and ensuring you get a beautiful, durable basement epoxy floor.
Frequently Asked Questions about Basement Epoxy Floors
Here are answers to some of the most common questions homeowners have about installing a basement epoxy floor.
How long does a basement epoxy floor take to cure?
Epoxy curing happens in stages. It is typically hard to the touch in 10-14 hours and ready for light foot traffic in 24 hours. However, it takes approximately 7 days to fully cure and achieve maximum hardness and chemical resistance. It’s best to wait the full week before placing heavy furniture on the floor.
Is an epoxy floor slippery in a basement?
A high-gloss epoxy finish can be slippery, especially when wet. This is easily solved by using anti-slip additives, which are mixed into the final topcoat. These additives create a fine texture that improves traction without significantly altering the floor’s appearance. For safety, an anti-slip finish is highly recommended for any basement epoxy floor.
Can you put epoxy over a previously painted or sealed basement floor?
No, this is not recommended. Epoxy needs to bond directly with clean, porous concrete to be effective. Any existing paint, sealer, or old coating acts as a barrier that will prevent proper adhesion, leading to peeling and failure. The old coating must be completely removed via mechanical means like diamond grinding before applying a new Epoxy Resin Basement Floor. Proper preparation is the most critical step for a long-lasting finish.
Conclusion: Is an Epoxy Floor Right for Your Basement?
For most homeowners, a basement epoxy floor is an excellent choice that can transform an underused space into a valuable part of the home. The combination of benefits is hard to beat: incredible durability, a seamless waterproof barrier, and stunning aesthetic options.
From a practical standpoint, the low maintenance and resistance to moisture, mold, and mildew make it a superior choice for below-grade environments. While the upfront cost—from DIY kits around $500 to professional installation at $5-$10 per square foot—is an investment, the 10-20 year lifespan provides outstanding long-term value.
However, there is one critical requirement: the success of your basement epoxy floor depends entirely on a dry concrete foundation. Epoxy will fail if moisture is wicking up through the slab. It will bubble, peel, and delaminate, wasting your entire investment.
This is where our expertise at Basement Waterproofing Scientists is essential. With 30 years of experience, we know that a beautiful floor starts with a permanently dry basement. We use specialized equipment to identify and repair the source of water intrusion before any flooring is considered. Investing in proper waterproofing first protects your flooring investment and ensures a healthy living space for your family.
Once your basement is dry, a basement epoxy floor is a fantastic finishing touch that offers the best in durability, waterproofing, and style. For a comprehensive solution that guarantees a dry foundation and a stunning floor, explore our basement floor coating services.

