Why Proper Field Drainage Transforms Agricultural Success
Learning how to install drain tile in field environments can dramatically improve a farm’s productivity, and the core principles apply to managing water on any property. Understanding large-scale drainage provides a masterclass in controlling moisture, whether it’s across acres of land or around your home’s foundation. Here’s the essential process for a field installation:
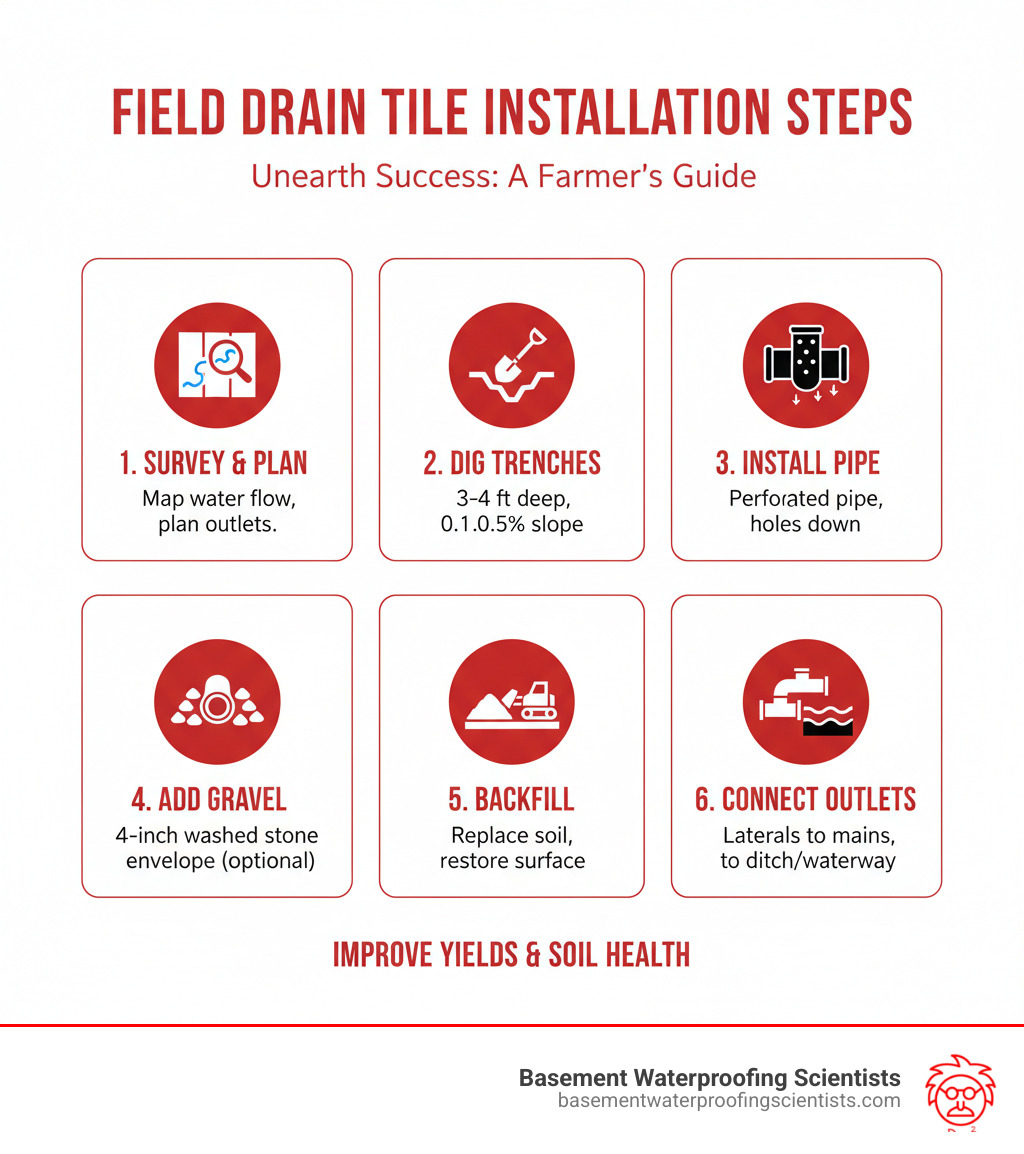
Quick Installation Overview:
- Survey and Plan – Map water flow and identify outlet locations
- Dig Trenches – Create 3-4 foot deep trenches with proper grade (0.1-0.5% slope)
- Install Pipe – Place perforated drain tile with holes facing down
- Add Gravel – Surround pipe with 4 inches of washed stone (optional but recommended)
- Backfill – Replace soil and restore surface
- Connect Outlets – Ensure water flows to ditches or waterways
Waterlogged fields cost farmers thousands in lost yields every year. When fields stay saturated for days after rainfall, crops suffer from poor root development, delayed planting, and increased disease pressure. Drain tile systems solve these problems by removing excess water, allowing farmers to work their fields earlier and achieve up to 50% better grass growth in previously sodden areas.
The installation process requires careful planning, proper equipment, and attention to detail. Success depends on maintaining correct grades, choosing appropriate materials, and ensuring adequate outlets. While a 100-yard trench can be completed in about six hours for around $400, mistakes can double costs and create worse drainage than no system at all.

When soggy fields become a persistent headache, it’s time to consider a permanent solution. Installing drain tile in your field isn’t just about moving water; it’s about changing your land into a more productive and resilient asset. We’ve seen how this investment can lead to astounding improvements, from lush, viable paddocks to fields ready for earlier planting seasons.
The Impact on Crop Yield and Soil Health
The primary reason farmers install drain tile is to address excess moisture. Waterlogged conditions starve plant roots of oxygen, leading to stunted growth, disease, and ultimately, reduced yields. By installing a proper drain tile system, we prevent waterlogging, ensuring that roots have access to the oxygen they need to thrive. This leads to healthier soil structure, improved soil aeration, and a significant reduction in the risk of soil compaction.
For instance, studies have shown that proper drainage can improve grass growth by as much as 50%, making sodden paddocks viable for grazing or hay production. This directly translates to increased farm profitability. Crops develop deeper, stronger root systems, which can then access moisture and nutrients more effectively, even during drier periods. This promotes more uniform crop growth and reduces overall crop stress, ultimately safeguarding your investment in seeds and fertilizer.
Blueprint for Success: Planning Your Field Drainage System
Think of planning your drainage system like designing a highway network for water. You wouldn’t build roads without knowing where traffic needs to go, and the same logic applies when you’re figuring out how to install drain tile in field applications. Every successful drainage project starts with understanding your land’s unique personality – its highs, lows, and quirks.
The foundation of any good drainage plan is a thorough site survey. This means walking your property with fresh eyes, taking notes on where water naturally collects after heavy rains. You’ll want to map the topography carefully, identifying the natural flow patterns that already exist. Your soil type analysis is equally crucial – clay soils behave completely differently from sandy ones when it comes to moving water around.
Here’s the critical first question: where will all that collected water actually go? Before you dig a single trench, you need to identify a reliable outlet. This could be a roadside ditch, a natural stream, or even a constructed pond. Without a proper outlet, you’re essentially building a water collection system with nowhere for the water to escape – not exactly the outcome we’re after! The section 5.2 tile drain installation and repair – Indiana resource provides excellent technical guidance on these fundamental planning principles.
Once you’ve sorted out where the water will end up, you can map out the water flow direction across your entire field. This natural flow pattern will guide your system design and help you work with gravity rather than against it.
Determining Proper Depth and Spacing
Getting the depth right is absolutely essential for long-term success. Most field drainage systems work best when installed 3-4 feet deep. This isn’t just a random number – there’s solid reasoning behind it. Tiles installed less than 24-30 inches deep often get damaged by heavy farm equipment, turning your investment into an expensive repair headache.
The spacing between your drain lines depends heavily on what type of soil you’re working with. Clay soils hold onto water like a sponge, so you’ll typically need drain lines spaced closer together – sometimes every 30-40 feet. Sandy soils let water move more freely, allowing you to space lines further apart, often 60-80 feet or more.
Understanding your soil’s hydraulic conductivity helps you make these decisions with confidence. This fancy term simply describes how easily water moves through your particular soil type. You’ll also need to consider your drainage coefficient – basically, how quickly you want your system to remove excess water after a storm.
Modern technology has made precision installation much more achievable. Laser leveling systems ensure consistent grades, while GPS technology can pinpoint locations within just a couple of centimeters. This precision matters tremendously because even small variations in slope can cause water to pool in unexpected places or flow too slowly to be effective.
How to Install Drain Tile in a Field: The Design Phase
Now comes the fun part – designing your water highway system. You’ll be creating two types of lines: laterals and mains. Think of laterals as the neighborhood streets that collect water from across your field, while mains are like the major highways that carry all that collected water to your outlet.
Laterals typically use 4-6 inch diameter pipe, which handles the water volume from their immediate area. Main lines need to be larger – often 8 inches or more – because they’re carrying the combined flow from multiple lateral lines. Size these mains too small, and you’ll create bottlenecks that cause backups during heavy rains.
Your system layout pattern depends on your field’s shape and topography. Some fields work best with a simple parallel pattern, while others need more complex designs with multiple mains. Outlet protection is non-negotiable – you’ll need proper erosion control where your system discharges to prevent the outlet from washing out over time.
Professional drainage contractors follow established guidelines like the ASABE Tile Drain Standards to ensure systems perform reliably for decades. These standards cover everything from minimum pipe sizes to proper connection methods.
For property owners dealing with water management challenges around their homes, similar principles apply. You can find More info about Tile Drain Systems that explains how these concepts work in residential applications as well.
Gearing Up: Essential Tools and Materials for Drain Tile
Getting ready to tackle how to install drain tile in field projects means assembling the right arsenal of equipment and materials. Trust me, trying to save a few bucks on tools will cost you dearly in time, frustration, and potentially a system that doesn’t work properly.

The heart of any drain tile operation is your digging equipment. A backhoe gives you incredible precision when working around rocks or managing excavated dirt carefully. The Woods Equipment BH-90X backhoe with a narrow bucket has become a favorite among farmers for its versatility and control.
For larger projects covering multiple acres, a tile plow pulled by a powerful tractor becomes your best friend. These machines can install miles of tile quickly and efficiently. Some resourceful farmers even build their own 3-point hitch versions to save costs while maintaining effectiveness.
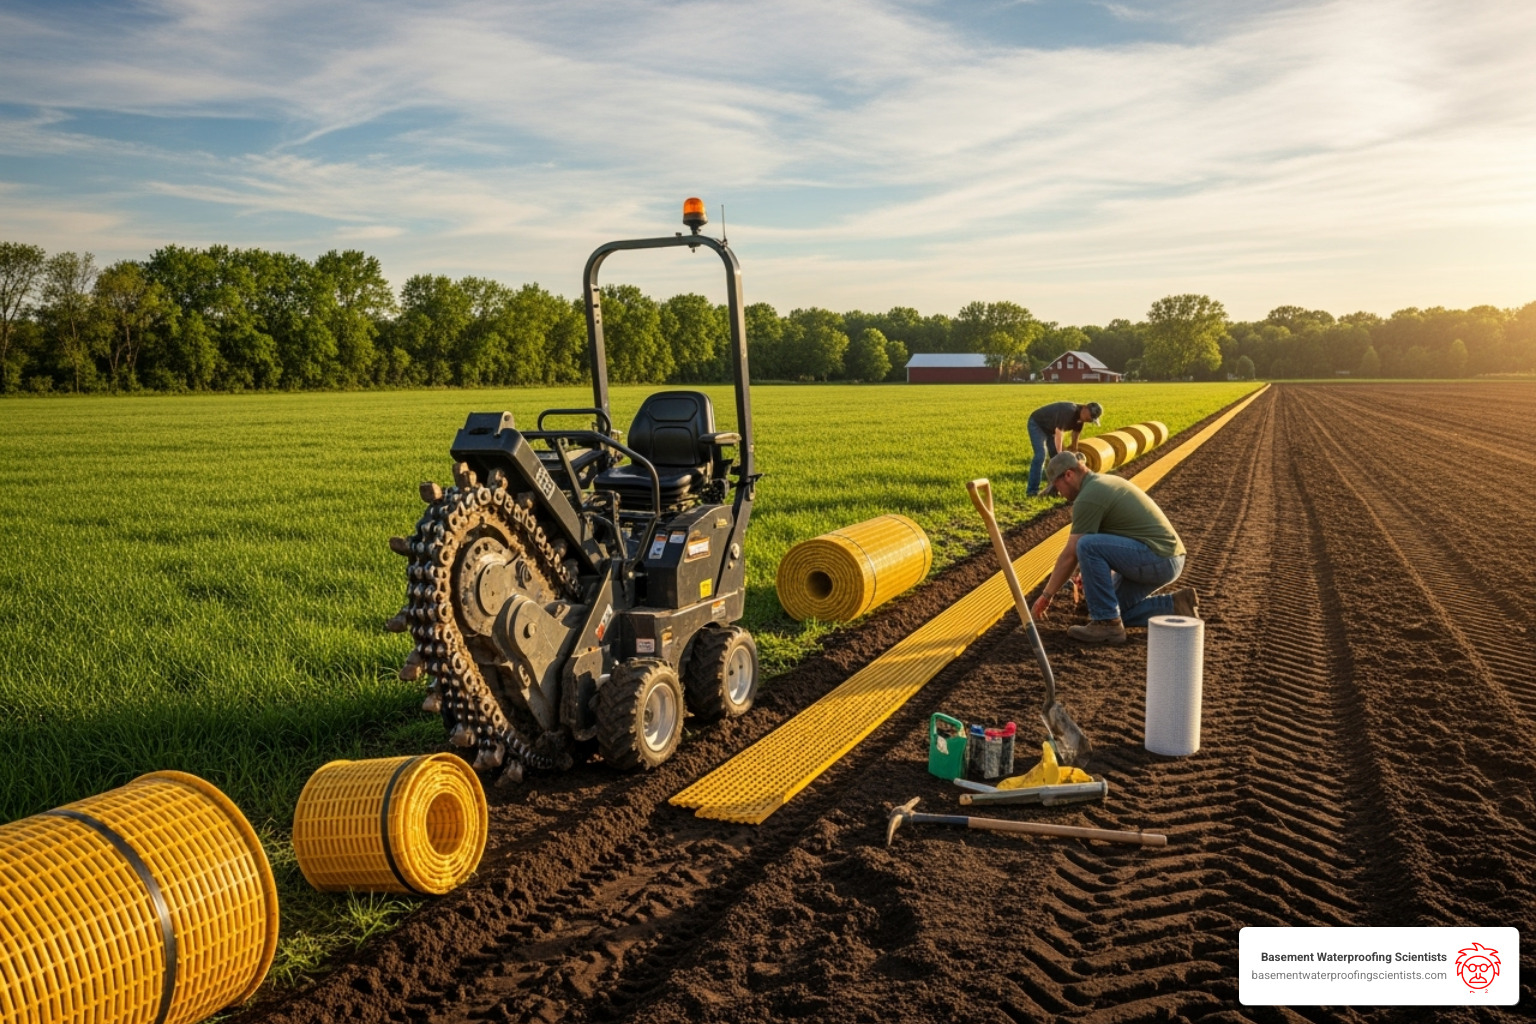
Trenchers offer another excellent option, especially specialized units like Vermeer trencher tile machines that can dig precise trenches – think 9″x2 1/2″ trenches with remarkable consistency. The precision these machines provide often justifies their rental cost.
Laser levels or GPS systems aren’t optional equipment – they’re absolutely critical. Without proper grade control, your entire system fails. Modern GPS technology has revolutionized installation accuracy, and maintaining consistent depth and slope throughout your system depends entirely on these tools.
Don’t overlook the simple but essential hand tools. Shovels help you fine-tune trench bottoms and clear debris, while quality pipe cutters ensure clean connections. A dump trailer and tractor loader will save your back when moving gravel and managing all that excavated soil.
Choosing the Right Pipe and Aggregate
The pipe you select and whether you use aggregate around it can make or break your drainage system’s long-term performance. Let’s break down your options:
| Pipe Type | Pros | Cons | Best Use |
|---|---|---|---|
| Corrugated HDPE Pipe | Flexible, easy to handle, cost-effective, excellent durability | Can crush under heavy loads if not properly bedded | Most field applications, especially where flexibility matters |
| PVC Pipe | Smooth interior for maximum flow, strong, long-lasting | More expensive, rigid (harder to install around obstacles) | Main lines, areas with heavy equipment traffic |
| Clay Tile | Traditional choice, excellent longevity, naturally resistant to chemicals | Heavy, brittle, labor-intensive installation | Historic systems or specific soil conditions |
Perforated pipe allows water to enter the system and should be used for your lateral collection lines. Non-perforated pipe works perfectly for main lines carrying water to outlets where you don’t want additional water entering.
Tile socks or filters wrap around your pipe to prevent fine particles from clogging the perforations. In fine sandy soils or areas with heavy silt, these filters can extend your system’s life dramatically.
When it comes to aggregate, pea gravel and washed limestone are your go-to choices. The gravel envelope around your pipe serves three critical functions: it improves water flow into the pipe, acts as a natural filter, and provides structural support.
Gravel becomes essential in heavy clay soils where water moves slowly, or in fine sandy conditions where sediment might clog your system. In well-draining sandy loam soils, you might skip the gravel entirely – though many experienced installers include it anyway as insurance against future problems.
The key is matching your materials to your specific soil conditions and long-term goals. A properly equipped installation today prevents costly repairs and system failures down the road.

