Why a Wet Crawl Space Demands Immediate Action
Installing drain tile in a crawl space is essential for any homeowner dealing with water intrusion or persistent dampness. Unlike basement leaks, crawl space water problems can go undetected for years, leading to structural rot, mold growth, and musty odors that permeate your home.
Water enters your crawl space due to hydrostatic pressure—groundwater pushing against your foundation. This pressure forces moisture through cracks and porous concrete, creating an unhealthy environment that threatens your home’s integrity and your family’s health. A properly installed drain tile system is the permanent solution. It intercepts this water before it causes damage and channels it to a sump pump, which safely removes it from your property.
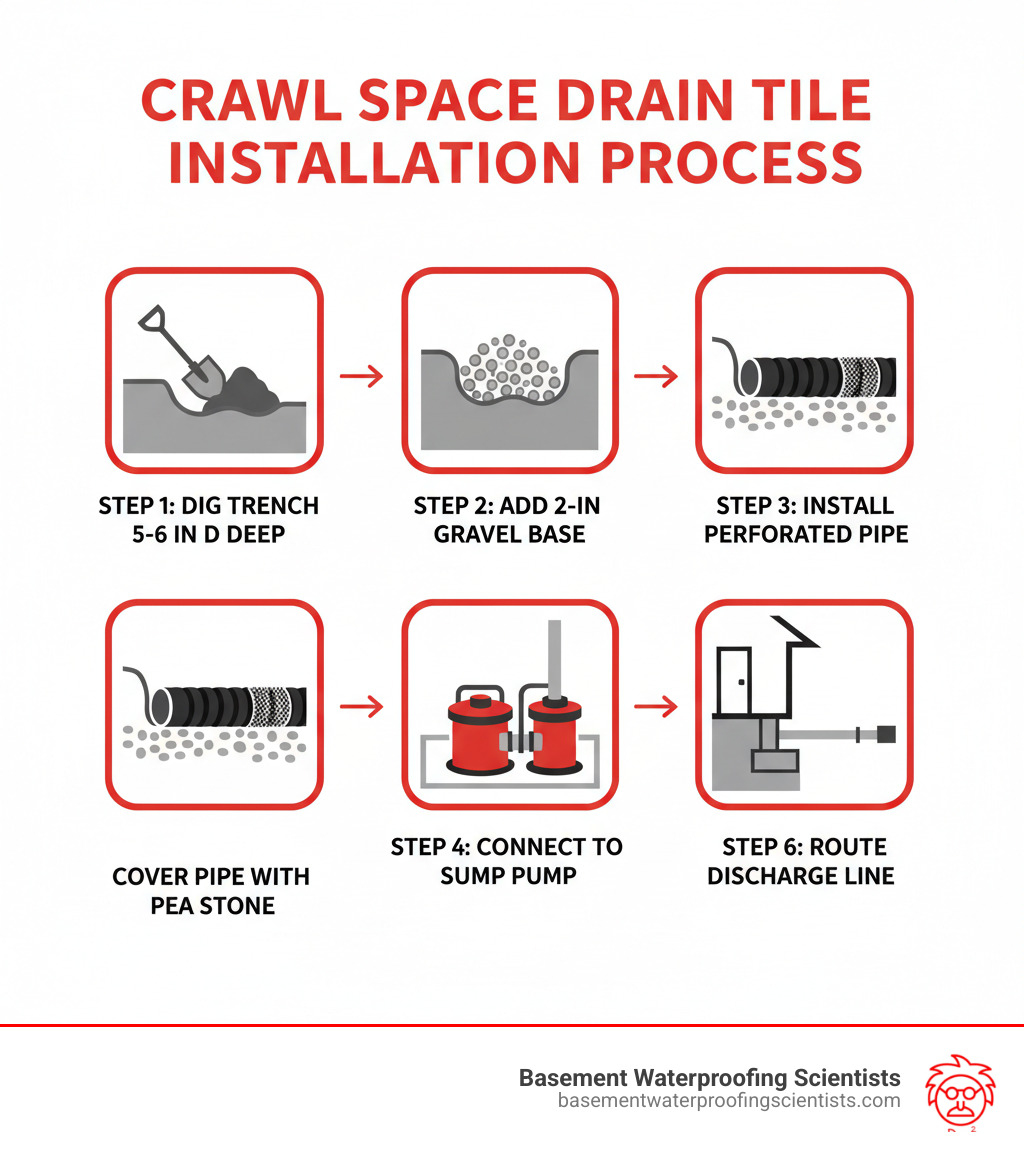
The basic process involves:
- Digging a trench along the interior perimeter footing.
- Laying a gravel base and a perforated pipe (with a filter sock).
- Covering the pipe with more gravel.
- Connecting the system to a sump pump for water removal.
I’m Darin Garvey of Basement Waterproofing Scientists. With over 30 years of combined experience in the Philadelphia area, we’ve perfected crawl space drainage. Let me walk you through how this vital system works.
Why Your Crawl Space Needs a Drainage System
Because crawl space leaks can hide for months or years, you may not notice a problem until you’re facing rotted floor joists, widespread mold, and expensive repair bills. That’s why installing drain tile in crawl space areas is essential protection for your home’s foundation and your family’s health.
A crawl space drain system works 24/7 to intercept and remove groundwater before it causes damage. The main culprit is hydrostatic pressure. After heavy rain or snowmelt, rising groundwater creates immense pressure on your foundation, forcing water through any crack or porous surface. A drain tile system relieves this pressure by collecting water at the perimeter and routing it away.
Moisture in your crawl space is an open invitation for mold and wood rot. Mold spores thrive in dark, damp environments and can spread to your living areas, compromising indoor air quality. At the same time, constant moisture attacks wooden floor joists and beams, leading to structural decay.
Many homeowners don’t realize that air from the crawl space rises into the home due to the stack effect. If that air is filled with mold spores and musty odors, your family breathes it daily. A dry crawl space means healthier air upstairs and protects your home’s value. A professional drainage system is a sign of a well-maintained home that reassures potential buyers.
While the principle is similar to a basement system, crawl spaces have unique challenges. Dirt floors allow water to seep in from below, and the confined workspace makes installation more demanding. However, the goal is the same: a permanently dry space that protects your investment.
More info about Crawl Space Drainage Systems
Types of Crawl Space Drain Systems
The most effective solution is an interior perimeter drain tile system. A trench is dug along the inside edge of the crawl space footing, where a perforated pipe is laid. This system catches water after it enters the foundation area but before it can pool or cause damage. When installed correctly, it provides clog-free protection for decades.
This system requires an exit strategy: a sump pump. We install a sump basin at the lowest point in the crawl space, and a submersible pump automatically activates to pump collected water out and away from your home. We recommend a primary pump and a battery backup, as power often fails during the worst storms.
A gravity discharge system, which uses a downward slope to drain water without a pump, is rarely feasible. Most crawl spaces are too low or level for this to work reliably, making a sump pump the superior choice.
You may hear terms like French drain, weeping tile, or foundation drain; they all refer to a perforated pipe system that collects water. Modern drain tile is made from PVC or flexible plastic and must be wrapped in a filter fabric “sock” to prevent clogging.
More info about Drain Tile Installation
Essential Tools and Materials
Having the right tools and materials is crucial for installing drain tile in crawl space areas.
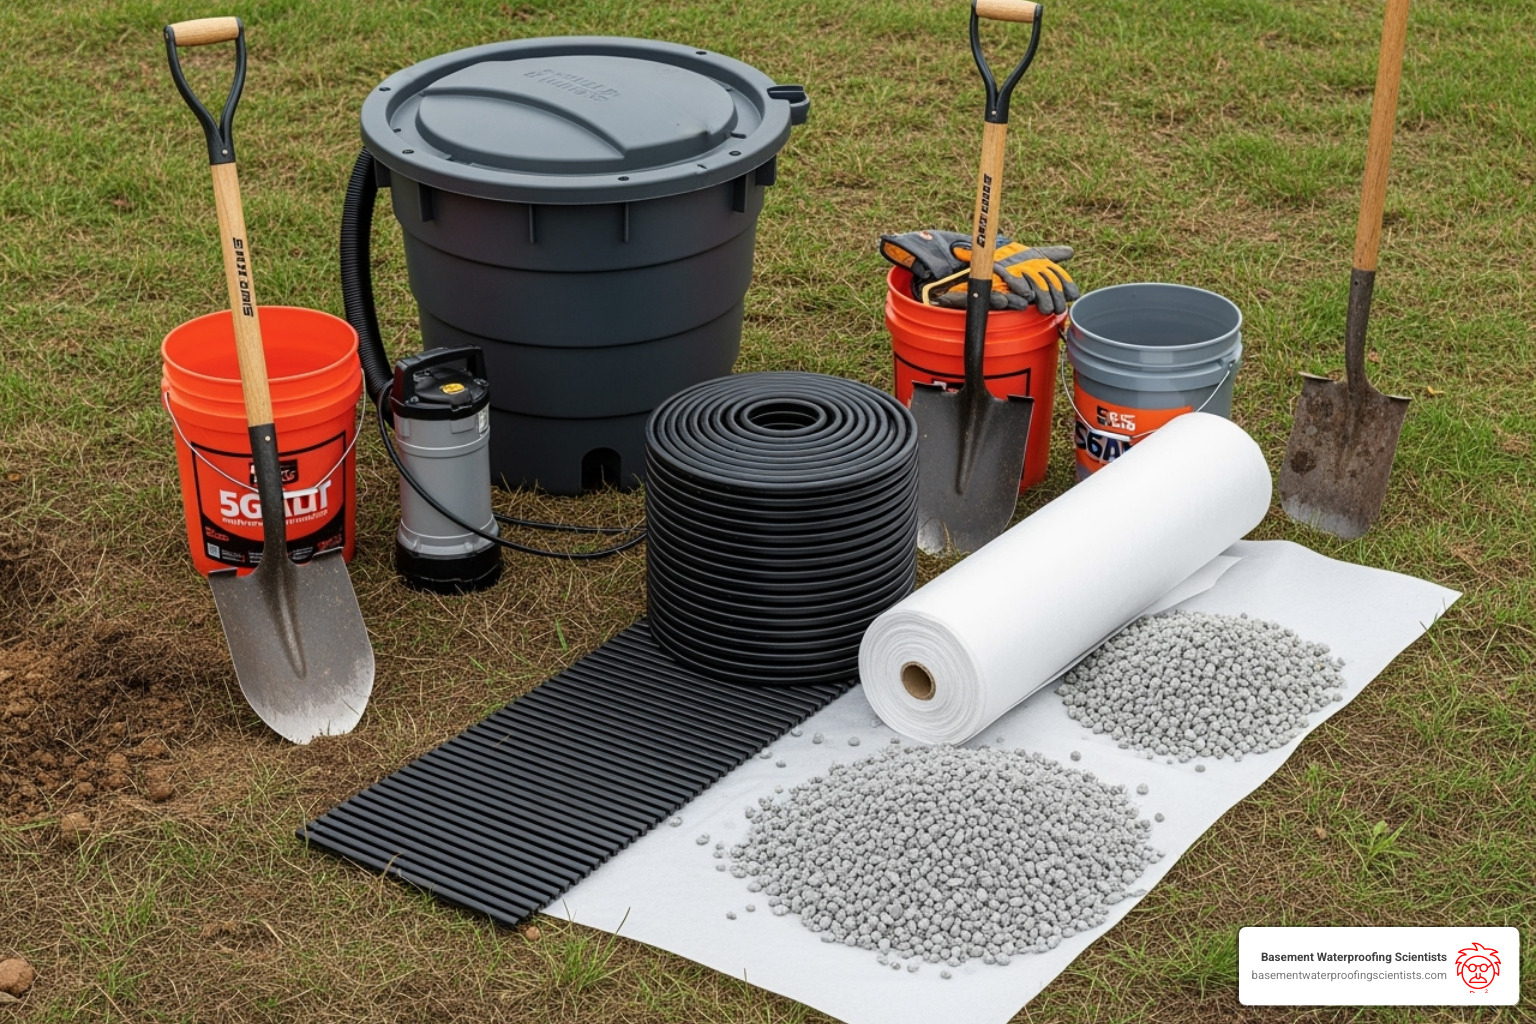
- Excavation: Short-handled shovels, heavy-duty buckets, and a wheelbarrow or sled for moving dirt.
- Drainage Components: 4-inch perforated drain pipe (PVC or flexible), a geotextile filter sock (essential to prevent clogs), and pea gravel or washed stone.
- Sump System: A durable plastic sump basin, a quality submersible sump pump with a float switch, and PVC pipe and cement for the discharge line.
- Measurement: A level, measuring tape, and utility knife.
- Safety Gear: Heavy-duty gloves, safety glasses, a respirator mask (non-negotiable), a headlamp, and heavy-duty extension cords.
- Optional: A jackhammer for trenching through concrete and a wet/dry vacuum for cleanup.
The Step-by-Step Guide to Installing Drain Tile in Crawl Space
Installing drain tile in a crawl space is a challenging project. The confined, dirty workspace and the precision required make professional installation the smart choice for most homeowners. Mistakes can be costly—for example, digging below your foundation footer can compromise your home’s structural integrity.
Furthermore, you must comply with local building codes for drainage systems and water discharge. At Basement Waterproofing Scientists, we handle professional installations in a day or two, ensuring full code compliance and providing a lifetime warranty for your peace of mind. If you proceed with a DIY project, ensure proper ventilation, wear a respirator mask, and have someone check on you periodically.
More info about Basement and Crawlspace Waterproofing
Step 1: Digging the Trench for Your Crawl Space Drain Tile
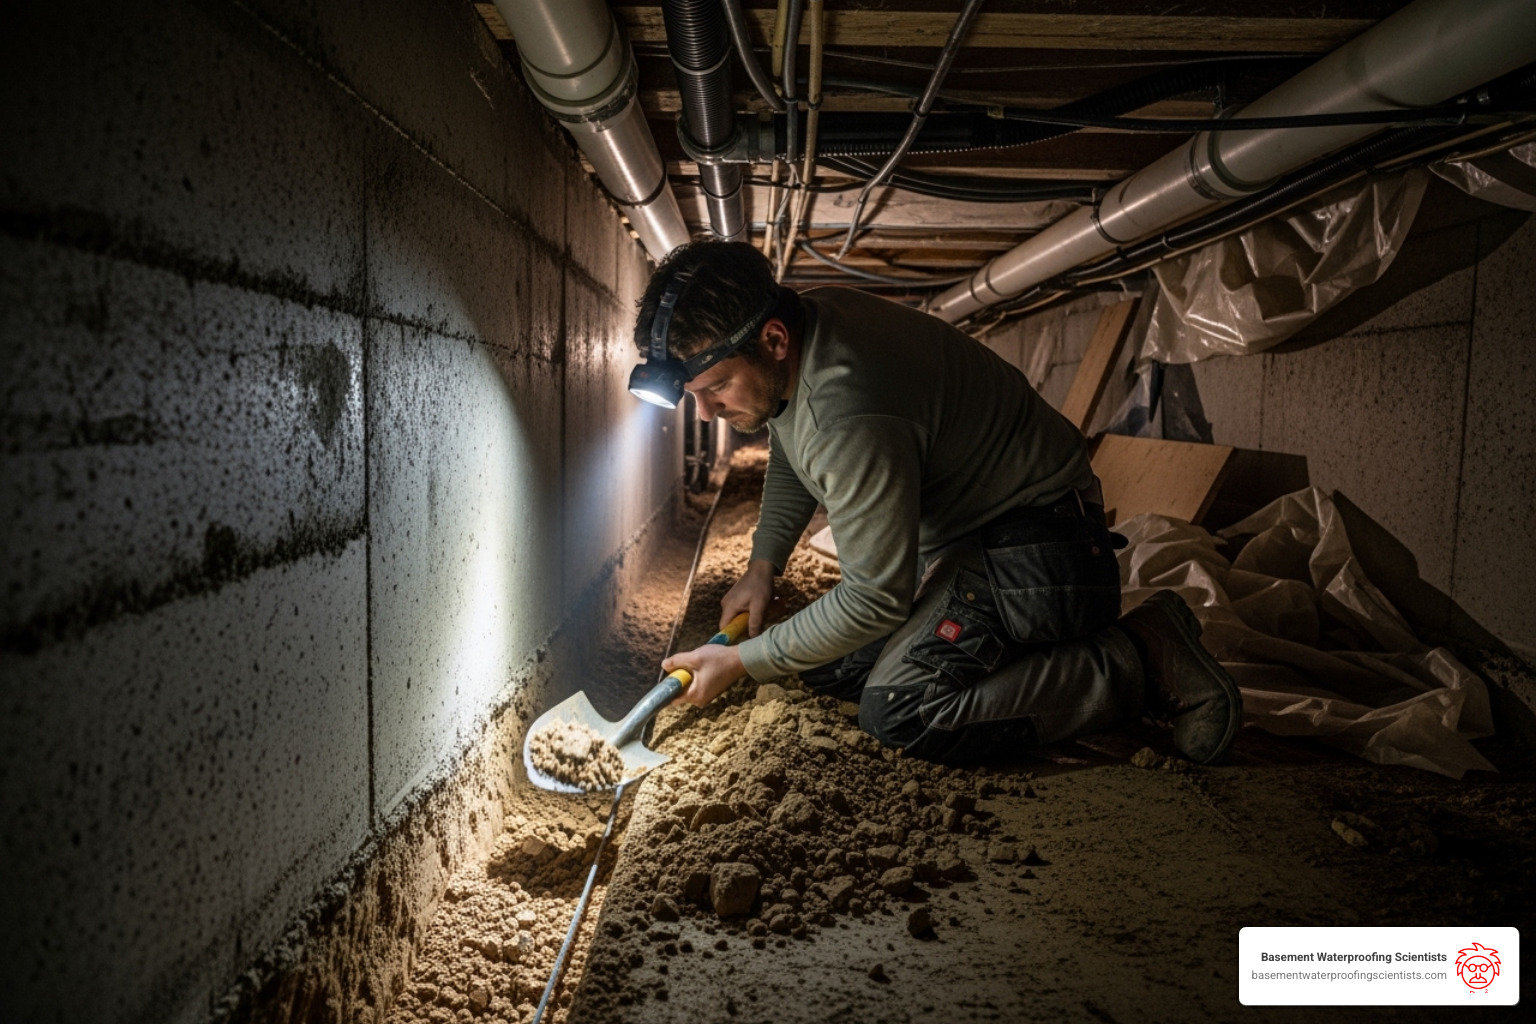
First, clear the interior perimeter of your crawl space of any debris or old vapor barriers. Mark a path for your trench directly adjacent to the foundation footing.
Dig a trench that is 5-6 inches deep and 6-8 inches wide. This depth keeps the drain pipe below the soil line. Crucially, keep the trench level. A sloped trench is not necessary and can cause issues. Water will naturally find its way to the sump basin in a level system.
The most important rule is to never dig below the bottom of your foundation footer. Undermining the footer can cause serious structural damage. Dig alongside it, not under it. As you dig, haul the excavated dirt out of the crawl space using buckets.
Step 2: Properly Laying the Pipe and Gravel
With the trench dug, you can install the drainage components.
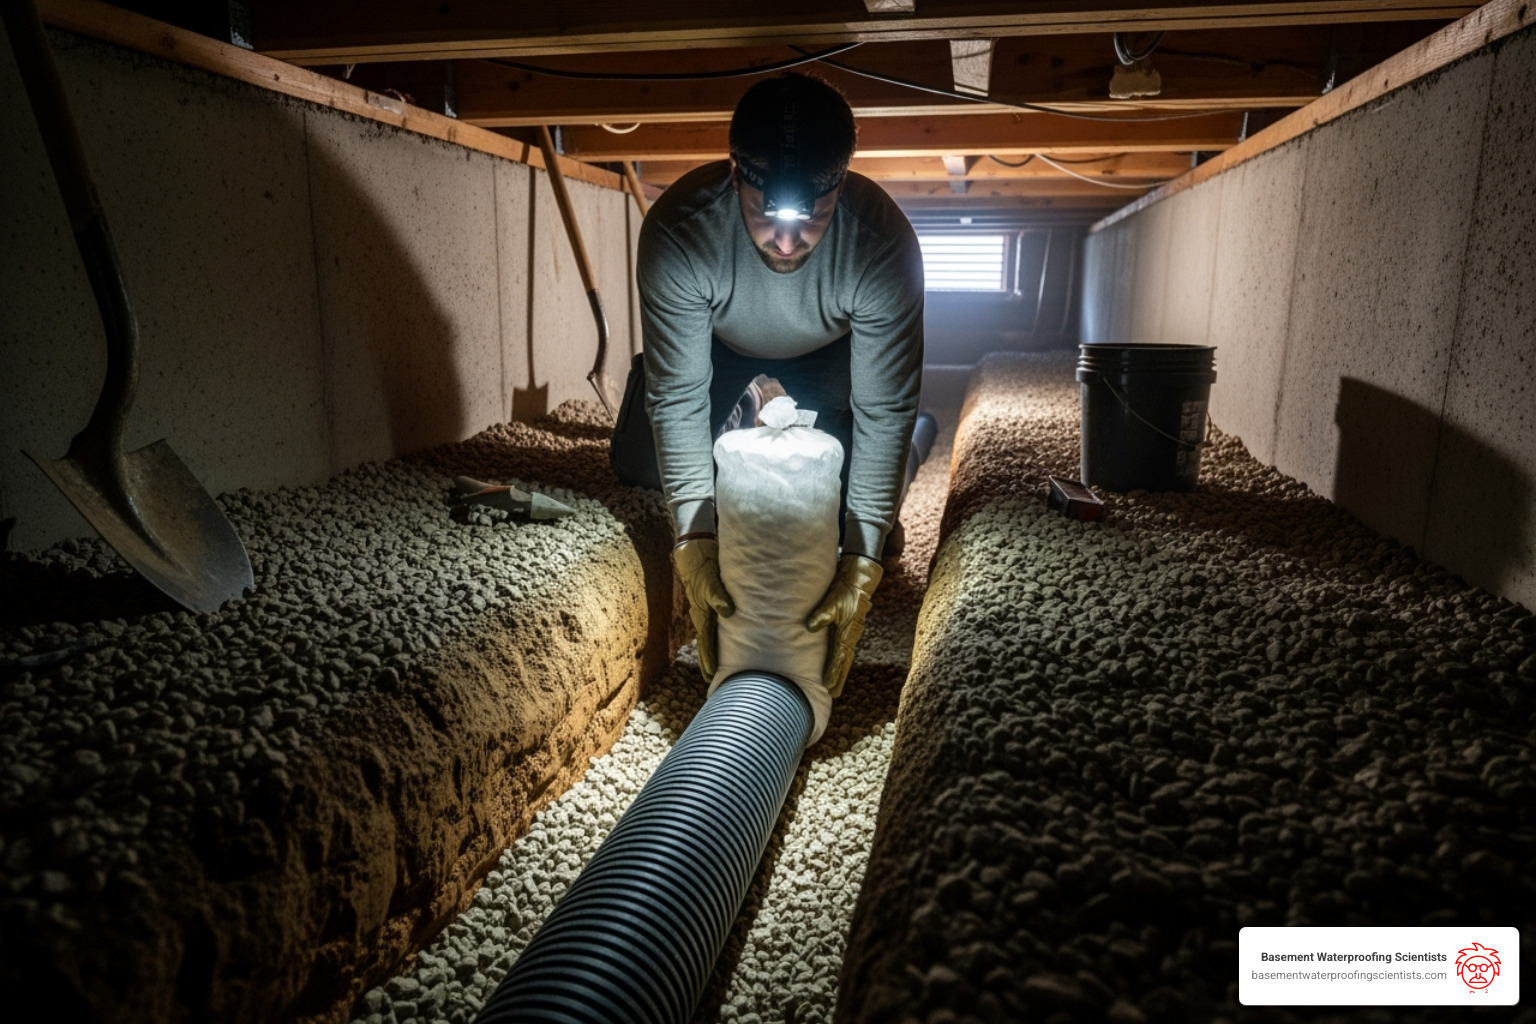
Start by spreading a 2-inch layer of pea gravel or washed stone at the bottom of the trench. This creates a permeable base for the drain pipe.
Next, lay the perforated drain pipe on the gravel base. The holes in the pipe must face down. This allows water to enter from the bottom, where it accumulates, and prevents clogging from silt above.
Before continuing, wrap the pipe in a filter sock or geotextile fabric. This step is non-negotiable, as it blocks soil and fine particles that would otherwise clog your system. Connect pipe sections securely with the appropriate fittings.
Once the pipe is in place, cover it with at least 2-3 inches of additional pea stone. For heavy clay soils, you may want to fill the trench completely with stone. Never put dirt directly on top of the drain tile, as it can compact and crush the pipe or clog the system.
More info about our Drainage Tiles Complete Guide
Step 3: Connecting to a Sump Pump for Water Removal
A drain tile system is incomplete without a sump pump to remove the collected water.
First, locate the lowest point in your crawl space and dig a pit for the sump basin. The basin’s top rim should sit flush with the crawl space floor. Connect the perimeter drain tile pipes to the knockout holes on the basin.
Install a submersible sump pump inside the basin. Connect it to a PVC discharge line that will carry water out of your home. Route the discharge line out through the crawl space wall or band joist. Outside, the line must extend at least 10-20 feet away from your foundation and slope slightly downhill. Discharging water too close to the house will only recycle the problem.
Finally, test your system. Pour several buckets of water into the trench. The water should flow to the basin, and the pump should activate automatically, discharging the water outside. Check for smooth operation and leaks to ensure your system is ready to protect your home.
More info about Basement Drainage Systems
Common Challenges and Long-Term Maintenance
Even with a good plan, installing drain tile in a crawl space can present challenges. Avoid these common and costly mistakes:
- Digging Below the Footer: Never dig deeper than the bottom of your foundation footer. Undermining it can cause structural failure.
- Hitting Utility Lines: Crawl spaces can hide plumbing, electrical, or gas lines. Call 811 (Dig Safe) before you dig to locate any buried utilities.
- Clogging: A system will fail if it clogs. Always use a filter sock around the pipe and cover it with clean gravel, never dirt. Silt and mud will render an unprotected system useless in a few years. You can learn why many foundation drain tile installations fail by understanding proper backfilling.
- Improper Discharge: The discharge line must carry water at least 10-20 feet away from your home. Dumping it next to the foundation creates a cycle of water problems.
When installed correctly, a drain tile system is a permanent solution that can last for decades. At Basement Waterproofing Scientists, our systems come with a lifetime guarantee because we build them to last.
Maintaining Your Crawl Space Drain System
Maintenance is simple and ensures long-term performance:
- Test Your Sump Pump: Every few months, pour water into the sump basin to ensure the pump activates, runs smoothly, and shuts off correctly.
- Clean the Sump Pit: Annually, check the pit for debris like small stones or leaves that could jam the float switch.
- Check the Discharge Line: Ensure the exterior discharge line opening is clear of leaves, ice, or other blockages.
- Consider a Battery Backup: A battery backup system keeps your pump running during power outages, which often occur during heavy storms when you need it most.
- Get a Professional Inspection: An annual checkup by our team can spot potential issues before they become major problems.
When to Consider Crawl Space Encapsulation
Installing drain tile in a crawl space solves bulk water intrusion, but it doesn’t stop water vapor. For complete moisture control, you need to address both liquid water and humidity.
- Drain Tile handles liquid water that seeps and puddles.
- Encapsulation handles water vapor (humidity) that rises from the soil.
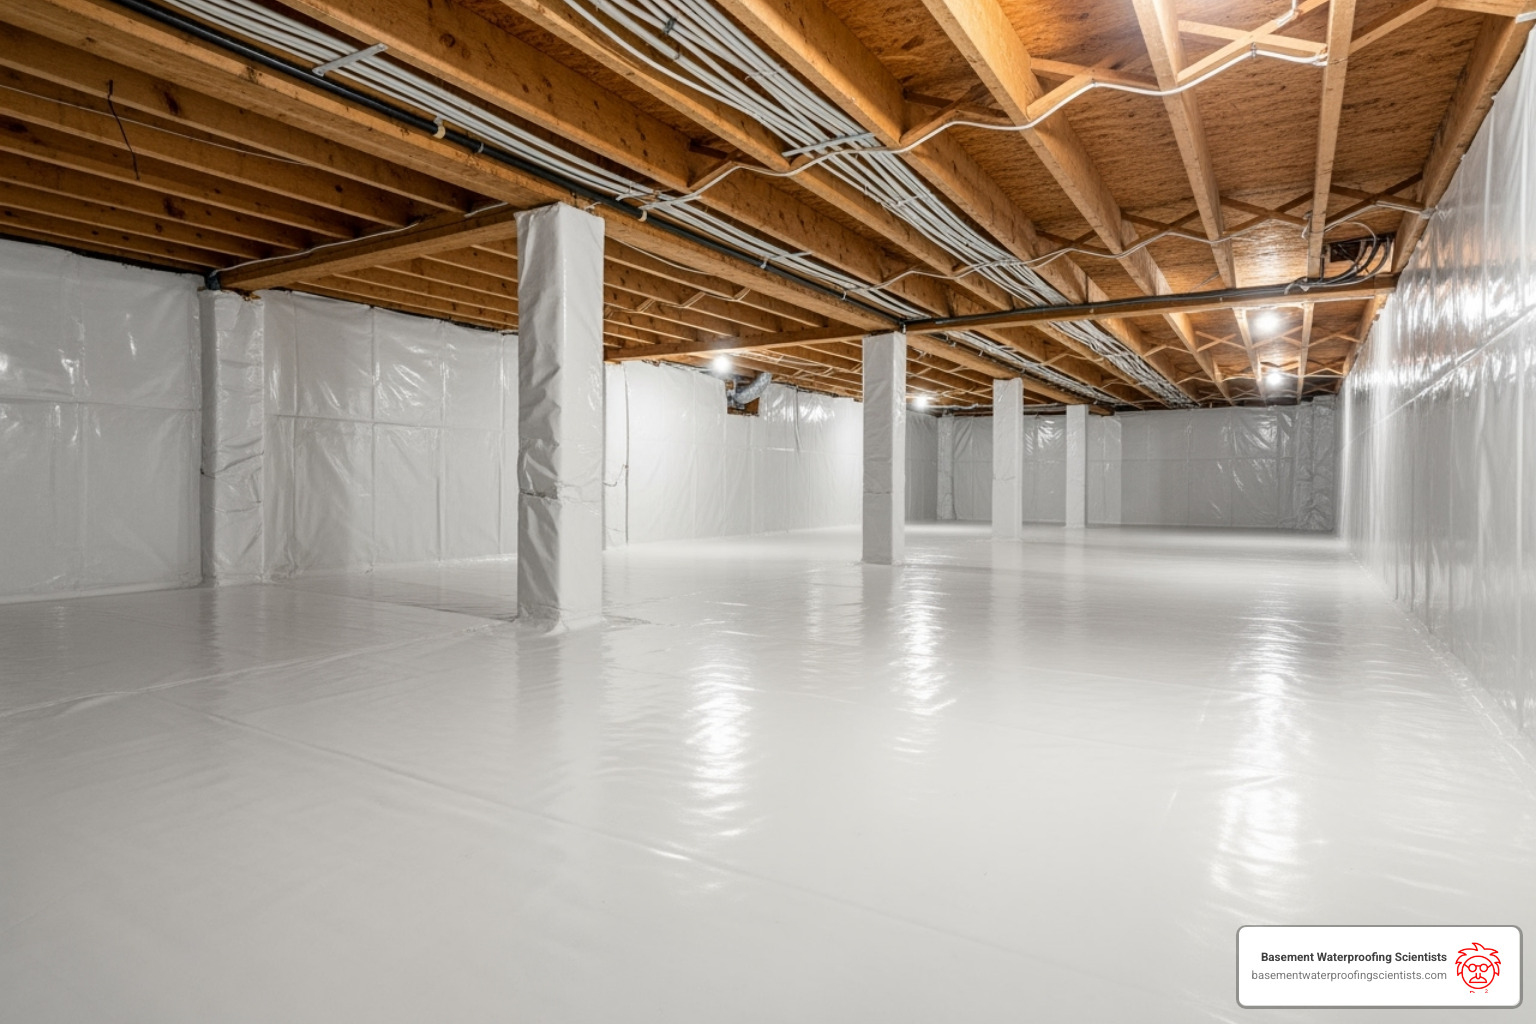
Crawl space encapsulation involves lining the floor and walls with a heavy-duty vapor barrier, sealing outside vents, and installing a powerful dehumidifier. This process transforms your crawl space into a clean, dry, conditioned space, preventing mold growth and rot caused by high humidity.
Drain tile and encapsulation work together perfectly. The drain tile manages any water leaks, while encapsulation controls the ambient moisture. Together, they provide comprehensive protection that neither can offer alone.
More info about Crawlspace Waterproofing Encapsulation
Frequently Asked Questions about Installing Drain Tile in a Crawl Space
Here are answers to common questions about installing drain tile in a crawl space.
How is a crawl space drain system different from a basement system?
While the principle of collecting water is the same, the installation environment is very different. Key differences include:
- Workspace: Crawl spaces are confined, making the work more physically demanding than in a full-height basement.
- Floor Type: Most crawl spaces have dirt floors, allowing water to seep in from below, whereas basements typically have concrete slabs with more predictable leak points.
- Problem Detection: Leaks can go unnoticed for years in a crawl space, often leading to more severe rot and mold damage by the time they are finded.
Do I need a vapor barrier after installing drain tile?
Yes. Drain tile and vapor barriers solve two different problems and are both needed for complete protection. Your drain tile system handles bulk liquid water that seeps into the crawl space. A vapor barrier, which is a thick plastic liner, stops water vapor (humidity) from rising out of the soil. Without a vapor barrier, your crawl space will still be damp and humid, creating an ideal environment for mold and rot. Together, they provide total moisture control.
More info about Vapor Barrier Crawl Space Installation
How long does a professionally installed drain tile system last?
A professionally installed system using high-quality materials is a permanent solution. You can expect it to last for decades, protecting your home for as long as you own it. The key is proper installation: correct trenching, quality filter fabric, and the right gravel backfill. At Basement Waterproofing Scientists, we are so confident in our methods and materials that we back every system with a lifetime guarantee.
Secure Your Foundation with a Professional Drainage Solution
As you’ve seen, installing drain tile in a crawl space is a critical investment in your home’s health and longevity. It’s not just about stopping water; it’s about preventing structural rot, eliminating mold, improving air quality, and protecting your home’s value.
Crawl space water problems only get worse over time, and the damage they cause can lead to thousands of dollars in repairs. A permanent drainage solution from Basement Waterproofing Scientists stops this destructive cycle for good.
With 30 years of experience in the Philadelphia area, we know how to fix water problems permanently. Our expert inspections use specialized equipment to pinpoint the exact source of leaks, allowing us to provide a targeted solution that often costs less. Every system we install is backed by our lifetime guarantee.
Our comprehensive approach combines advanced drainage with moisture control to ensure your crawl space stays dry in all conditions. The average cost for a complete waterproofing solution, including drain tile and a sump pump, typically ranges from $4,000 to $8,000—an investment that protects your home for life.
Don’t wait for dampness to become damage. For a guaranteed dry crawl space and a comprehensive inspection, explore our professional basement drain systems. Your home deserves the permanent protection of a professionally installed drainage solution.

