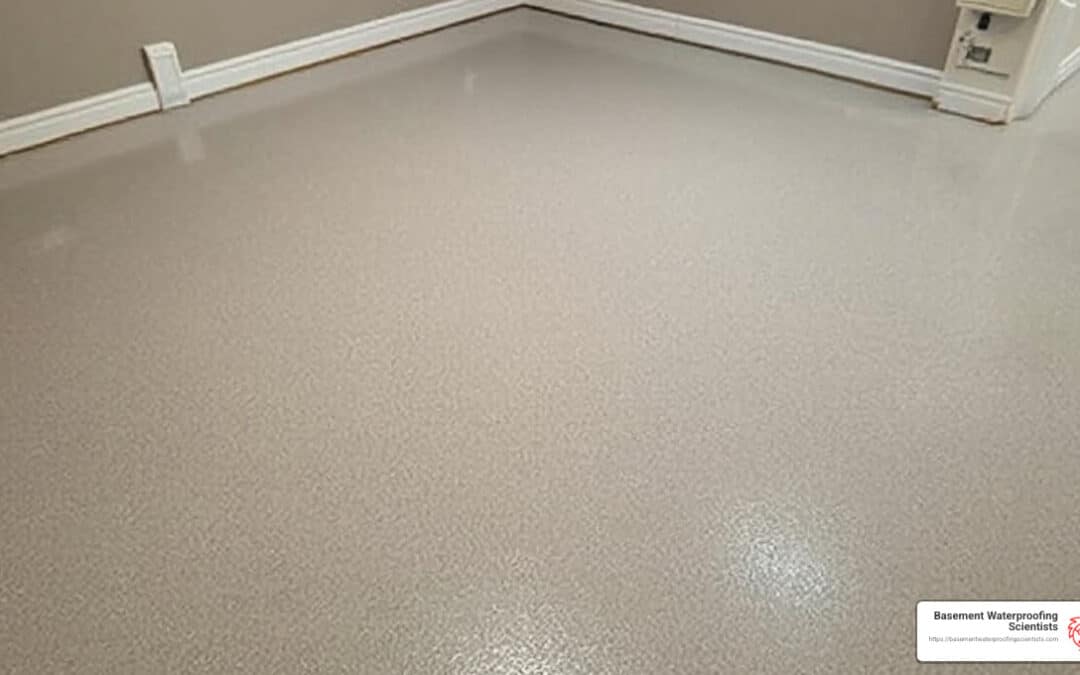
Epoxy basement floor waterproofing is a game-changer for homeowners battling persistent leaks. Imagine turning your damp basement into a dry, versatile space with just one cost-effective solution. That’s the power of epoxy. This tough material creates a seamless barrier that effectively blocks moisture from penetrating the concrete floor, changing your basement into a worry-free zone. Moisture penetration in a concrete floor can lead to structural damage and mold growth, making proper waterproofing essential.
-
Waterproof: Locks out moisture better than other coatings.
-
Durable: Resists impacts and scratches; lasts 10 to 20 years.
-
Eco-friendly: Safe and almost non-toxic once cured.
I’m Darin Garvey, and I’ve been helping homeowners in and around Philadelphia keep their basements dry for over 30 years. My experience in handling epoxy basement floor waterproofing has taught me that a well-prepared floor and a quality epoxy application can provide long-term protection against water intrusion.

Understanding the Importance of Waterproofing
Waterproofing your basement is crucial for maintaining a healthy and safe living environment. Moisture penetration can lead to a host of problems, including structural damage, mold growth, and reduced durability. When water seeps into your basement space, it can weaken the foundation, cause wood rot, and create an environment conducive to mold and mildew. These issues not only compromise the structural integrity of your home but also pose health risks to your family.
Proper waterproofing protects the space itself and enhances the overall durability and value of a home. By creating a barrier against moisture, you can prevent costly repairs and maintain a dry, comfortable basement space. Whether you use your basement for storage, as a living area, or for other purposes, keeping it dry is essential for its longevity and functionality. Understanding the importance of waterproofing empowers homeowners to take proactive steps to safeguard their investment and ensure a safe, healthy living environment.
Signs You Need to Waterproof Your Basement
Recognizing the signs that your basement needs waterproofing can save you from significant headaches down the line. Here are some common indicators that it’s time to take action:
-
Leaks in the Basement Walls or Floor: Visible water leaks are a clear sign that your basement is not adequately waterproofed.
-
Water Stains or Discoloration on the Walls or Ceiling: These marks often indicate past or ongoing water intrusion.
-
Musty Odors or Mold Growth: A persistent musty smell or visible mold is a strong indicator of moisture problems.
-
High Humidity or Condensation: Excessive humidity or condensation on windows and walls can signal that moisture is seeping into your basement.
-
Cracks in the Foundation or Walls: Cracks can allow water to enter your basement, leading to further damage.
-
Water Seepage Through the Walls or Floor: Any sign of water seeping through the concrete is a red flag that waterproofing is needed.
If you notice any of these signs, it’s essential to address the issue promptly to prevent further damage. Ignoring these warning signs can lead to more severe problems, including structural damage and health hazards from mold and mildew.
Benefits of Epoxy Basement Floor Waterproofing
When it comes to epoxy basement floor waterproofing, there are several standout benefits that make it a top choice for homeowners.
High levels of ground water can lead to hydrostatic pressure, causing water to seep through concrete floors and walls. Proper waterproofing solutions are essential to manage and prevent moisture infiltration from ground water.
Waterproof
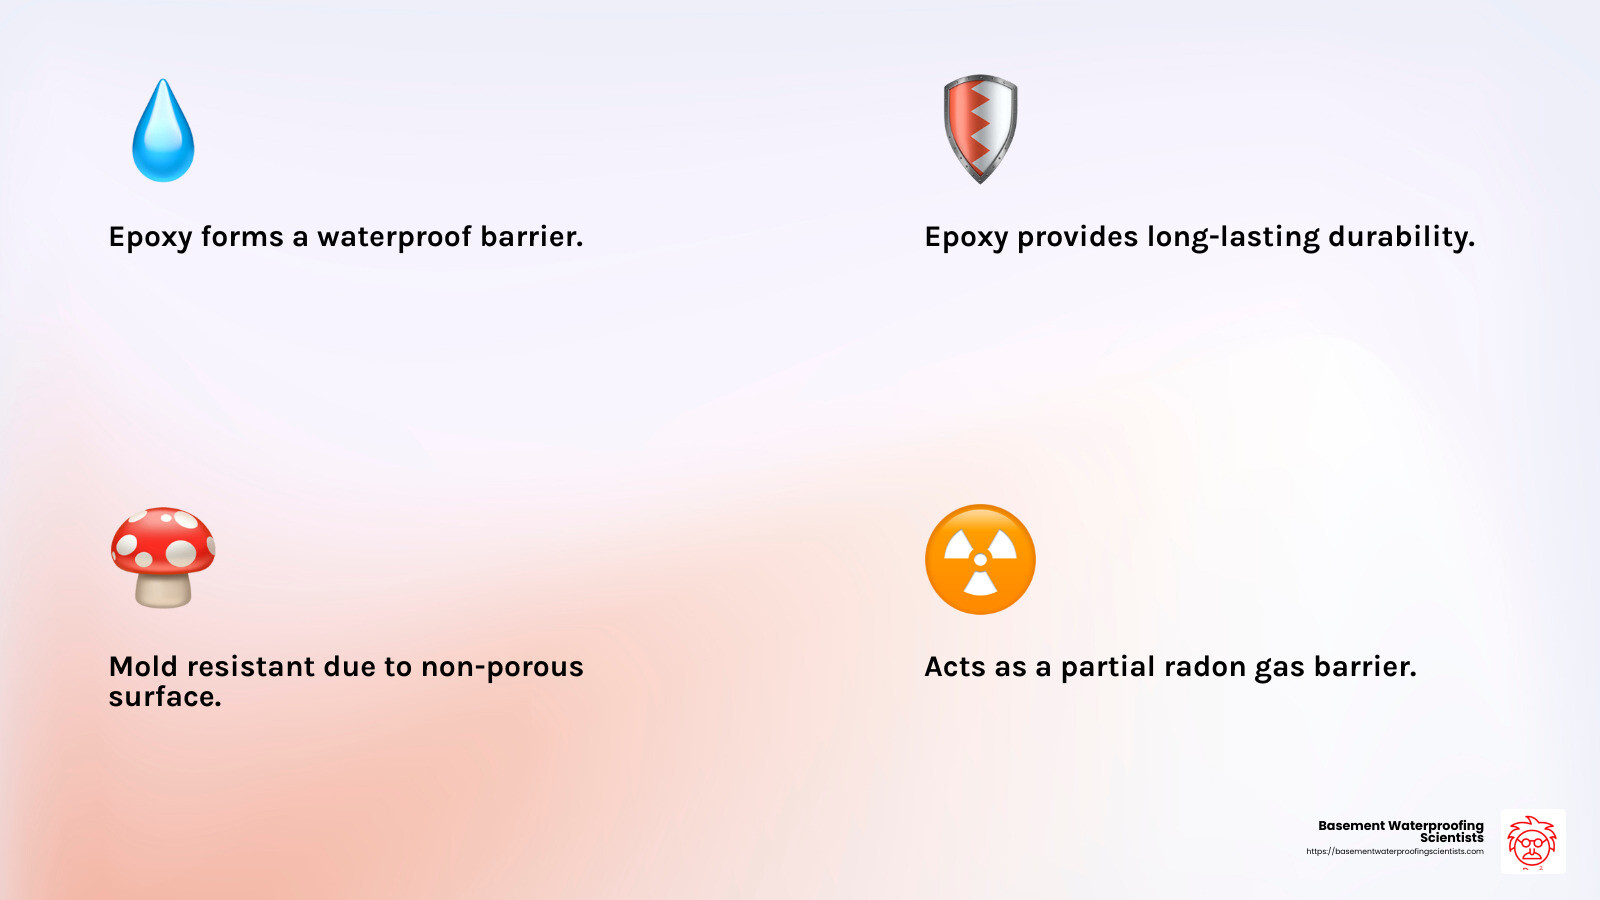
Epoxy forms a hard, plastic-like film that effectively locks out moisture, making it a superior choice compared to other waterproofing methods such as concrete sealer. This is crucial for basements, which are often damp and prone to water seepage. Unlike other coatings, epoxy provides a robust barrier that prevents water from penetrating the floor, making it ideal for keeping your basement dry.
Durable
Epoxy is incredibly durable. Ensuring a smooth, properly prepared concrete surface is crucial for effective adhesion and long-lasting results. In residential settings, it can last anywhere from 10 to 20 years, and with proper care, even longer. It resists impacts, scratches, and chipping, so you can move furniture or appliances without worrying about damaging the floor. This durability means fewer repairs and replacements, saving you time and money in the long run.
Mold Resistant
Basements are notorious for mold growth due to their cool, damp conditions. However, epoxy is non-porous, which means mold spores can’t take root and grow. This makes epoxy a smart choice for maintaining a healthier home environment by minimizing mold-related issues.
Radon Gas Barrier and Blocks Moisture
Radon gas is a naturally occurring radioactive gas that can seep through cracks in basement floors, posing health risks. While epoxy isn’t a complete solution for radon mitigation, it does add an extra layer of protection by sealing the floor and reducing the pathways through which radon can enter your home.

These benefits make epoxy basement floor waterproofing a worthwhile investment, offering peace of mind and changing your basement into a more functional and safe space.
Choosing the Right Epoxy Coating
Selecting the right epoxy coating for your basement waterproofing project is crucial for achieving the best results. Here are some factors to consider:
-
Moisture Levels: If your basement has high moisture levels, you may need a more robust epoxy coating that can withstand constant exposure to damp conditions. Look for products specifically designed for high-moisture environments.
-
Traffic: Consider the amount of foot traffic your basement will experience. If it’s a high-traffic area, opt for a more durable epoxy coating that can resist wear and tear.
-
Aesthetics: Epoxy coatings come in various colors and finishes. Choose one that matches your desired appearance and complements the overall look of your basement space.
-
Budget: Epoxy coatings vary in price, so it’s essential to set a budget and find a product that meets your needs without breaking the bank. Remember that investing in a high-quality epoxy can save you money in the long run by reducing maintenance and repair costs.
By considering these factors, you can choose an epoxy coating that provides effective waterproofing while meeting your aesthetic and budgetary requirements.
How to Apply Epoxy for Basement Floor Waterproofing
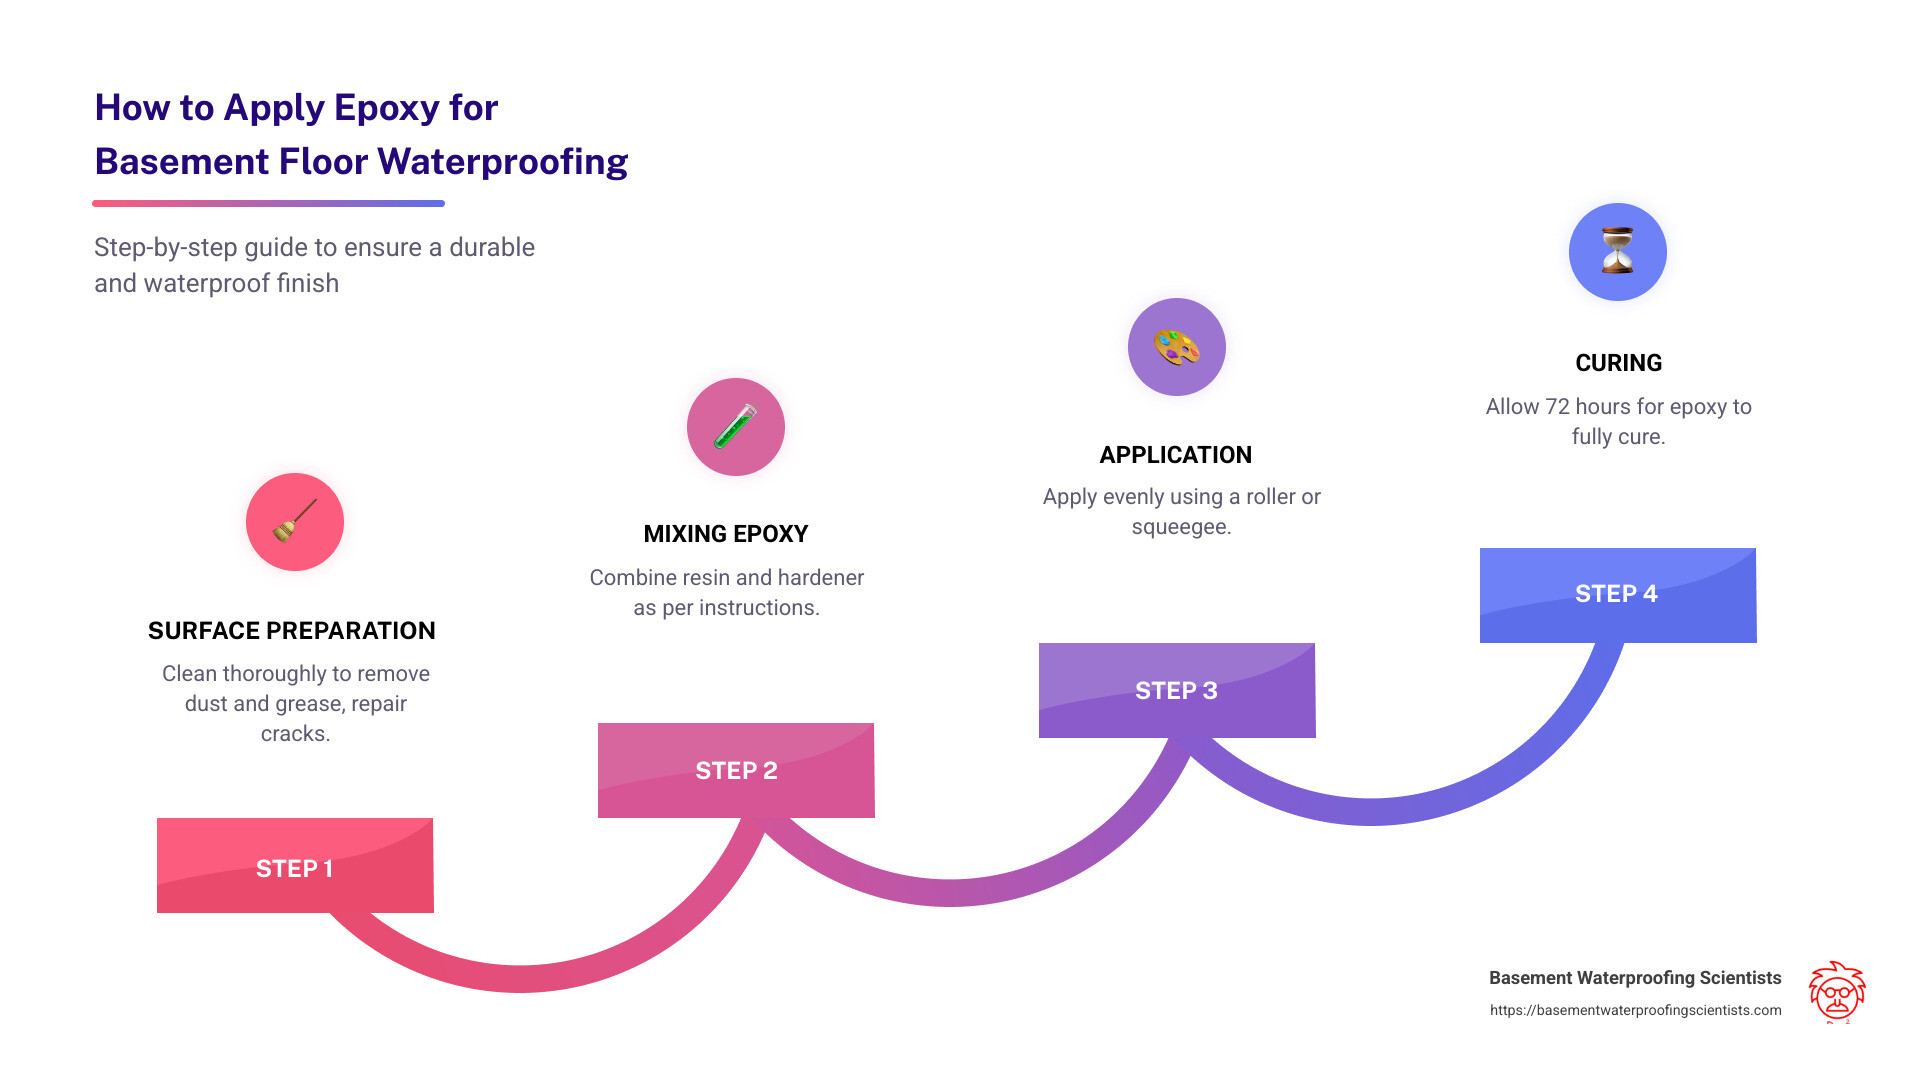
Applying epoxy basement floor waterproofing is a DIY-friendly project that can transform your basement into a dry, durable, and mold-resistant space. Before applying epoxy, it is crucial to seal the concrete slab and address any cracks to prevent water infiltration. Here’s a step-by-step guide to help you through the process:
Concrete Surface Preparation
Proper surface preparation is crucial for a successful epoxy application. Here’s how to get started:
-
Clean the Floor Thoroughly: Remove all dust, dirt, and debris. Use a vacuum to ensure the floor is spotless.
-
Repair Cracks and Holes: Use hydraulic cement to fill any cracks or holes in the concrete. This will create a smooth surface for the epoxy to adhere to.
-
Etch the Concrete: Etching opens up the concrete’s pores, allowing the epoxy to bond better. You can use a commercial etching product or a mixture of muriatic acid and water. Be sure to follow the safety instructions on the product label.
-
Rinse and Dry: After etching, rinse the floor with clean water and let it dry completely. Moisture can cause issues, so ensure the surface is bone dry before proceeding.
Additionally, consider installing a drain tile system to manage moisture and prevent water seepage. This system can alleviate problems caused by high groundwater levels and hydrostatic pressure, protecting the integrity of the concrete structure.
DIY-Friendly Installation Steps
Once your surface is ready, follow these installation steps:
-
Mix the Epoxy: Epoxy comes in two parts—a resin and a hardener. Mix them according to the manufacturer’s instructions. Be sure to work in a well-ventilated area and wear a respirator for safety.
-
Apply the Epoxy: Start at the farthest corner of the room and work your way toward the exit. Use a roller with an extension handle for even application. Apply the epoxy in thin, even coats to avoid pooling.
-
Allow to Cure: Let the first coat dry completely, usually between 12 to 24 hours, depending on the product. Check the manufacturer’s instructions for exact curing times.
-
Apply Additional Coats: For a more durable finish, apply a second or even third coat. Each coat adds to the floor’s waterproofing ability and durability.
-
Inspect and Touch Up: Once the final coat is dry, inspect the floor for any missed spots or thin areas. Touch up as necessary.
By following these steps, you can achieve a professional-looking finish that will keep your basement dry and protected for years to come.
Next, we’ll discuss some common mistakes to avoid during the application process to ensure your epoxy floor lasts as long as possible.
DIY vs. Professional Waterproofing
When it comes to basement waterproofing, you have the option to tackle the project yourself or hire a professional. Here’s a comparison to help you decide:
Common Mistakes to Avoid
When applying epoxy basement floor waterproofing, avoiding common pitfalls can make all the difference in achieving a long-lasting, durable finish. One critical issue to address is hydrostatic pressure from high groundwater levels, which can force water through cracks in the concrete or saturate the slab, leading to moisture problems. It is essential to resolve these moisture issues, often with drainage solutions or sump pumps, before applying epoxy. Here’s what to watch out for:
Inadequate Surface Preparation
One of the most frequent mistakes is skimping on surface preparation. Thorough cleaning and repair of the floor are essential. If dust, dirt, or oil remain on the surface, the epoxy may not adhere properly, leading to peeling or bubbling.
-
Tip: Spend extra time ensuring the floor is completely clean and dry. Use a vacuum to remove fine dust particles.
Skipping the Etching Process
Etching the concrete is critical for ensuring the epoxy bonds well. Skipping this step can result in a weak bond, causing the epoxy to lift or peel over time.
-
Tip: Use a commercial etching product or a muriatic acid solution, and follow all safety guidelines. This step is not optional.
Ignoring Moisture Issues and Drainage System
Moisture is the enemy of epoxy. If the concrete is not fully dry, or if there’s an underlying moisture problem, the epoxy could bubble or peel.
Installing a sump pump is crucial for managing excessive moisture and preventing water seepage into the basement. This can effectively remove water that seeps in, thereby preventing further damage and moisture buildup.
-
Tip: After cleaning and etching, allow ample drying time. Consider using a dehumidifier if your basement is particularly damp.
Applying Epoxy in Thick Coats
Applying the epoxy too thickly can lead to uneven drying and a lumpy finish. Thick coats can also trap air bubbles, compromising the waterproofing.
-
Tip: Apply the epoxy in thin, even layers. Multiple thin coats are better than one thick coat.
Rushing the Curing Process
Patience is key. Rushing the curing process by walking on the floor too soon can mar the finish and weaken the epoxy.
-
Tip: Follow the manufacturer’s instructions for curing times. Usually, this means waiting at least 24 hours before any foot traffic.
By avoiding these common mistakes, you can ensure your epoxy basement floor waterproofing project is a success, providing a durable and attractive finish that stands the test of time.
Next, we’ll tackle some frequently asked questions to clear up any lingering doubts or concerns you might have about using epoxy in your basement.
Frequently Asked Questions about Epoxy Basement Floor Waterproofing
Will epoxy waterproof a basement floor?
Yes, epoxy is an excellent choice for waterproofing a basement floor. When applied correctly, epoxy forms a hard, plastic-like film that effectively locks out moisture. This makes it a great solution for basements, which are often prone to dampness due to their proximity to the water table. However, while epoxy can significantly reduce moisture coming through the floor, it won’t address water intrusion through walls or windows. For a fully waterproof basement, consider combining epoxy with other methods like wall sealants and proper drainage systems.
In addition to using epoxy, having a well-functioning drainage system is crucial. Solutions such as drain tiles or sump pumps can prevent water from seeping into the basement due to hydrostatic pressure and high ground water levels.
How much does it cost to epoxy a basement floor?
The cost of applying epoxy to a basement floor can vary widely based on several factors, including the size of the basement, the quality of epoxy used, and whether you hire a professional or do it yourself. On average, DIY kits can range from $2 to $5 per square foot. If you opt for professional installation, costs can rise to $5 to $12 per square foot. While the initial investment might seem high, the durability and low maintenance of epoxy floors can make it a cost-effective choice in the long run.
What are the cons of epoxy flooring in a basement?
While epoxy flooring offers many benefits, there are a few drawbacks to consider:
-
Slippery Surface: When wet, epoxy floors can be slippery, posing a potential safety hazard. Adding anti-slip additives during installation can help mitigate this issue.
-
High Traffic Wear: Although epoxy is durable, it can show wear in high-traffic areas over time. This is especially true if heavy equipment or furniture is frequently moved across the floor.
-
Durability Concerns: While epoxy is tough, it isn’t indestructible. It can chip or crack if heavy objects are dropped on it, and it may peel if not applied properly.
Before applying epoxy, it is crucial to address any leaky basement issues to ensure long-term effectiveness. A leaky basement can lead to wood rot, mold, and pest infestations, which can compromise the integrity of the epoxy flooring.
Despite these cons, many homeowners find that the benefits of epoxy basement floor waterproofing outweigh the drawbacks, especially in terms of durability and ease of maintenance.
In the next section, we’ll explore how Basement Waterproofing Scientists can provide customized solutions and expert inspections to ensure your basement stays dry and protected.
Conclusion
At Basement Waterproofing Scientists, we understand that every home is unique, which is why we offer customized solutions custom to your specific needs. Our team has over 30 years of experience in basement waterproofing, and we’re committed to ensuring your basement stays dry and safe.
When it comes to epoxy basement floor waterproofing, our expert inspections are designed to identify the exact sources of moisture in your basement. We use specialized equipment to pinpoint leaks, allowing us to address the problem directly and effectively. This ensures that our solutions are not only efficient but also cost-effective.
Our approach is simple: we combine advanced techniques with thorough inspections to deliver outstanding results. Whether you’re dealing with minor dampness or significant water intrusion, we have the expertise to handle it all. Plus, our services come with a lifetime guarantee, giving you peace of mind that your investment is protected.
If you’re ready to transform your basement with an epoxy floor, or if you have any questions about our services, don’t hesitate to reach out. We’re here to help you every step of the way.
For more information on how we can keep your basement dry and protected, contact us today. Let’s work together to create a space that’s both functional and beautiful.


