Explaining DIY Mold Test Kits
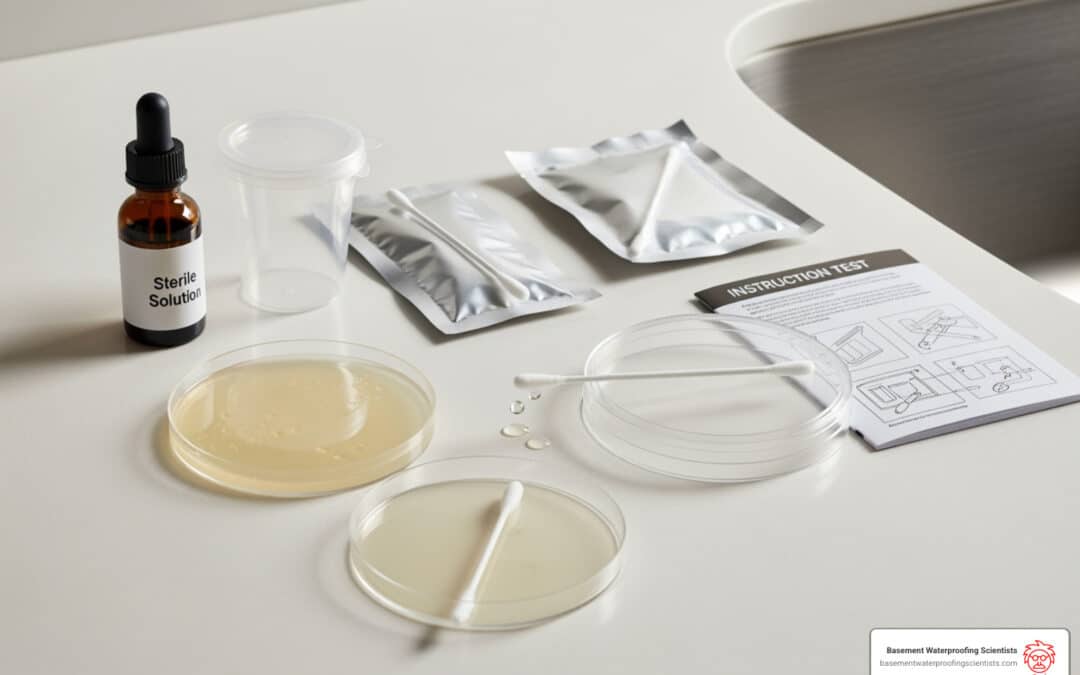
A diy mold test kit is a tool for homeowners to check for mold. These kits are a good first step if you’re concerned about a musty odor, discolored patches, or other signs of mold.
Here’s a quick look at what they offer:
- What they are: Tools to collect air or surface samples to check for mold.
- Cost: DIY kits start around $35, while professional testing costs $300 to $600.
- Accuracy: They can indicate mold presence but lack the detail of a professional inspection.
- Use: Best for initial screening, peace of mind, or checking small, visible spots.
Indoor mold growth can lead to health concerns and structural damage. Using a DIY mold test kit can help with early detection.
I’m Darin Garvey, and with over 30 years of experience in basement waterproofing, I know how crucial it is to address the moisture issues that cause mold. My team is dedicated to ensuring dry, safe, and healthy basements for homeowners.
Understanding Mold: The Unwanted Houseguest
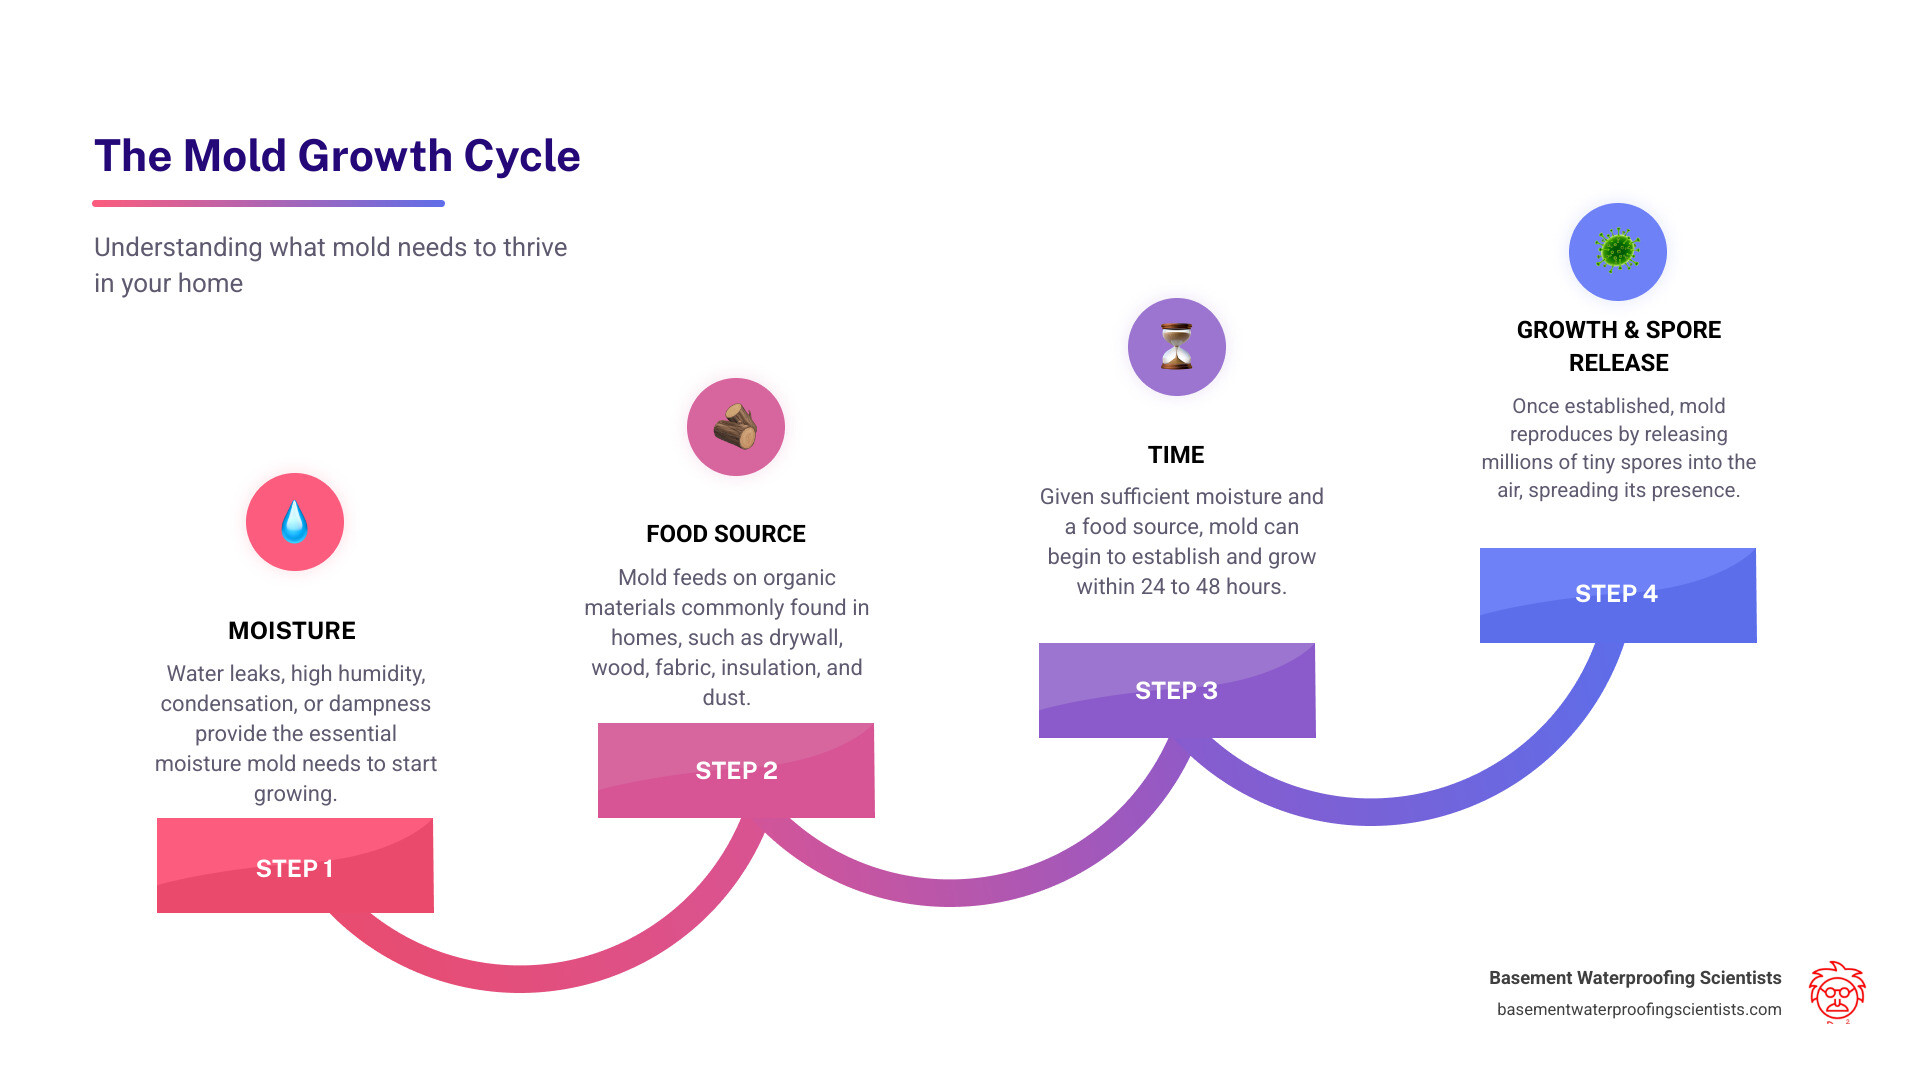
Mold is a type of fungus whose spores are naturally present everywhere. While harmless outdoors, these spores can become a problem inside your home. When they find a food source (like drywall or wood), moisture, and time, they begin to grow and release more spores into the air.
This growth isn’t just unsightly; it can damage your home’s structure and often signals a hidden water problem. As basement waterproofing specialists, we know that visible mold almost always means there’s a moisture issue that needs to be fixed. Mold thrives in environments with humidity above 55%.
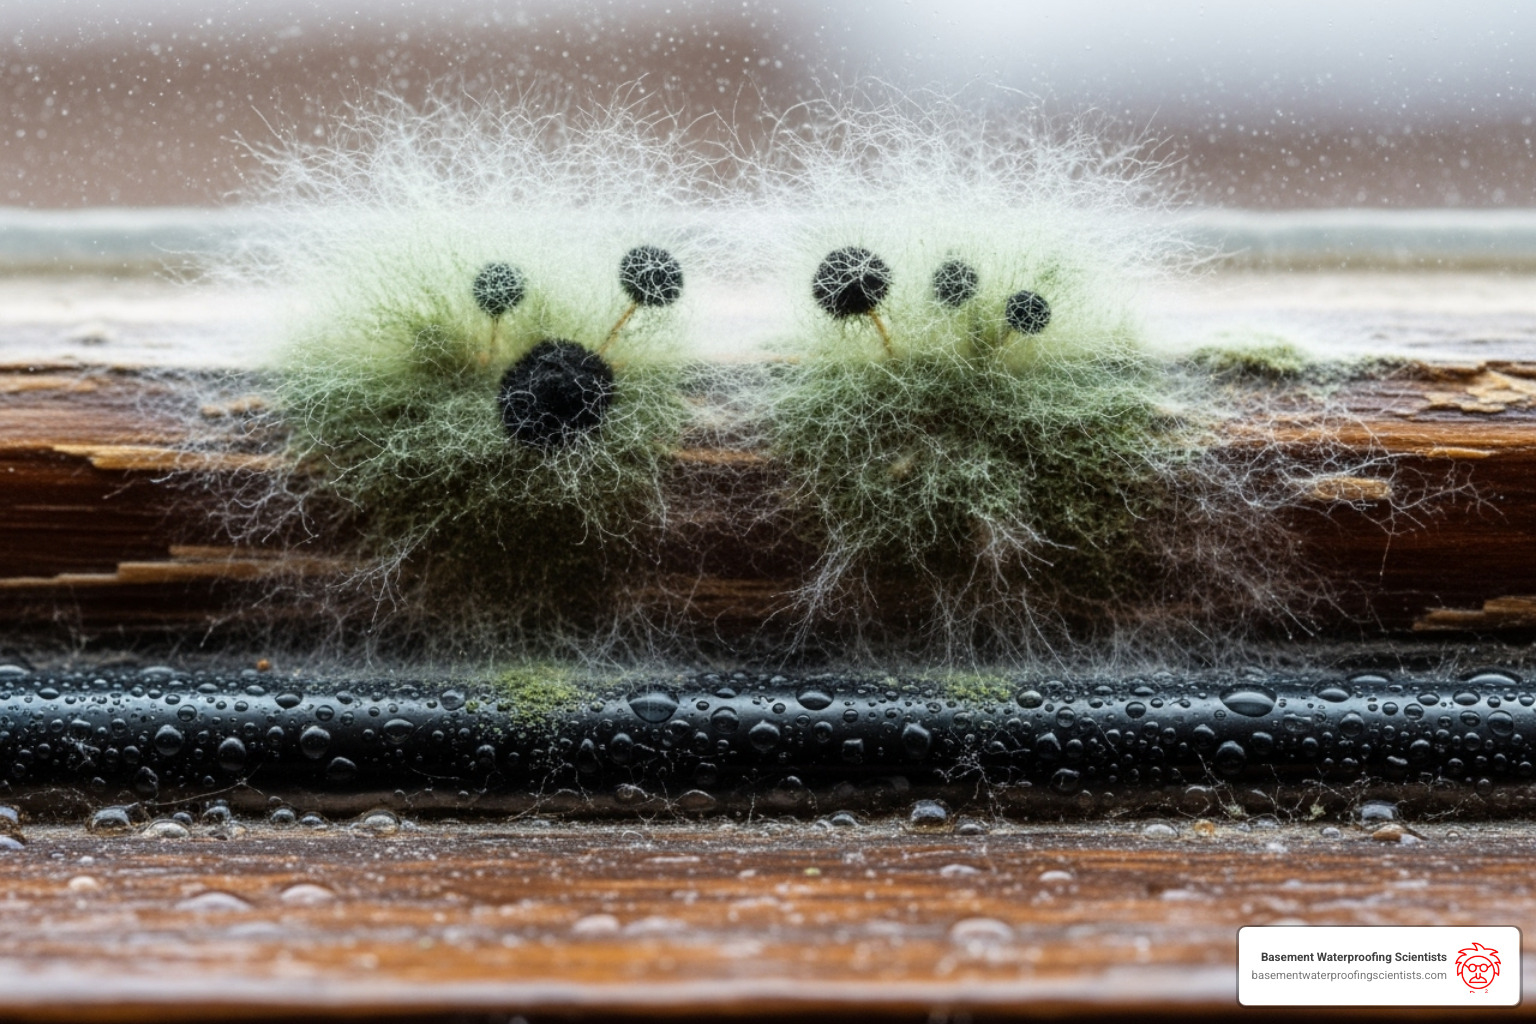
Beyond property damage, mold can pose health risks. Breathing in spores can cause symptoms ranging from minor allergies to more serious respiratory problems. Controlling moisture is key to reducing these allergens in your home.
Telltale Signs You Might Have a Mold Problem
Knowing what to look for can help you catch a mold problem early. Here are common signs:
-
Visual Signs: Look for discolored patches on walls, ceilings, or floors. Mold can be black, green, white, or other colors and may appear fuzzy, slimy, or powdery. Bubbling paint and water stains are also red flags for moisture buildup.
-
Smell Test: A persistent musty, earthy odor is a strong indicator of mold, even if you can’t see it. The smell may be coming from behind a wall or under flooring. For more on this, see our guide on dry basement musty odor.
-
Condensation and Dampness: Condensation on windows, pipes, or walls indicates high humidity—perfect conditions for mold. Moisture meter readings above 20% also signal a problem. Learn more about how wet basements create mold.
-
The Bleach Test (with a caveat): Dab a suspected spot with a diluted bleach solution (1 part bleach to 16 parts water). If the spot lightens, it might be mold. If it stays dark, it’s likely dirt. Caution: Bleach doesn’t kill all mold types and this is not a definitive test.
Potential Health Effects of Mold Exposure
Exposure to high levels of indoor mold can lead to various health issues, depending on the mold type and individual sensitivity. For official guidance, consult resources like the EPA’s guide to mold, moisture, and your home.
Common symptoms from inhaling mold spores include:
- Respiratory Problems: Wheezing, coughing, shortness of breath, and nasal congestion. It can also trigger asthma attacks.
- Allergic Reactions: Watery eyes, runny nose, sneezing, and skin rashes.
- General Irritation: Irritation of the nose, throat, and skin.
- Mycotoxins: Some molds produce toxic compounds called mycotoxins, which can lead to more serious health problems. Professional lab analysis is needed to identify these species.
Certain groups are at higher risk, including infants, the elderly, and individuals with weakened immune systems or existing respiratory conditions. As experts, we stress that fixing the moisture source is essential for your family’s health. If you have health concerns, consult a healthcare professional.
A Guide to Choosing and Using a DIY Mold Test Kit
A diy mold test kit is an affordable first step, with most kits starting around $35, compared to professional testing which can run from $300 to $600. However, be aware of hidden costs. Some kits require extra fees for lab analysis or shipping, which can add $40 or more to the price. Always read the fine print to see if lab fees are included.
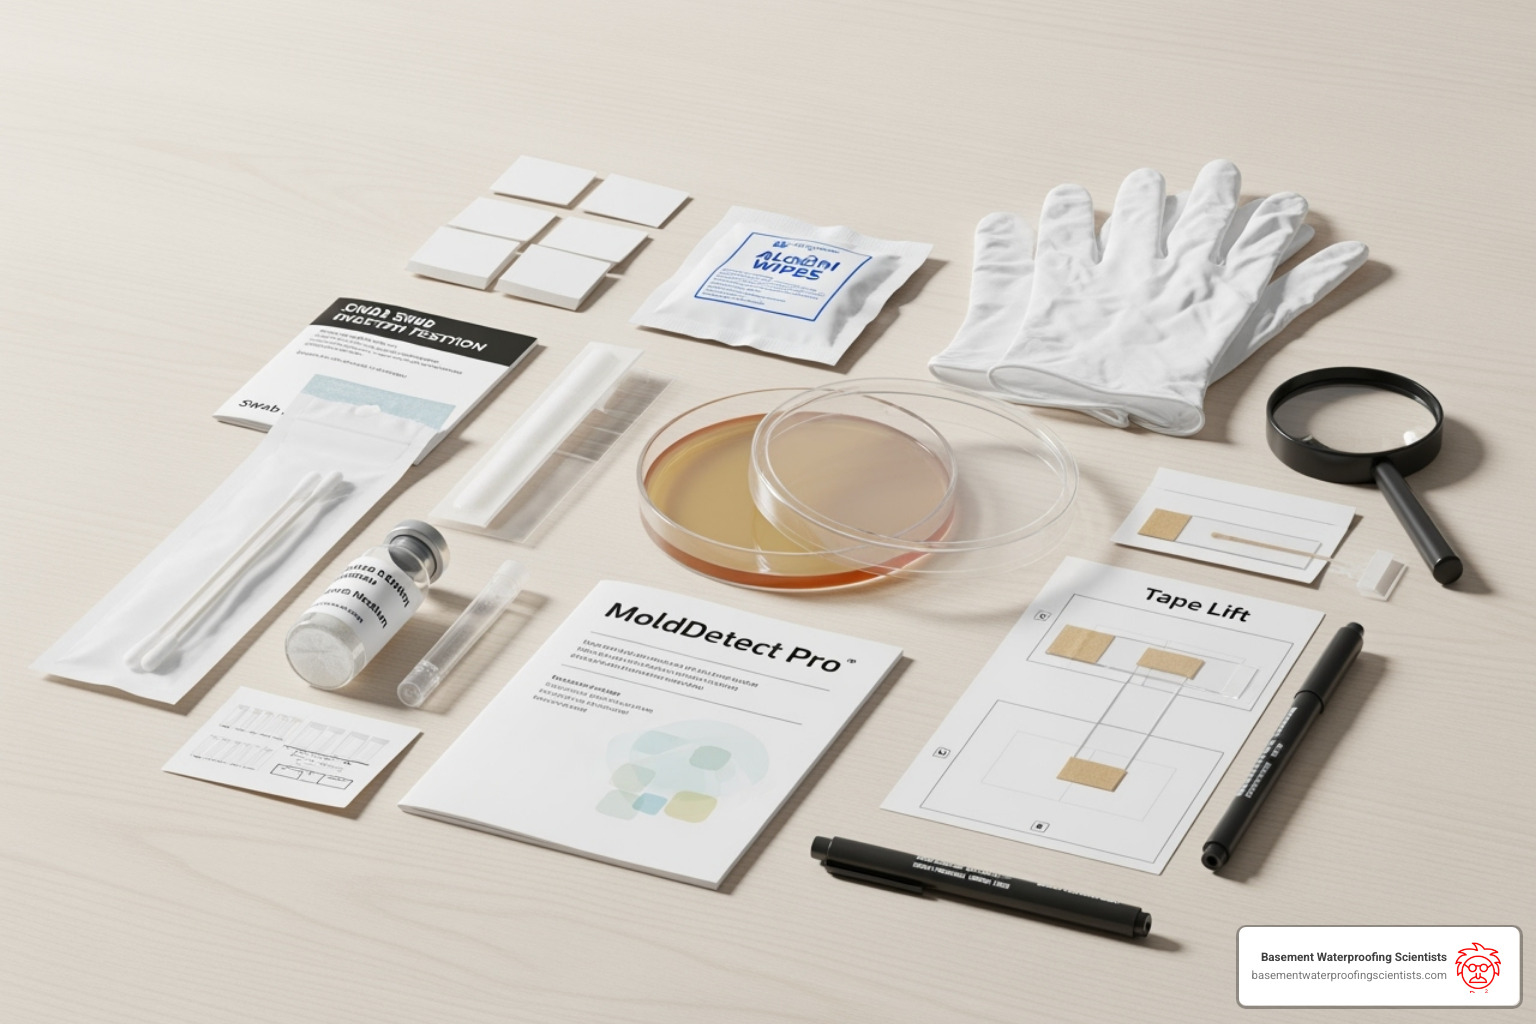
Most kits provide a petri dish, a swab or tape lift for sampling, a mold growth medium, and instructions.
Types of DIY Mold Test Kits Available
You’ll generally find three main types of kits:
-
Petri Dish Kits (Settling Plates): These are the most common. You open the dish and let airborne mold spores settle onto a growth medium for a set time. They are easy to use for a general air quality check but may not accurately reflect the true concentration of spores in the air, potentially leading to false results.
-
Swab Tests: Often included in larger kits, swabs are used to collect a sample from a specific suspicious spot on a surface. They are excellent for testing visible mold but won’t tell you about airborne mold levels.
-
Tape Lift Samples: You press a special tape onto visible mold to collect a sample for lab analysis. This method is great for identifying the specific type of mold on a surface but, like swabs, only tests that one spot and won’t detect airborne or hidden mold.
Each type of diy mold test kit is primarily a screening tool, not a comprehensive diagnostic solution.
How to Properly Use Your DIY Mold Test Kit for Best Results
Getting reliable results depends on carefully following the kit’s instructions. For a detailed visual guide, you can refer to a step-by-step guide for using a kit. Here are some general tips:
First, prepare the area. Close windows and doors and turn off fans or HVAC systems for a few hours to let the air settle.
Next, choose your testing locations. Basements, bathrooms, and kitchens are common mold hot spots. Test any areas with a musty smell or past water damage. It’s important to test multiple areas to get a clearer picture of your home’s condition.
When you collect the sample, follow the specific instructions for your kit type (petri dish, tape lift, etc.). Timing is crucial for air samples, so adhere to the manufacturer’s specified duration.
Immediately seal and label your sample with the date, time, and exact location. This is vital for accurate interpretation.
If your kit requires incubation, place the sealed dish in a warm, dark place and watch for growth over the next 48 to 96 hours.
For air testing, it’s smart to use a control sample by testing the outdoor air. This helps you compare indoor mold levels to the normal environmental levels outside. This requires a second kit.
Decoding Your Results: What Do They Really Mean?
After using your diy mold test kit, you’re left with the results. But what do they mean? A DIY kit is like a smoke detector: it can alert you to a potential problem but won’t tell you the source or extent of the issue. These kits can’t identify the underlying moisture problem, which is our specialty as basement waterproofing experts.
DIY tests have limitations, including the risk of false positives or false negatives. They also can’t detect mold hidden behind walls. For truly accurate results, you need analysis from an AIHA certified lab (American Industrial Hygiene Association). You can learn more about choosing the best mold test on our site.
Here’s how DIY kits compare to professional testing:
| Feature | DIY Mold Test Kit | Professional Assessment |
|---|---|---|
| Cost | $35 – $100 (may have hidden fees) | $300 – $600 for lab testing |
| Sample Collection | Self-collected (prone to user error) | Trained, certified inspector |
| Accuracy | Basic presence indication; false results possible | Highly accurate with species ID and spore counts |
| Lab Analysis | Optional; varies in quality | Always AIHA-certified lab |
| Scope | Surface or limited air testing | Comprehensive, finds hidden mold sources |
| Next Steps | You decide what to do | Clear remediation plan provided |
Interpreting Petri Dish and Swab Test Results
If you used a petri dish, you might see fuzzy or slimy colonies after 48 to 96 hours. Visual growth confirms that viable mold spores were present. While you can count the colonies, this only gives a rough idea of concentration. A few colonies may be normal, but many could signal an indoor problem, especially if your outdoor control sample is cleaner.
You can’t reliably identify mold species by color or texture alone. Some black molds are harmless, while others like Stachybotrys are toxic. This is why professional black mold testing is so important. A petri dish only captures living spores that land on it and won’t detect dead spores or hidden mold.
Understanding a Professional Lab Report
A report from an AIHA-certified lab is far more detailed. It identifies the specific mold species, such as Aspergillus, Penicillium, Chaetomium, or Stachybotrys, which helps determine the severity of the water damage.
The report also provides a spore count per volume for air samples, allowing for a direct comparison between indoor and outdoor levels. It will also note toxicity information, identifying molds known to produce mycotoxins. This expert insight on test accuracy helps you understand if your results are normal or indicate a problem that requires action.
The Next Step: When to Call in the Professionals
A diy mold test kit is a useful first step, but it has its limits. Sometimes, you need an expert to fully diagnose the problem and ensure your home is safe. At Basement Waterproofing Scientists, we often see how a simple moisture issue can escalate into a major mold problem. While a DIY kit can confirm your suspicions, a professional inspector can find the hidden source and provide a real solution.
Scenarios Where a DIY Mold Test Kit is a Good First Step
A diy mold test kit is a smart choice in several situations:
- Minor visible spots: To confirm if a small patch (less than 10 square feet) is mold or just dirt.
- Unexplained musty smell: An air sampling kit can help determine if airborne spores are present when you can’t see any mold.
- Peace of mind: A negative result can be reassuring after a minor leak or just for a general check-up.
- Budget constraints: When a professional inspection isn’t immediately possible, a DIY kit is an affordable starting point.
For more tips, see our guide on how to check for mold in house.
When You Should Skip the DIY Kit and Hire a Pro
There are times when a DIY kit isn’t enough and you should call a professional immediately. These situations include:
- Widespread visible mold: If the mold covers an area larger than 10 square feet, it’s too big for a DIY fix. Attempting to clean it yourself can spread spores and worsen the problem.
- After a major flood or leak: There is a high risk of extensive, hidden mold growth behind walls and under floors that a DIY kit will miss.
- Suspected hidden mold: A strong, persistent musty odor with no visible mold is a classic sign of a hidden infestation within walls or your HVAC system.
- Health concerns: If anyone in your home has severe mold allergies, asthma, or a compromised immune system, a professional assessment is crucial for their safety.
- Real estate or legal purposes: You will need a certified inspection report for any official documentation. DIY results are not sufficient.
- Mold returns after cleaning: If mold keeps coming back, it means there’s an underlying moisture problem that needs a professional diagnosis and repair.
If you’re ever in doubt, it’s always better to trust an expert. Our professional mold testing services can help you steer complex situations and ensure your home is truly safe and mold-free.
Proactive Prevention: Keeping Your Home Mold-Free
An ounce of prevention is worth a pound of cure, especially with mold. Preventing mold is always easier and cheaper than removing an infestation. At Basement Waterproofing Scientists, our experience shows that moisture control is the absolute key. Mold thrives in humidity above 55%, so keeping your home dry is the most important step.
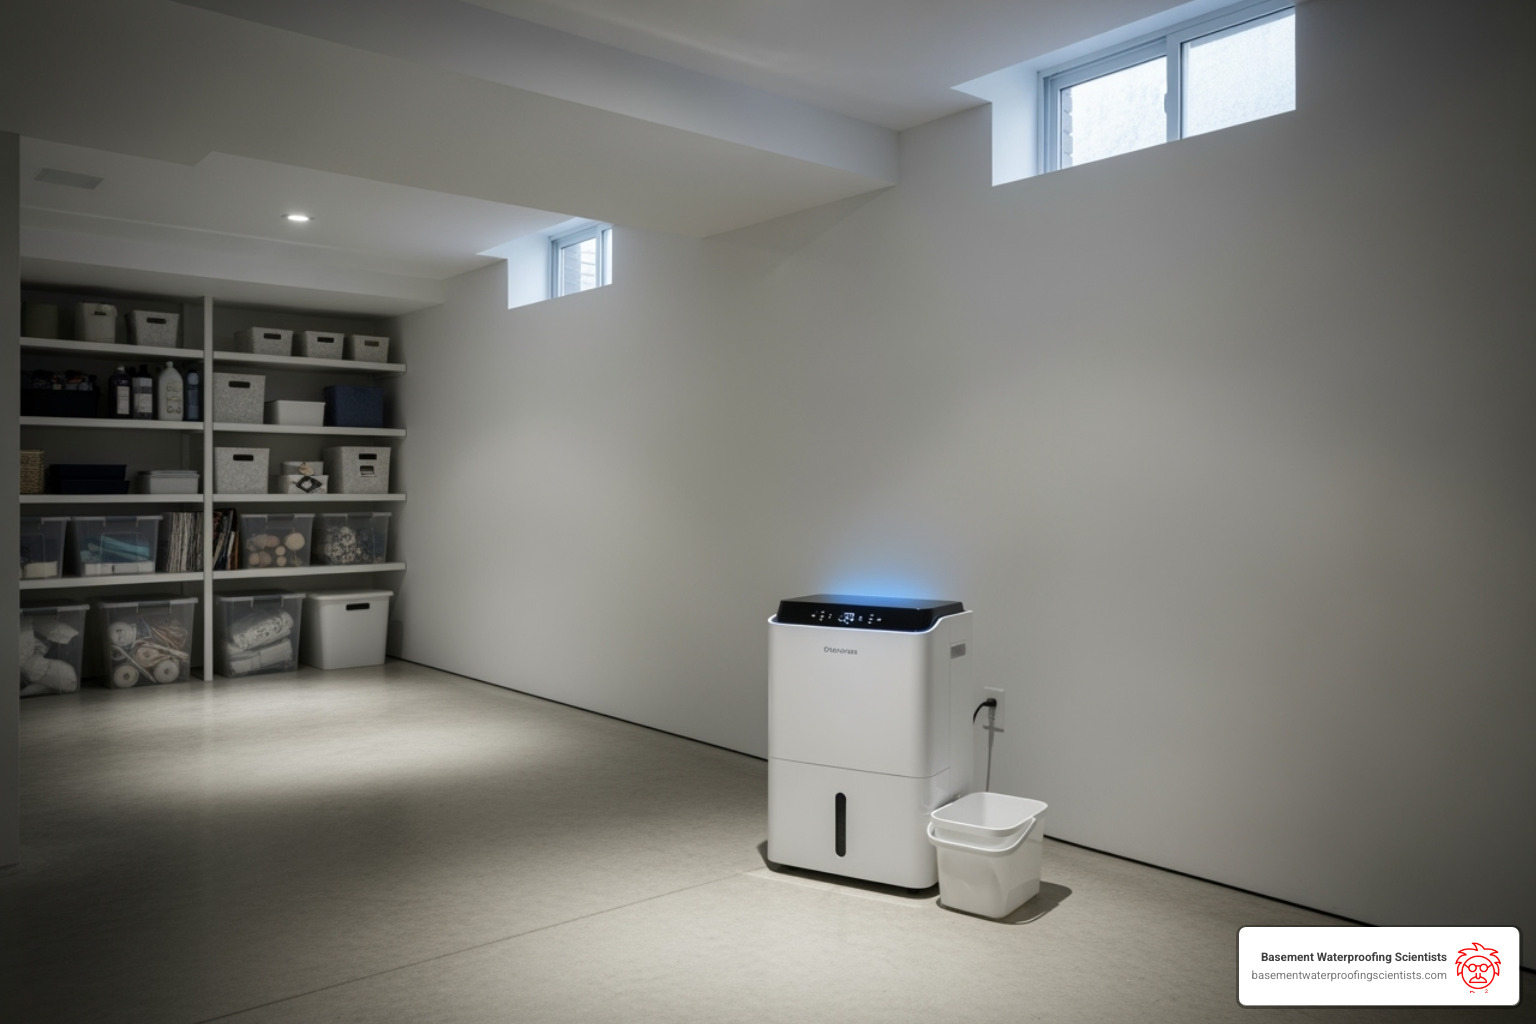
To keep your home mold-free, focus on managing moisture. Keep indoor humidity between 30% and 50% using air conditioners and dehumidifiers, especially in basements and crawl spaces. Ensure proper ventilation by using exhaust fans in bathrooms and kitchens, and make sure your clothes dryer vents outside.
Promptly fix any leaks from plumbing, roofs, or windows. A small, steady drip can create a large mold problem in just a couple of weeks. Clean and dry any spills or wet areas within 24-48 hours. Also, check that the ground outside your home slopes away from the foundation and that downspouts direct water away from the house.
Key Areas to Monitor for Moisture
Knowing where to look for moisture is half the battle. Pay close attention to these common problem areas:
- Basements and Crawl Spaces: These below-ground areas are prone to dampness and poor ventilation. We specialize in finding and fixing leak sources to create permanently dry basements. Learn more about mold in basement.
- Attics: Leaky roofs and poor ventilation can cause condensation and mold.
- Bathrooms: Steam from showers creates a high-humidity environment perfect for mold.
- Under Sinks: Hidden pipe leaks are a common source of mold growth.
- Around Windows: Condensation and leaky seals can lead to mold on sills and walls.
- HVAC Systems: Ductwork can collect moisture and spread spores. Have your system cleaned and maintained regularly.
Improving Your Home’s Air Quality
Beyond moisture control, improving your home’s air quality can help prevent mold.
Good ventilation is crucial for reducing humidity and removing airborne spores. Regular HVAC maintenance, including changing filters, prevents mold from growing in your system. Air purifiers with HEPA filters can also help by capturing airborne spores. Finally, regular cleaning and dusting removes spores before they can settle and grow. For more on this, check out our guide to basement air quality improvement.
Conclusion
Navigating a potential mold issue can be daunting, but a diy mold test kit can be an affordable and useful first step. These kits are excellent for preliminary screening, checking small visible spots, or investigating musty odors.
However, recognize their limitations. A DIY kit can confirm the presence of mold but won’t provide the detailed analysis of a professional inspection. For widespread mold, significant water damage, or health concerns, calling a professional is the wisest choice. Remediation is recommended for any area larger than 10 square feet.
Mold prevention comes down to moisture control. By managing humidity, fixing leaks, and ensuring proper ventilation, you can create a home where mold cannot thrive.
For persistent moisture issues, especially in basements, a professional assessment is key. At Basement Waterproofing Scientists, we specialize in identifying and fixing the root cause of leaks, ensuring your home is dry, safe, and protected. If you have moisture concerns, learn more about our professional mold testing and remediation services and let us help you achieve a healthy home.


