Why Basement Moisture Barriers Are Essential for Every Home
Basement moisture barrier installation is a crucial step in protecting your home from water damage, mold growth, and energy loss. Whether you’re dealing with persistent dampness or planning a basement renovation, understanding how to properly install moisture barriers can save you thousands in future repairs.
Quick Installation Overview:
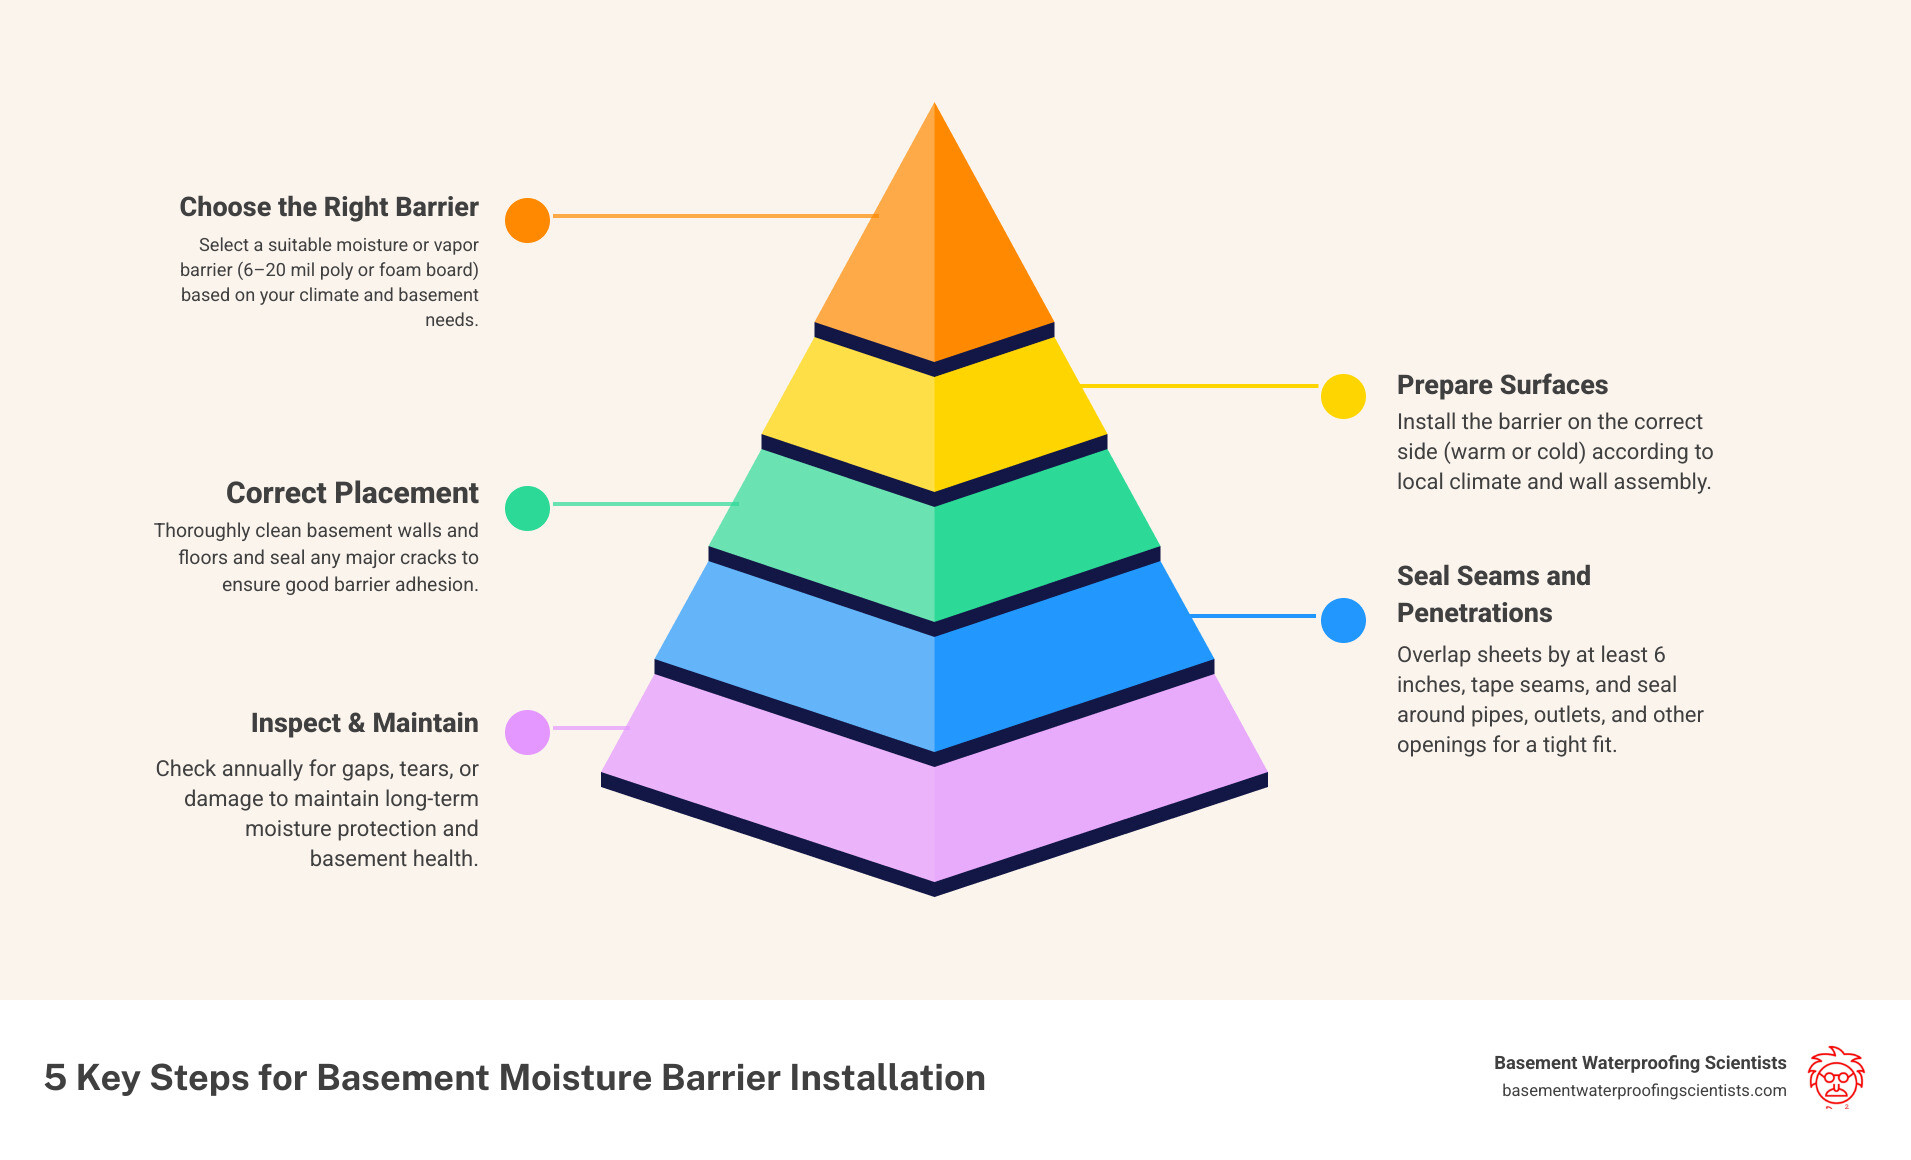
- Choose your barrier type – 6-mil to 20-mil polyethylene sheeting or rigid foam boards
- Prepare surfaces – Clean walls and floors, seal major cracks
- Install on proper side – Warm side for vapor barriers, cold side for moisture barriers
- Seal all seams – Overlap 6+ inches, use waterproof tape
- Handle penetrations – Seal around pipes, outlets, and other openings
- Inspect and maintain – Check annually for damage or gaps
Basements are responsible for a large percentage of home water damage claims, with moisture intrusion being a leading cause. A properly installed moisture barrier can significantly reduce your risk of mold growth and help cut energy costs.
Many homeowners are confused about where to place these barriers and which type to use. As one expert noted: “After much researching, I’m getting mixed responses on where to place a plastic vapor barrier in a finished basement wall.” This confusion often leads to failed installations and continued moisture problems.
The difference matters. Vapor barriers control water vapor movement, while moisture barriers stop liquid water. Installing the wrong type in the wrong location can actually trap moisture and make problems worse.
I’m Darin Garvey, and with over 30 years of experience in basement waterproofing, I’ve seen countless basement moisture barrier installation projects—both successful ones and costly failures. My team at Basement Waterproofing Scientists has helped thousands of Philadelphia-area homeowners transform their damp, unusable basements into dry, healthy spaces through proper moisture control techniques.

Handy basement moisture barrier installation terms:
- exterior foundation sealing
- how to seal exterior foundation cracks
- sealing exterior brick foundation
Vapor Barrier vs. Moisture Barrier: Know the Difference
Here’s something that trips up even experienced contractors: vapor barriers and moisture barriers aren’t the same thing. I’ve seen countless basement moisture barrier installation projects go sideways because someone grabbed the wrong material for the job.
Think of it this way – a vapor barrier is like a sweater that slows down how fast you cool off outside. A moisture barrier? That’s your raincoat, designed to keep you completely dry when it’s pouring.
Vapor barriers are all about controlling water vapor – those invisible water molecules floating around in the air. They’re rated by how much vapor they let through, measured in “perms”:
Class I barriers (≤0.1 perms) include that familiar plastic sheeting and aluminum foil. These are the heavy hitters that stop almost all vapor movement.
Class II barriers (0.1 to 1.0 perms) like kraft paper or special low-perm paints let a little more vapor through.
Class III barriers (1.0 to 10 perms) such as regular latex paint or unfaced fiberglass are much more breathable.
Moisture barriers tackle a completely different problem – they stop actual liquid water from getting through your walls. When groundwater is pushing against your foundation with serious pressure, you need something that can handle that force.
| Feature | Vapor Barrier | Moisture Barrier |
|---|---|---|
| Purpose | Controls water vapor | Stops liquid water |
| Location | Warm side of wall | Cold side/exterior |
| Material | Thin plastic sheeting | Thick membranes, coatings |
| Permeability | <1 perm typical | Waterproof |
One thing that confuses homeowners is that the word “barrier” makes it sound like these materials completely block moisture. As one industry expert put it: “The word ‘barrier’ can be misleading because a vapor barrier doesn’t technically keep moisture out” – it just slows things down rather than stopping them cold.
Why It Matters Below Grade
Your basement lives in a completely different world than the rest of your house. Those concrete walls stay around 50-60°F year-round, which creates some interesting physics that can work for you or against you.
Concrete is naturally porous – think of it like a really dense sponge. It soaks up moisture from the soil around your foundation, and without proper barriers, that moisture has nowhere to go but into your living space.
The stack effect makes this problem even worse. As warm air rises through your house and escapes through the attic, it creates a vacuum that pulls replacement air up from the basement. Research shows that up to 40% of the air you breathe on your first floor actually comes from your basement or crawl space.
That’s why basement moisture barrier installation isn’t just about protecting your stuff – it’s about protecting your family’s health. When moisture gets trapped in your walls, you get wood rot, mold growth, corroded metal fasteners, and even pest problems as bugs follow the moisture.
Choosing the Right Side of the Wall
Here’s the golden rule that’ll save you from expensive mistakes: put vapor barriers on the warm side of your insulation.
In most heated basements, that means installing your vapor barrier on the interior side – behind the insulation but in front of your wall framing. For unheated basements, those cool concrete walls often act as natural vapor barriers since they stay cooler than your interior air most of the year.
Climate makes a huge difference in how you approach this. In cold climates, interior vapor barriers prevent your warm, humid indoor air from hitting cold surfaces and condensing inside your walls. Mixed climates might call for more breathable finishes that can handle seasonal changes. Hot, humid climates flip the script entirely – suddenly exterior vapor control becomes more important.
One experienced waterproofing professional shared some wisdom that stuck with me: “I would not apply any vapor barrier in my basement” when the foundation already has proper exterior waterproofing. His point was that low-perm vapor barriers on the interior can actually trap moisture and slow down natural drying.
That’s exactly why we always start with a thorough inspection at Basement Waterproofing Scientists. Every basement is different, and what works in one situation might create problems in another. Understanding Moisture Barriers – This Old House provides additional technical details if you want to dive deeper into the science.
Basement Moisture Barrier Installation 101
Let’s roll up our sleeves and dive into basement moisture barrier installation—the right way. Whether you’re battling occasional damp spots or fully finishing your basement, starting with the correct materials and a smart plan is your best defense against future headaches.
For most homes, the essentials include 6-mil to 20-mil polyethylene sheeting (thicker is better for peace of mind), 2-inch extruded polystyrene foam boards if you want a rigid barrier, and a can or two of spray foam sealant for those pesky gaps and pipe penetrations. Don’t forget waterproof seam tape—it needs to hold up when things get damp. Unfaced insulation is key here; faced insulation can trap moisture and turn your wall into a science experiment gone wrong.
A detail a lot of folks miss? Composite decking strips under your wall’s bottom plate. This little trick keeps moisture from wicking up into wood framing. And if you’re going with foam board, make sure your construction adhesive is foam-safe—otherwise, it’ll eat through your barrier like a hungry termite.
For a total solution, take a look at our Basement Waterproofing Solutions. These options tackle both indoor and outdoor moisture problems, giving you lasting results.
When it comes to cost, expect materials for basement moisture barrier installation to run between $0.50 and $0.70 per square foot. If you want everything handled professionally—from inspection to final sealing—complete basement waterproofing usually lands between $4,000 and $8,000 on average.
Step-by-Step Basement Moisture Barrier Installation
Preparation is everything! Start by cleaning all your basement walls and floors. That means scraping off any chipping paint, brushing away dust and spider webs, and making sure there’s no loose debris that might mess with your barrier’s ability to stick.
Next, take care of the big problems first. Seal any cracks or holes in your foundation. If water is actively coming in, interior barriers alone won’t save you—exterior waterproofing is crucial before you put anything on the inside.
If you’re using rigid foam boards (it’s our recommended method), apply foam-safe adhesive to the back, press them tight against the concrete, and tape each joint securely with waterproof seam tape. This method gives you a thermal break and vapor control in one shot.
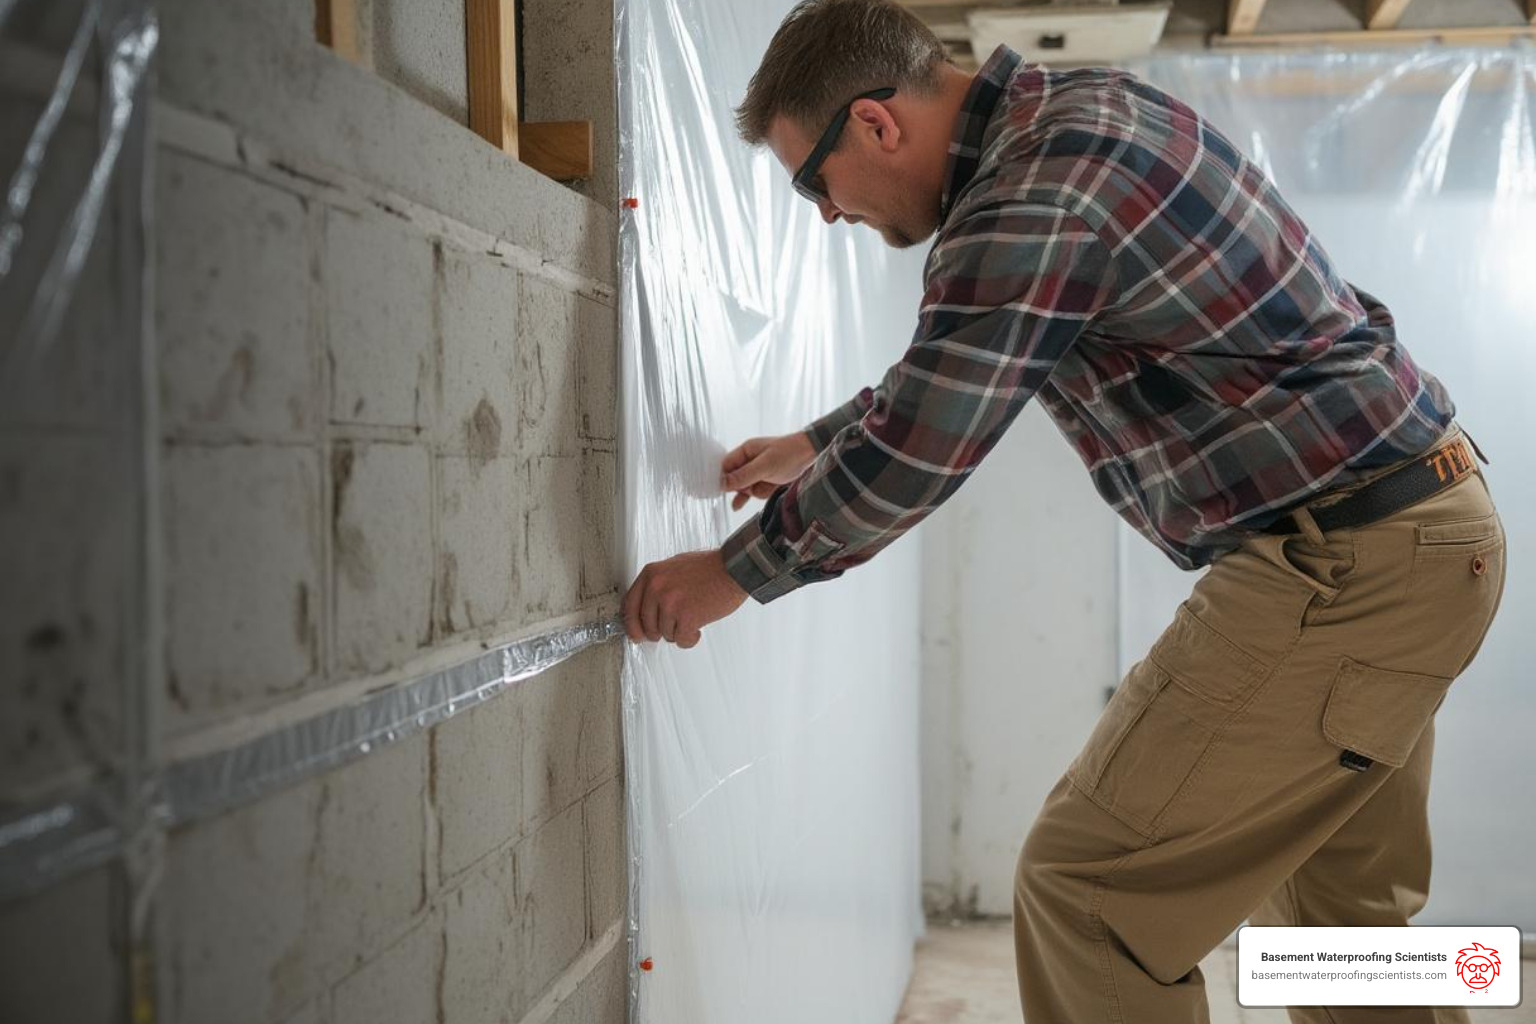
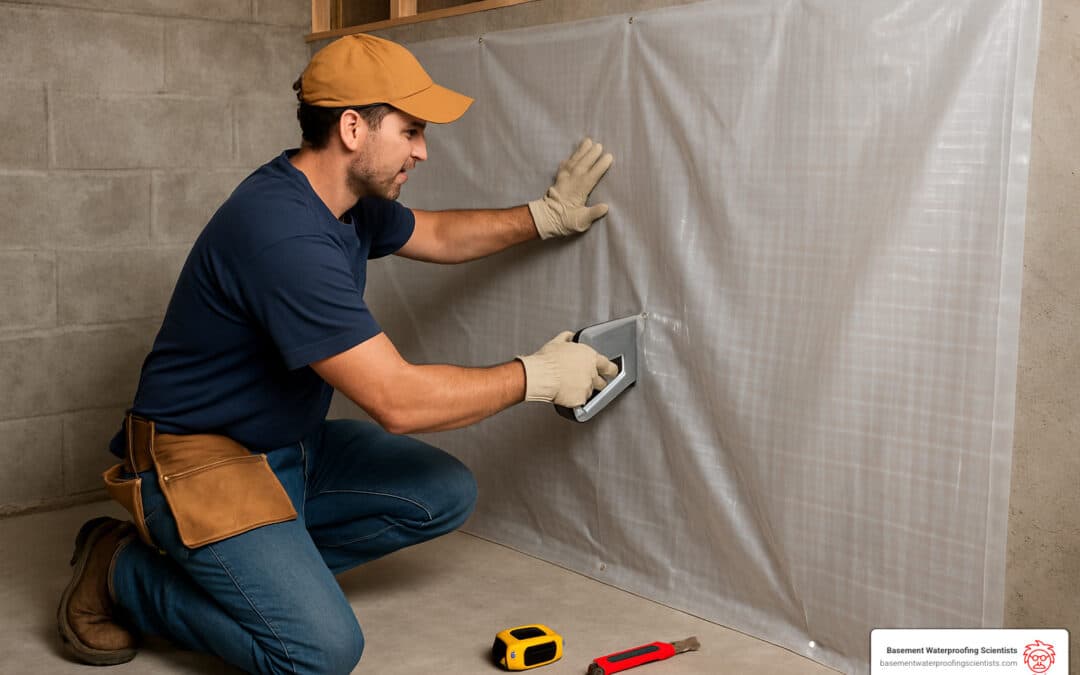
Prefer traditional polyethylene sheeting? Start at one corner and work methodically around the room. Overlap seams by at least 6 inches—some pros even recommend up to a foot. Tape seams and staple the barrier to framing members, not directly into concrete.

Now for a biggie: bottom plate protection. Before you start framing, lay a strip of composite decking on top of the concrete slab where your walls will go. It’s a simple step, but crucial—it stops moisture from sneaking up into your wood framing.
Don’t leave any gaps! Seal every penetration—pipes, wires, anything that pokes through your barrier. Use spray foam for anything finger-sized or bigger; for those little cracks, acoustic sealant works wonders.
Basement Moisture Barrier Installation for Walls & Floors
Let’s break down best practices for both walls and floors. For the walls, always leave a 3-inch inspection gap at the top if you’re in termite country. Stick with unfaced insulation inside the stud cavities—this lets your wall breathe and dry out if it ever does get damp. For a super-insulated “foam box” effect, consider putting 1-inch foam board on the floor as well as the walls—great for both warmth and moisture control.
For floors, use 10-15 mil polyethylene sheeting right over the concrete slab. Run it up the walls at least 6 inches and seal those edges tight with moisture-resistant tape. In spots where minor water seepage is a worry, adding drainage matting underneath the barrier is a smart move.
Don’t forget the ceiling! Moisture can sneak in from above too—plumbing pipes, HVAC ducts, and gaps around the rim joist are all common culprits. Extend your barrier system to cover these areas and create a complete envelope.
To finish strong, pair all this with a good dehumidifier. Keeping relative humidity below 50% is your best insurance against mold and that musty basement smell.
With these tips, basement moisture barrier installation becomes a straightforward, manageable project. If you ever get stuck or want pro help, remember—Basement Waterproofing Scientists is always here to lend a hand.
Best Practices, Materials & Code Compliance
Getting your basement moisture barrier installation right the first time means knowing which details truly matter and which ones add cost without value.
Material Basics
- Class I barriers (≤0.1 perm) – 6–10 mil polyethylene or 2-inch rigid foam
- Class II barriers (>0.1–1 perm) – kraft-faced batts, specialty paints
- Class III barriers (>1–10 perms) – standard latex paint, unfaced insulation
For most below-grade jobs, Class I is the safe choice. Go 6–10 mil on walls and 10–15 mil on floors; save the 20 mil products for high-traffic slabs or commercial spaces.
Material cost still lands around $0.50–$0.70 per sq ft, one of the cheapest upgrades you can make to protect a foundation.
Local Code Snapshot
The International Residential Code (IRC) R702.7 asks for at least 4-mil plastic where framing meets concrete or masonry, but many Pennsylvania and New Jersey inspectors now look for a continuous air/vapor barrier rather than a thin sheet tacked here and there. When in doubt, call your building department before you start.
Climate-Specific Placement (Quick Guide)
- Cold climates (Philadelphia region) – Barrier on the interior, warm side of the wall assembly.
- Mixed-humid – Often a smart vapor retarder or Class II product; allow some seasonal drying.
- Hot-humid – Focus on exterior drainage planes and keep interior surfaces vapor-open.
The takeaway: climate dictates barrier side. Ignore this and you invite condensation.
Seams, Joints, Penetrations
- Overlap 6 in. at every seam, more if space allows.
- Butyl tape for polyethylene seams; it stays sticky when other tapes fail.
- Acoustical sealant or low-expansion foam around pipes, wires and rim-joists.
- Smooth out wrinkles so water can’t pool behind the plastic.
A methodical approach here keeps mold, rot and corrosion from ever getting a foothold.
Why It’s Worth It
Properly installed barriers cut heating costs up to 20 % and slash mold risk by half. Considering a professional waterproofing package runs $4 k–$8 k, the payback period is usually just a few heating seasons ― plus you gain a healthier home.
Troubleshooting, Maintenance & FAQs
A moisture barrier isn’t “set-and-forget.” A five-minute walk-through twice a year keeps it working for decades.
DIY Inspection Checklist
- Spring & fall – look for lifted tape, punctures, or musty odors.
- After heavy rain – check for new damp spots or efflorescence.
- Use a moisture meter – framing above 15 % MC means action is needed.
Most small issues fix fast: clean the area, apply fresh butyl tape or a dab of acoustical sealant, and you’re done.
When to Call the Pros
- Active water intrusion
- Repeated condensation despite dehumidification
- Finished basements where teardown is risky
Basement Waterproofing Scientists offers inspections throughout our Pennsylvania, New Jersey and Delaware service area and backs repairs with a lifetime guarantee.
FAQ Highlights
1. Do I need a vapor barrier if my foundation is already waterproofed?
Exterior waterproofing helps, but interior barriers add redundancy, especially as exterior coatings age.
2. Faced or unfaced insulation?
Always choose unfaced batts with a separate barrier to avoid trapping moisture between two vapor layers.
3. How does climate affect barrier choice?
Cold climates = interior vapor barrier; hot-humid climates often skip interior barriers in favor of exterior drainage planes. Mixed zones may use smart retarders that adjust seasonally.
A few simple habits plus the right products will keep your basement—and everything stored in it—dry for the long haul.
Conclusion
Keeping your basement dry doesn’t have to feel like a mystery or a never-ending battle. With a little know-how and the right approach, basement moisture barrier installation becomes a straightforward way to protect your home, your wallet, and your peace of mind. It’s all about understanding the difference between vapor and moisture barriers, picking materials that suit your space and climate, and—this can’t be stressed enough—installing them correctly.
Here’s what truly matters for a basement that stays dry for life: know your moisture sources (is it sneaky vapor, or actual water leaks?), choose the right barrier (Class I, II, or III—think of them like levels in a video game), and put it on the right side of the wall (warm side for vapor barriers, cold side for moisture barriers). Most importantly, seal every seam and gap like a pro and don’t forget to check your work regularly. Trust us, catching a problem early is way cheaper (and less stressful) than dealing with mold or structural repairs down the road.
Moisture barriers are just one piece of the puzzle. If you have bigger issues—like water sneaking in after heavy rain, or mysterious puddles showing up—don’t sweat it alone. Sometimes you need an expert eye (and, let’s be honest, specialized equipment) to really track down those stubborn leaks. That’s where Basement Waterproofing Scientists can help. With over 30 years of experience, our team offers detailed inspections, custom solutions, and a lifetime guarantee—often for less than you’d expect. The average cost for full basement waterproofing is between $4,000 and $8,000, and it’s worth every penny for lasting peace of mind.
Whether you decide to roll up your sleeves for a DIY project or call in the pros, investing in proper basement moisture barrier installation pays you back—lower energy bills, fewer mold worries, and a basement that finally feels like part of your home, not a scary science experiment.
Curious about taking your basement protection to the next level? Check out our Waterproofing Your Basement: A Homeowner’s Guide for more tips and expert advice on putting together a full waterproofing strategy.
Don’t let basement moisture call the shots in your home. With a solid plan, quality materials, and a little attention to detail, you can enjoy a dry, healthy basement for years to come. And if you ever need help, Basement Waterproofing Scientists is always here to make sure your basement stays dry—so you can get back to enjoying your home, worry-free.


