What is a French Drain and Why Your Basement Needs One?
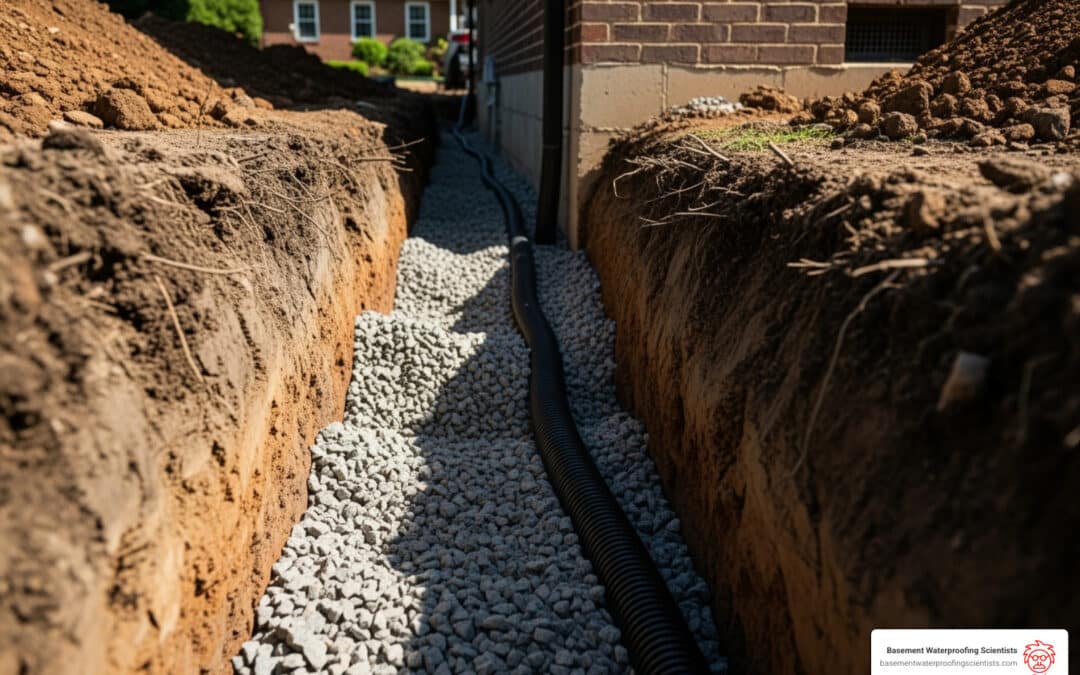
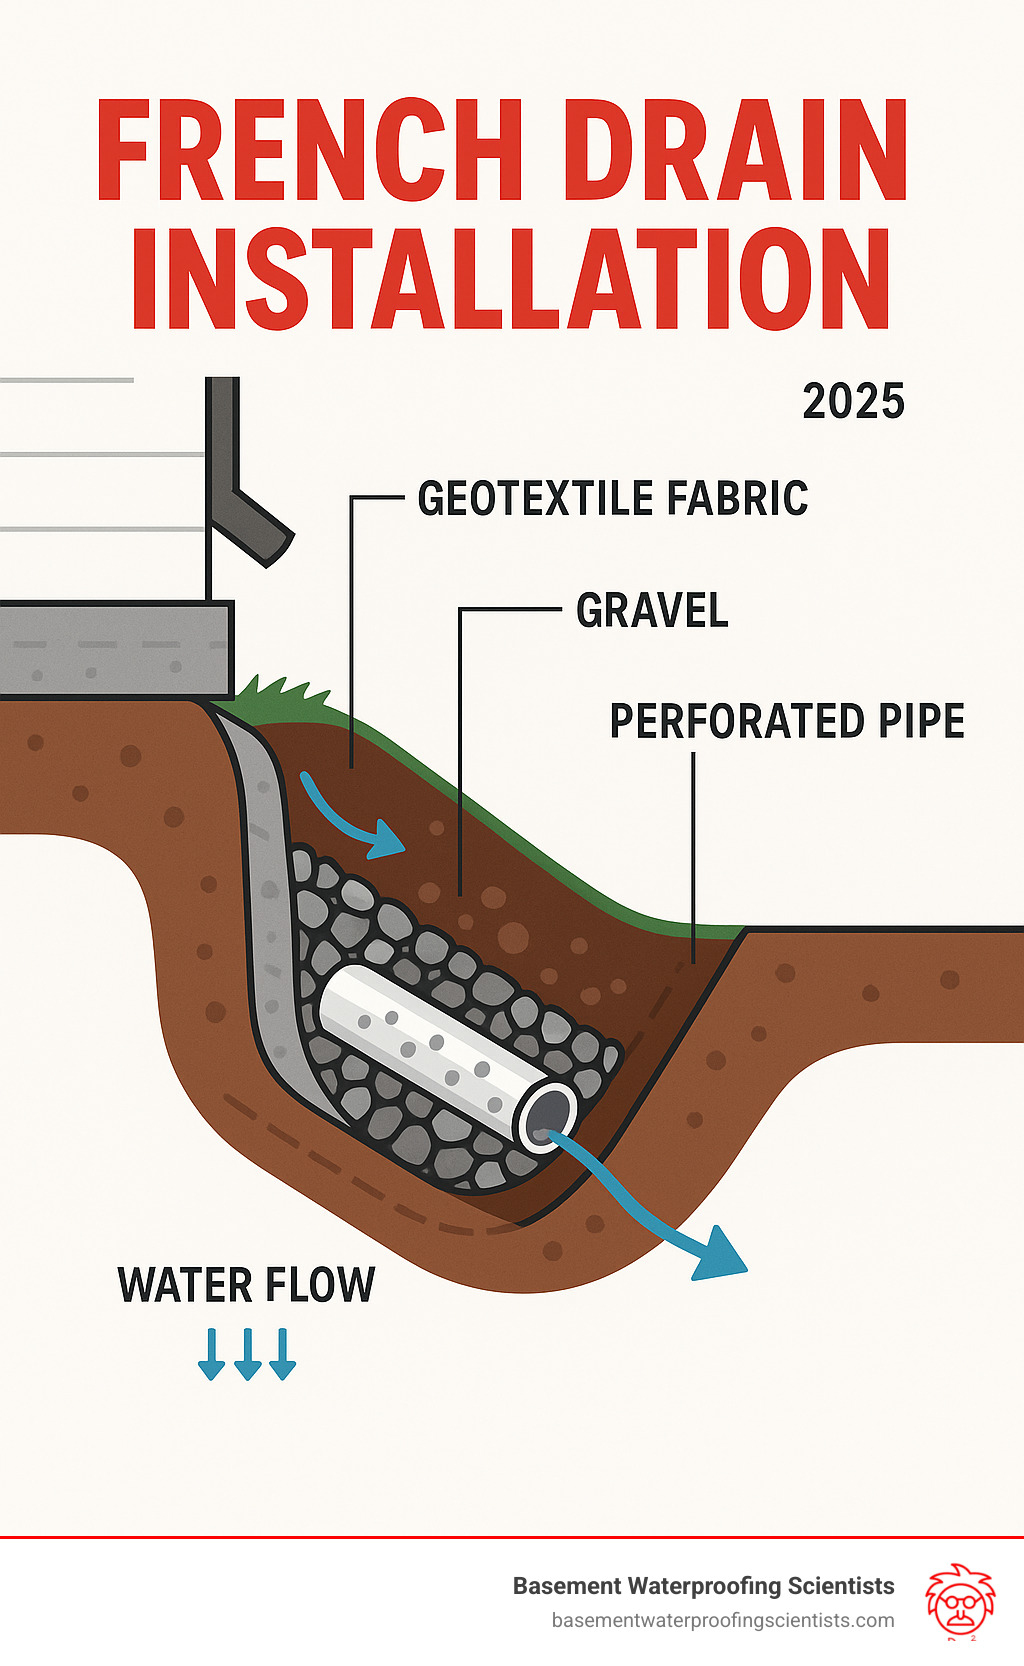
French drain installation is a proven solution for redirecting water away from your home’s foundation and preventing basement flooding. A French drain is a gravel-filled trench containing a perforated pipe that collects surface and groundwater, channeling it away from your foundation. Named after Henry Flagg French, who popularized it in 1859, this system prevents water from pooling and creating hydrostatic pressure against your foundation walls, which can lead to cracks, leaks, and expensive water damage.
Key Installation Steps:
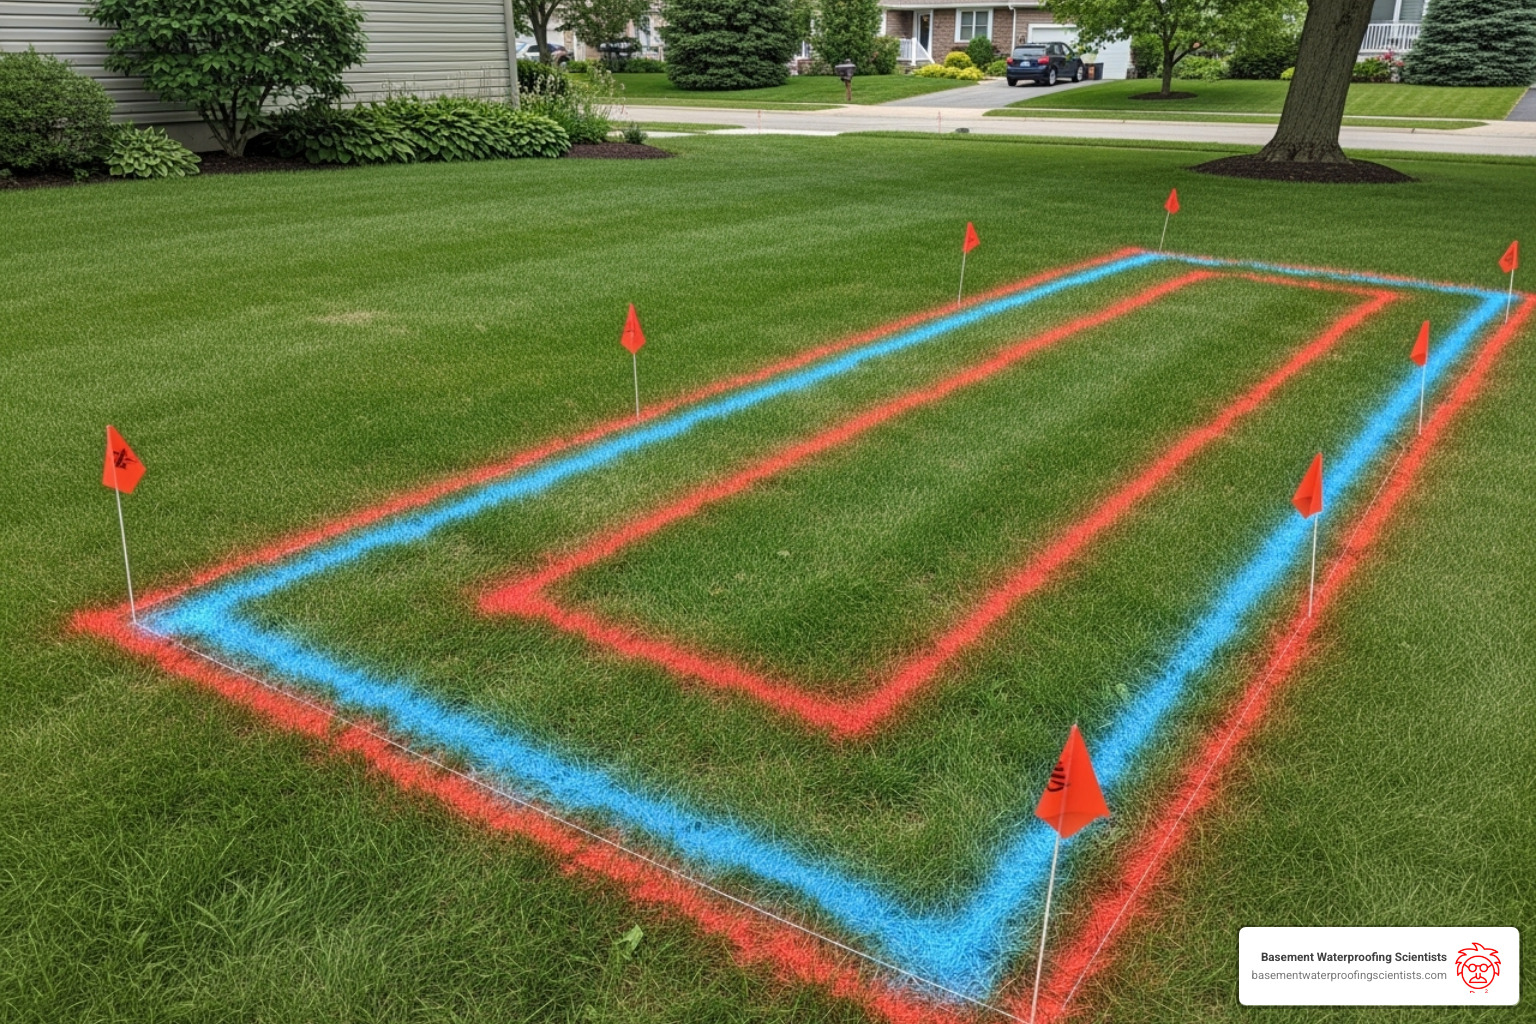
- Plan and mark your drain path with a proper slope (1% grade).
- Call 811 to locate underground utilities before digging.
- Dig a trench 9-12 inches wide and 18-24 inches deep.
- Line with fabric and add 3 inches of drainage gravel.
- Install perforated pipe with holes facing down.
- Cover with gravel and wrap with geotextile fabric.
- Backfill with topsoil and restore the surface.
Materials Needed: Perforated PVC pipe, non-woven geotextile fabric, angular drainage gravel (¾-1 inch), inlet grate, and digging tools.
The system works by providing a channel where water naturally flows to the lowest point—your perforated pipe. Gravity then pulls the water along the pipe to a safe discharge area, keeping your basement dry and your foundation protected.
I’m Darin Garvey from Basement Waterproofing Scientists. With over 30 years of experience helping Philadelphia homeowners solve drainage problems, I know that the right drainage system can transform your property from a water headache into a dry, usable space.
Interior vs. Exterior French Drains
When considering French drain installation, it’s important to know the two main types: exterior and interior. Each is designed for specific applications.
| Feature | Exterior French Drain | Interior French Drain |
|---|---|---|
| Application | Redirects surface water, protecting the outer foundation from hydrostatic pressure. | Collects water that has entered the basement, lowering the water table. |
| Location | Installed around the outside perimeter of the foundation. | Installed under the concrete slab, around the inside perimeter of the basement. |
| Purpose | To prevent water from reaching the foundation walls. | To manage water that has already entered or is likely to enter the basement. |
Exterior French Drains are installed in a trench around the outside of your foundation. They are great for preventing water from accumulating against exterior walls but can be prone to clogging from mud and sand. Installation is also disruptive, requiring excavation of landscaping and navigating around utility lines.
Interior French Drains are installed under your basement’s concrete slab. They collect water that seeps through the foundation walls or rises from below, directing it to a sump pump. A drainage membrane on the interior walls directs any seepage into the system. We often recommend interior systems because they are easily serviced without external excavation and are less prone to clogging from outside debris.
For more details on interior solutions, explore our guides on interior drainage systems and installing a French drain in the basement.
Essential Planning Before You Dig
The difference between a successful French drain and one that fails comes down to planning. Rushing into a French drain installation without proper preparation is a recipe for problems.
Start with a thorough site assessment. After a heavy rain, note where water pools and flows. This helps you choose the right location for your drain and identify a suitable drainage outlet, such as a storm drain, a dry well, or a lower area of your yard.
Before you start, check local regulations and homeowners association rules regarding water discharge. You don’t want to redirect your problem onto a neighbor’s property. Also, verify your property lines to avoid any disputes.
Determining the Proper Slope
Water flows downhill, and getting the slope right is critical for a functioning French drain. The standard is a 1% grade, meaning the pipe must drop 1 inch for every 10 feet of length. This ensures proper gravity flow.
To calculate the slope, use stakes, string, and a line level. Place a stake at the highest point and another at the outlet. Stretch the string between them and use the level to set a consistent downward gradient. This method helps you maintain positive drainage and avoid flat spots where water can pool.
Utility Checks and Safety Precautions
Before any digging, you must call 811. This free service is essential for safety.
Underground utilities like gas lines, water pipes, and electrical cables can be buried anywhere on your property. Hitting one can cause serious injury or property damage. The best practice before any digging project is to call 811 a few days before you plan to start.
Utility companies will mark the lines with colored flags and paint. For digging safety, stay at least 18 inches away from any marked lines and dig carefully by hand when you get close.
Always wear personal protective equipment, including sturdy gloves, safety glasses, and boots. Digging is hard work, so pace yourself and stay hydrated.
Gathering Your Tools and Materials
Having all your supplies ready will make the French drain installation process much smoother. Here’s what you’ll need:
- Digging Tools: A shovel is fine for small jobs, but a trenching machine is better for long runs. A wheelbarrow is essential for moving soil and gravel.
- Measuring Tools: A tape measure and level are needed for accurate dimensions and slope.
- Pipe: Perforated drain pipe is the core of the system. PVC is rigid and durable, while corrugated pipe is flexible for curved paths. A 4-inch diameter is standard.
- Fabric: Non-woven geotextile fabric is crucial for preventing soil from clogging the pipe.
- Gravel: Use ¾-inch to 1-inch angular stone. Its edges interlock to create stable voids for water flow.
- Other Supplies: An inlet grate for surface water collection, marking paint, and topsoil or sod for finishing.
Your Complete Guide to French Drain Installation
With your planning complete and materials gathered, it’s time to install your French drain. This guide walks you through each step, from trenching to finishing the surface, to ensure professional results.
Step 1: Dig the Trench
This is the most physically demanding part of the project. Your trench should be 9-12 inches wide and 18-24 inches deep. The depth is important; for protecting a basement, the pipe should sit below the basement floor level.
As you dig, maintaining the slope is critical. Check the 1% grade frequently with a level to ensure consistent water flow. As you excavate, place topsoil on one side of the trench and subsoil on the other to make backfilling easier. For large projects or tough clay soil, consider renting a trenching machine.
Step 2: Line the Trench and Add a Gravel Base
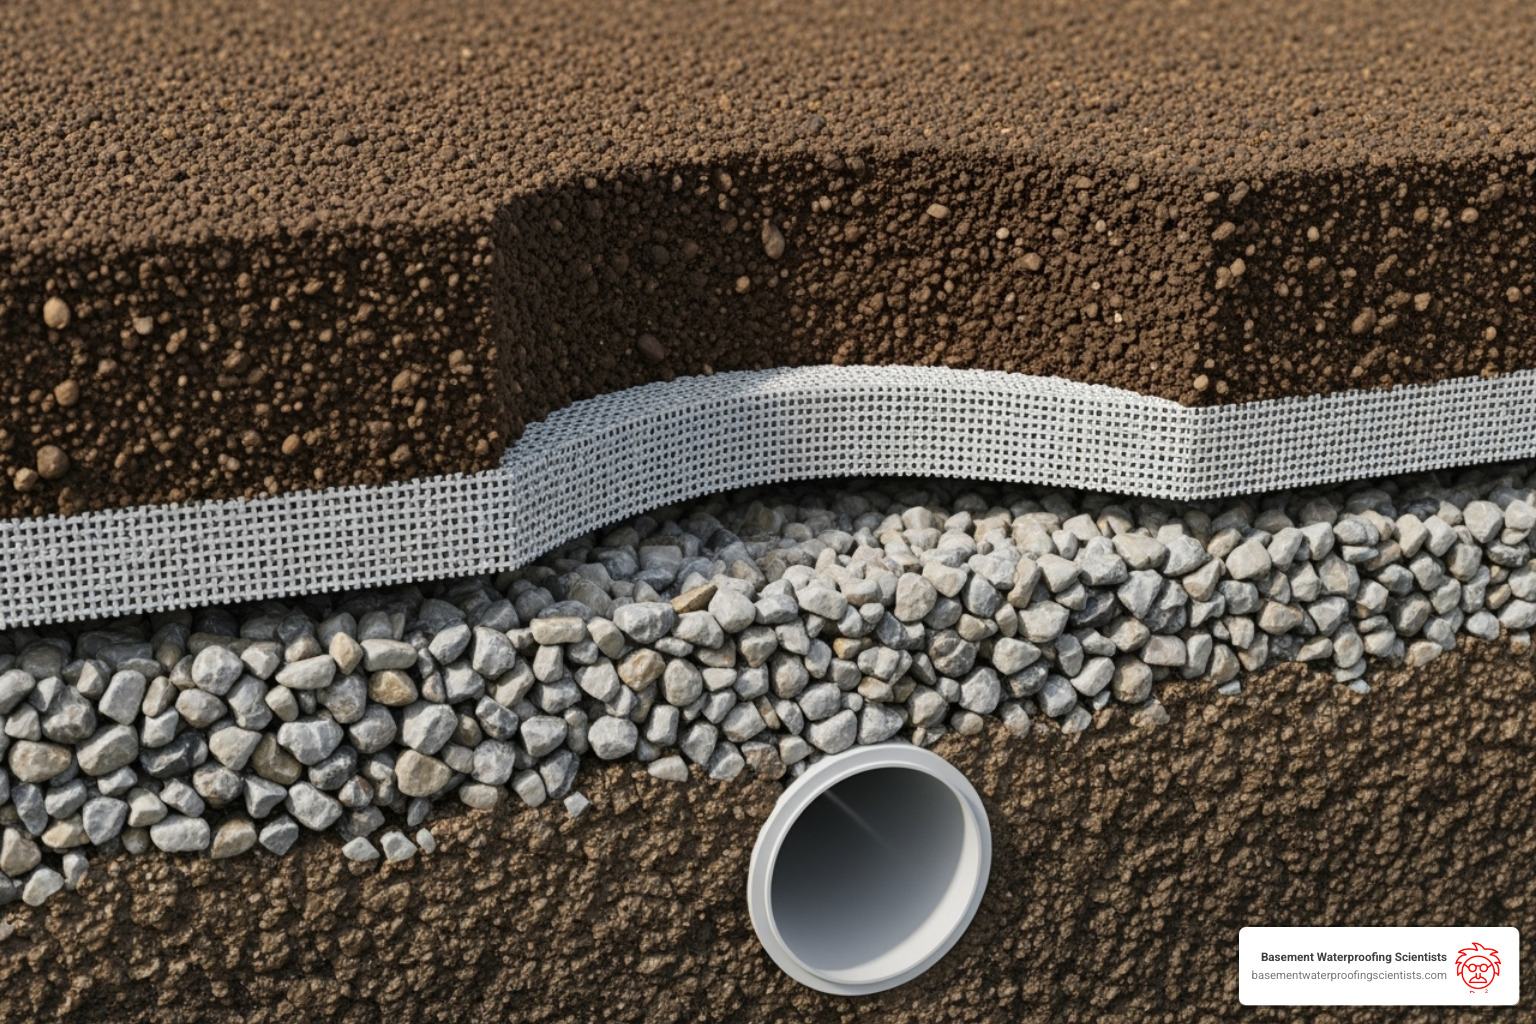
Once the trench is dug, lay the non-woven geotextile fabric. This step is crucial for preventing clogs. Roll the fabric along the bottom and up the sides of the trench, leaving at least 10 inches of excess on each side. You’ll use this extra fabric later to wrap the drain.
Next, add a 3-inch layer of drainage gravel. Spread it evenly to create a stable, level base for your pipe. Use angular stone, as its edges lock together to create stable voids that won’t shift over time.
Step 3: Lay the Perforated Pipe
Now it’s time to place the perforated pipe. There’s one critical detail: the drainage holes must face down. Water collects at the bottom of the gravel bed, and downward-facing holes allow the pipe to collect this water efficiently.
If your design includes an inlet grate, install it at the highest point of the system. Connect all pipe sections securely, ensuring smooth joints. The pipe should follow the trench’s slope perfectly to create an uninterrupted path to the outlet.
Step 4: Cover the Pipe and “Burrito Wrap” It
With the pipe in place, cover it with 3-5 inches of angular stone, ensuring it’s completely surrounded. This gravel layer provides additional filtration.
Next, use the “burrito wrap” technique. Take the excess geotextile fabric from the sides and fold it over the top layer of gravel, completely enclosing the pipe and stone. This creates a protective barrier that keeps out soil and debris while allowing water to enter from below. Secure the fabric wrap by tucking it in tightly.
Step 5: Backfill the Trench
The final step is filling the remaining trench space. For a hidden drain, use coarse sand and topsoil. Replace the topsoil you set aside earlier, then restore the surface with sod or grass seed. In a few months, the drain will be nearly invisible.
Alternatively, you can finish with decorative river rock, especially in garden beds. This creates an attractive feature and allows easy access for future maintenance. As you backfill, maintain a gentle surface slope away from your foundation to complement the drain’s function.
Best Practices for a Long-Lasting System
A French drain is an investment in your home’s protection. Following best practices and avoiding common mistakes can extend its life from 10 years to 40 years.
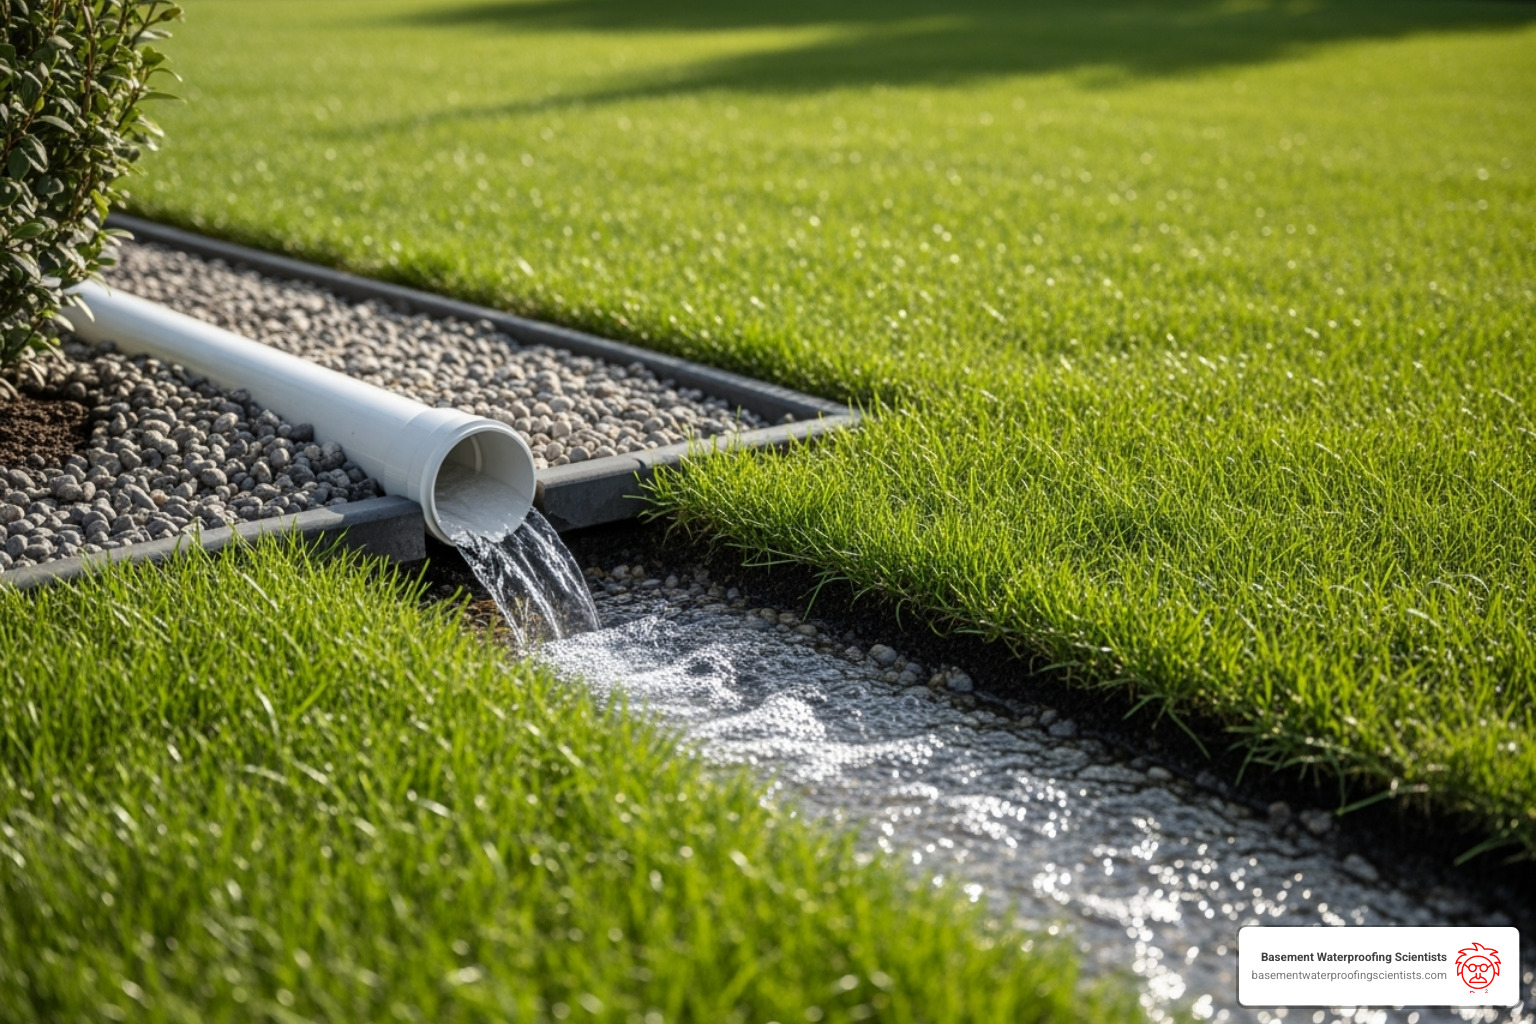
Common Mistakes to Avoid During French drain installation
Many well-intentioned DIY installations fail due to preventable mistakes. Here are the most common ones to avoid:
- Using the wrong gravel: Rounded pea gravel compacts over time and clogs the system. Always use angular, ¾-inch to 1-inch crushed stone.
- Skipping the filter fabric: Without a non-woven geotextile barrier, soil and sediment will clog your pipe, rendering the drain useless.
- Incorrect slope: A drain that is too flat will hold stagnant water. A consistent 1% grade is essential for gravity to work.
- Placing pipe holes up: It seems logical, but water enters from below. Holes must face down to collect water from the saturated soil.
- Connecting downspouts directly: This can overwhelm the system with water and roof debris. Connect downspouts to a catch basin first.
- Digging too close to the footing: For interior drains, installing over or deeper than the foundation footing can cause serious structural damage. This is a key reason to hire a professional for interior work.
Ensuring Effectiveness and Longevity
A properly installed French drain should last 30 to 40 years. Longevity depends on several factors:
- Quality Materials: Durable PVC pipe and robust geotextile fabric resist crushing and degradation.
- Proper Installation: Every step, from the slope to the fabric wrap, contributes to long-term success.
- Soil Type: Clay soil presents more challenges than sandy soil due to fine particles that can clog filters. In areas with iron ochre, special access points for cleaning may be needed.
- Root Intrusion: Tree roots can invade and block pipes. Strategic placement and solid pipe sections near large trees can prevent this.
How to Maintain Your French Drain
Even the best drain needs some maintenance to perform at its peak. Fortunately, it’s straightforward.
- Regular Inspection: Annually, check that the inlet grate is clear of debris and that water flows freely from the outlet after a storm.
- Look for Clogs: Signs of a clog include standing water, soggy ground that doesn’t dry, or no water flowing from the outlet during a storm.
- Clear Blockages: Minor clogs can be cleared by flushing the system with a garden hose. For stubborn blockages, a plumbing snake or professional help may be required.
DIY or Hire a Pro? Making the Right Choice
The decision to DIY a French drain installation or hire a professional depends on the project’s complexity, your skill level, and the specific water issues you’re facing.

When to DIY
A DIY approach can be rewarding for smaller, straightforward projects. Consider doing it yourself if you are dealing with:
- A shallow trench for a simple surface water issue.
- Good soil conditions, such as loose or sandy soil.
- Possession of the right tools and the physical ability for heavy labor.
When to Call a Professional for Your French drain installation
For many situations, calling a professional is essential for your safety and your home’s structural integrity. You should hire a pro for:
- Large or complex drainage systems with long runs or intricate paths.
- Deep excavation, especially near your home’s foundation.
- Rocky or heavy clay soil that requires heavy machinery.
- Steep slopes or complex grading where a precise slope is difficult to achieve.
- Water issues near your foundation, where mistakes can cause costly structural damage.
- Interior basement drainage systems, which require breaking concrete and specialized knowledge to protect the foundation. Learn more about our Interior Basement Drainage Systems.
- A lack of time or equipment for a labor-intensive project.
With 30 years of experience, we at Basement Waterproofing Scientists offer customized solutions, expert inspections, and competitive pricing. Our average cost for basement waterproofing is between $4K and $8K. We use specialized equipment to identify leak sources, ensuring we fix leaks for less, and back our work with a lifetime guarantee for homeowners in Pennsylvania, New Jersey, and Delaware.
Frequently Asked Questions about French Drain Installation
Here are answers to the most common questions we receive about French drain installation.
What type of gravel is best for a French drain?
The best choice is angular gravel, often called washed drainage rock or crushed stone, with a diameter of ¾-inch to 1-inch. The sharp, interlocking edges create stable voids that allow water to flow freely and prevent the gravel from compacting over time.
Avoid pea gravel or rounded stones. These materials do not interlock, causing them to settle and compact, which will eventually clog your drain.
How do you know if a French drain is working correctly?
The clearest sign is the absence of standing water or soggy ground in the area your drain is designed to protect. After a heavy rain, your yard should be drier, and you should see water flowing from the drain’s outlet point.
To test it, run a garden hose into the inlet grate or the high end of the pipe. If water flows out the other end without backing up, your drain is working properly. If water pools, you may have a clog or a slope issue.
Can a French drain be installed in winter?
While technically possible, it’s not recommended for a DIY project. Frozen ground makes digging extremely difficult and often requires heavy-duty equipment. Cold weather can also make materials like PVC pipe brittle and harder to work with.
Professional installers may have specialized equipment to work in colder temperatures. However, for most DIY projects, it’s best to plan your French drain installation for spring, summer, or fall. If you have an emergency water issue in your basement during winter, it’s wise to call a professional to prevent further damage.
Protect Your Foundation for Good
A properly executed French drain installation is a powerful tool for managing water and protecting your home’s value. It acts as a permanent insurance policy, quietly directing water away from your foundation and preventing the costly damage caused by hydrostatic pressure.
A French drain not only prevents basement leaks but also creates a more usable and enjoyable outdoor space by eliminating soggy spots in your yard.
While a DIY approach can work for simple surface drainage, complex water problems—especially those affecting your basement—demand an expert. Incorrect installation near a foundation can lead to severe structural issues.
Our team at Basement Waterproofing Scientists brings 30 years of experience to homeowners throughout Philadelphia, Pennsylvania, New Jersey, and Delaware. We use specialized equipment to pinpoint leak sources and design customized solutions that work.
The cost of waiting for water damage to worsen is always higher than addressing the problem proactively. Our average basement waterproofing project costs between $4K and $8K, a worthy investment to prevent far more expensive repairs down the road.
Don’t let water compromise your home’s safety and value. When you partner with us, you get a permanent solution backed by our lifetime guarantee.
Ready to protect your investment? Get a permanent solution with our expert basement drain systems and enjoy the peace of mind that comes with a professionally protected home.


